Clay cutting shapes are a great way to create clean, repeatable shapes for earrings, keyrings, charms, and other DIY crafts. Whether you're making jewellery or experimenting with polymer clay for the first time, let’s walk through the basics of how to use cutters for smooth, crisp results.
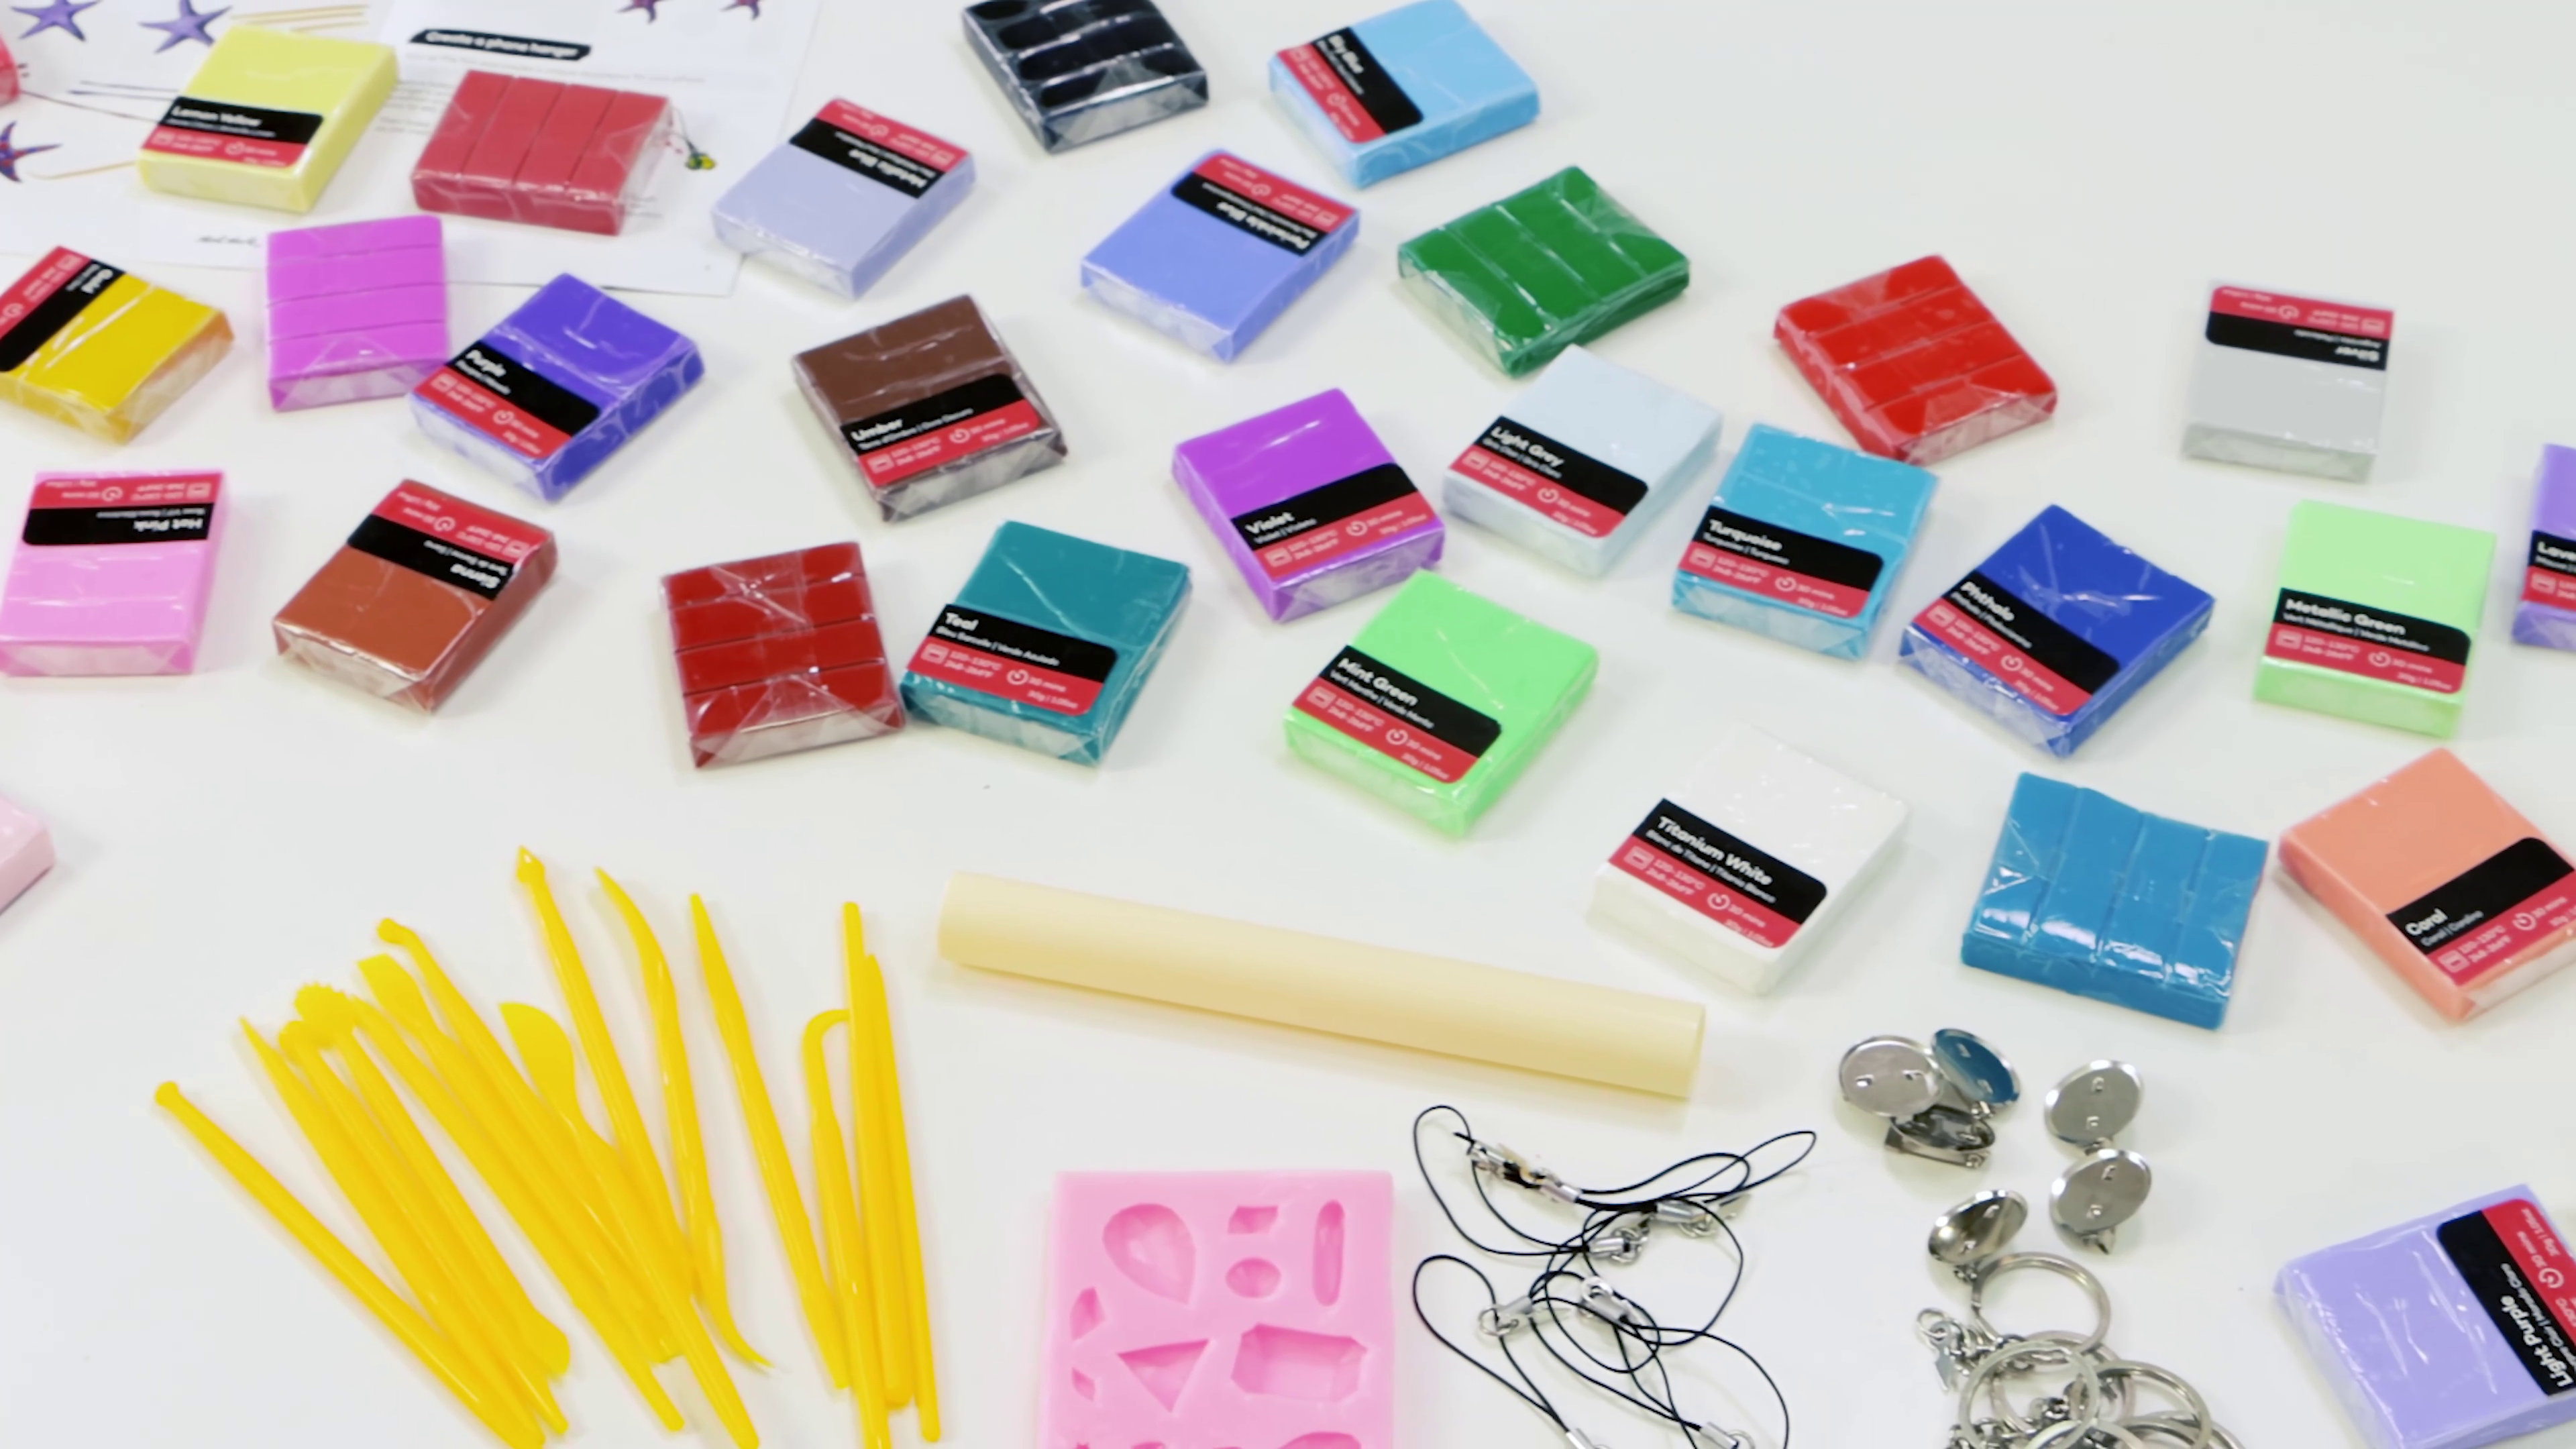
Start by conditioning polymer clay by hand, roller, or machine – knead it until it’s soft, smooth, and ready to work with. Then roll it out evenly on a flat surface using a rolling pin or acrylic roller. Aim for consistent thickness across your slab for best results.
Next, choose your cutter shape. Gently press it into the clay and lift straight up to keep the edges neat. Peel away the excess clay from around the shape and use your fingers or a sculpting tool to smooth out any rough edges.
You can layer multiple cut-out shapes to build patterns, add decorative elements, or experiment with dimension. If you're making earrings or pendants, don’t forget to poke a small hole where the jump ring or finding will go.
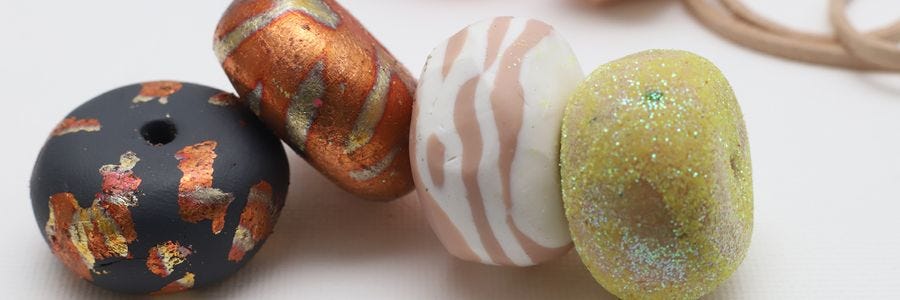
Bake your piece according to the clay instructions. Once it’s cooled, you can sand the edges to get a super-smooth finish and apply a varnish over pained clay to protect and enhance the colour. For different results, try mixing different colours of clay before cutting or adding texture with stamps and tools beforehand.
Cutter shapes for clay make it easy to get pro-looking results without a mould. They’re a must-have for polymer clay beginners and pros alike!