






Trinket tray DIY: Cabbage leaf plate with air dry clay
Clay leaf imprints
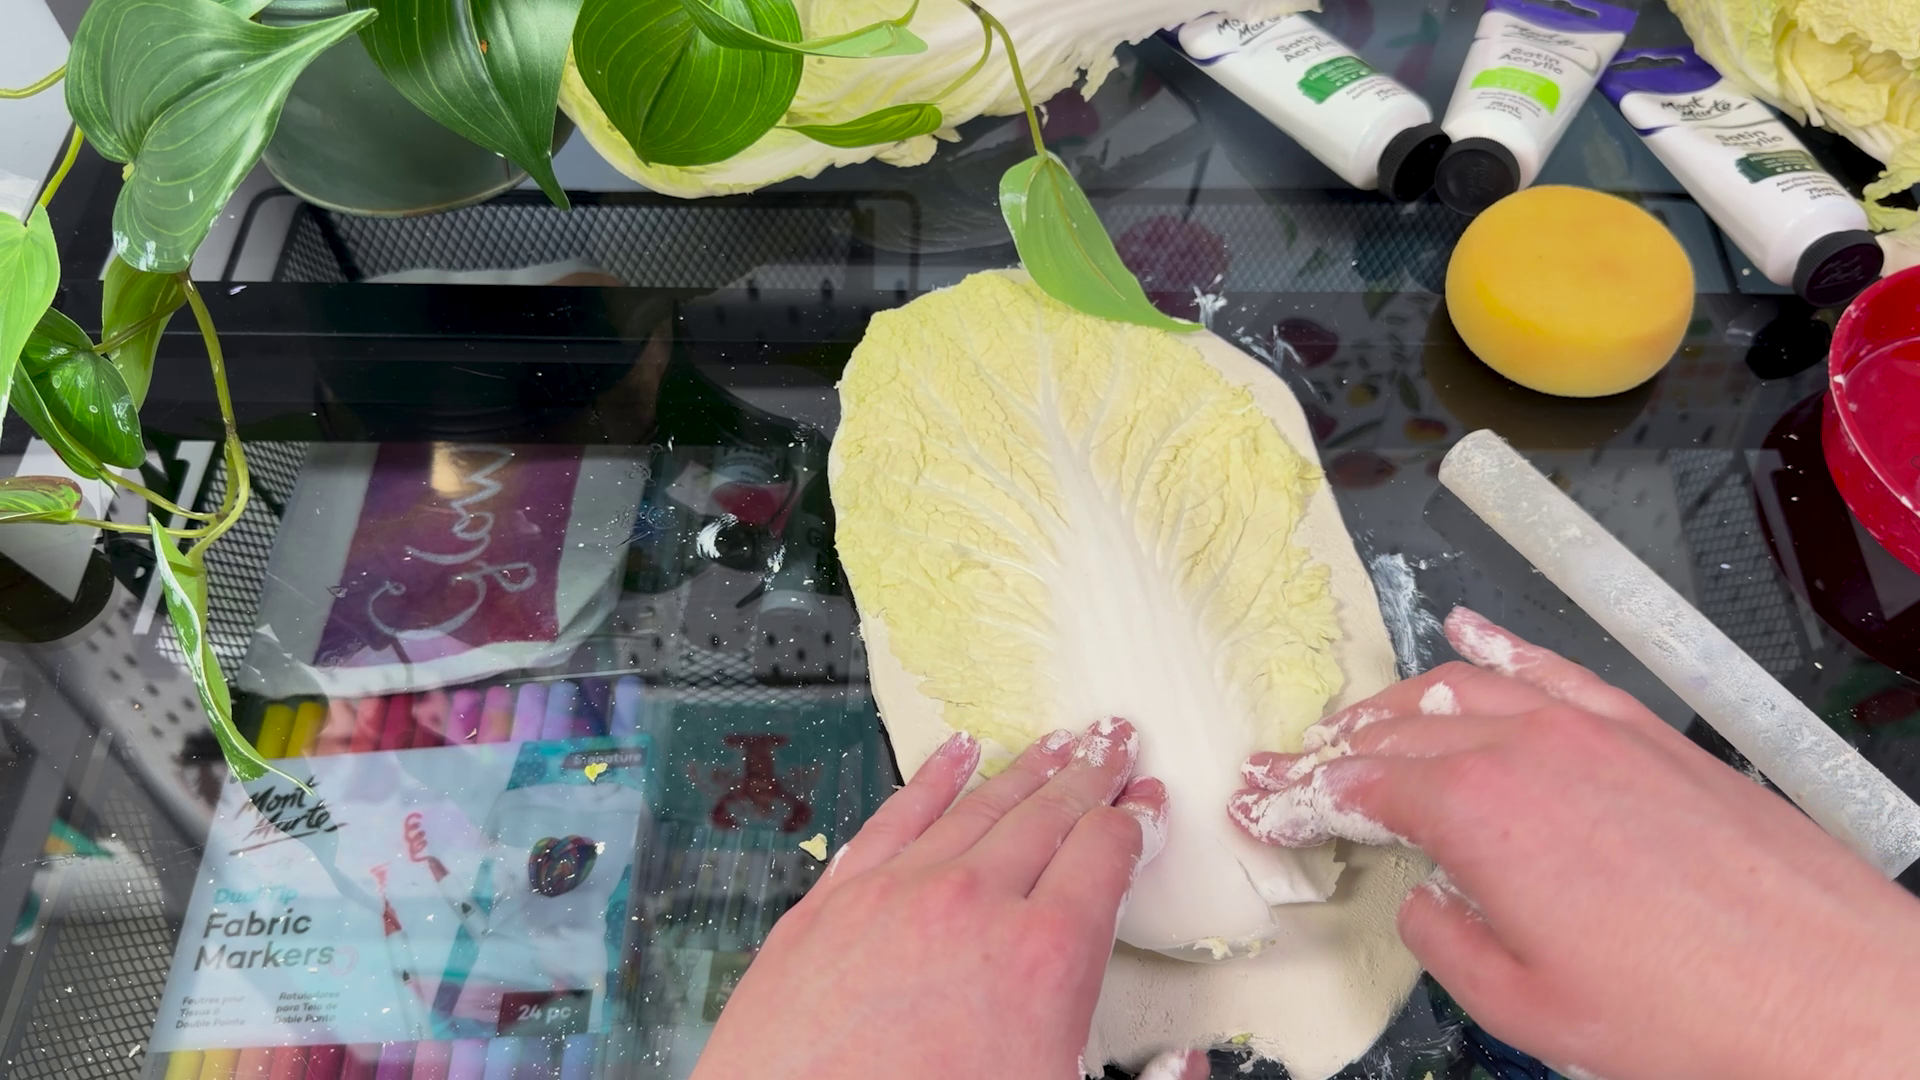
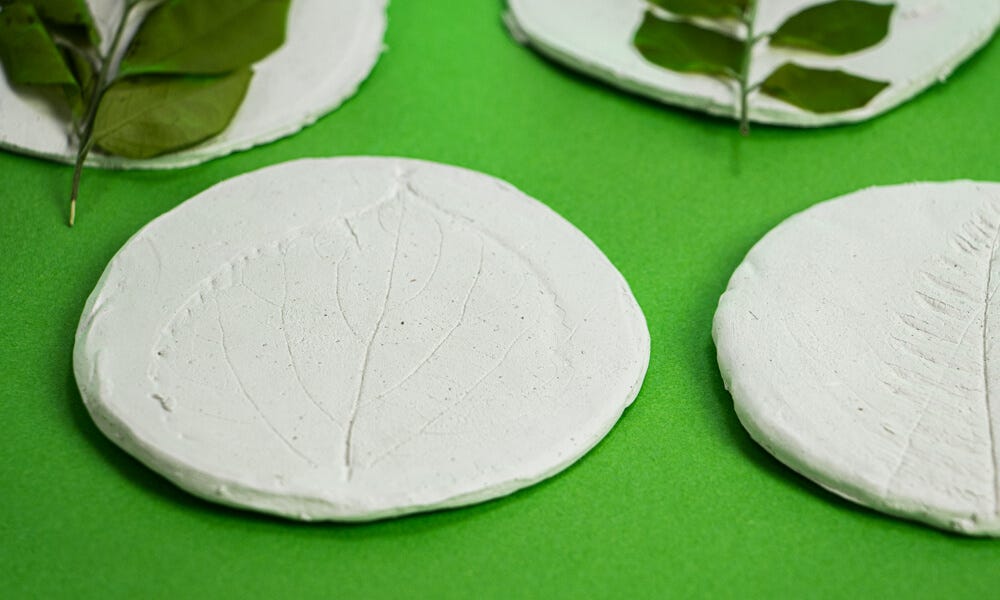
- Roll out your air dry clay into a flat sheet about the thickness of minimum 1cm
- Place your cabbage leaf on top with the veins facing down
- Gently but firmly press the leaf all over to transfer the vein details without flattening the clay too much
- Carefully peel the cabbage leaf away once the veins are well defined
- Remove any pieces of leaf left behind using a clay tool or tweezers
- Use a clay tool or toothpick to refine any veins that haven’t transferred clearly
- Cut around the veins with a clay tool to create your cabbage leaf shape
- Don’t worry about making the edges perfect as natural leaves have irregular shapes
- Smooth any cracks with a wet fingertip or clay tool
- Roll up cling film and arrange it around the clay to support the edges in a raised position while it dries
- Leave the tray to dry for a couple of days
- Once the raised edges are sturdy, flip the tray over so the base can dry as well
How to seal air dry clay before painting
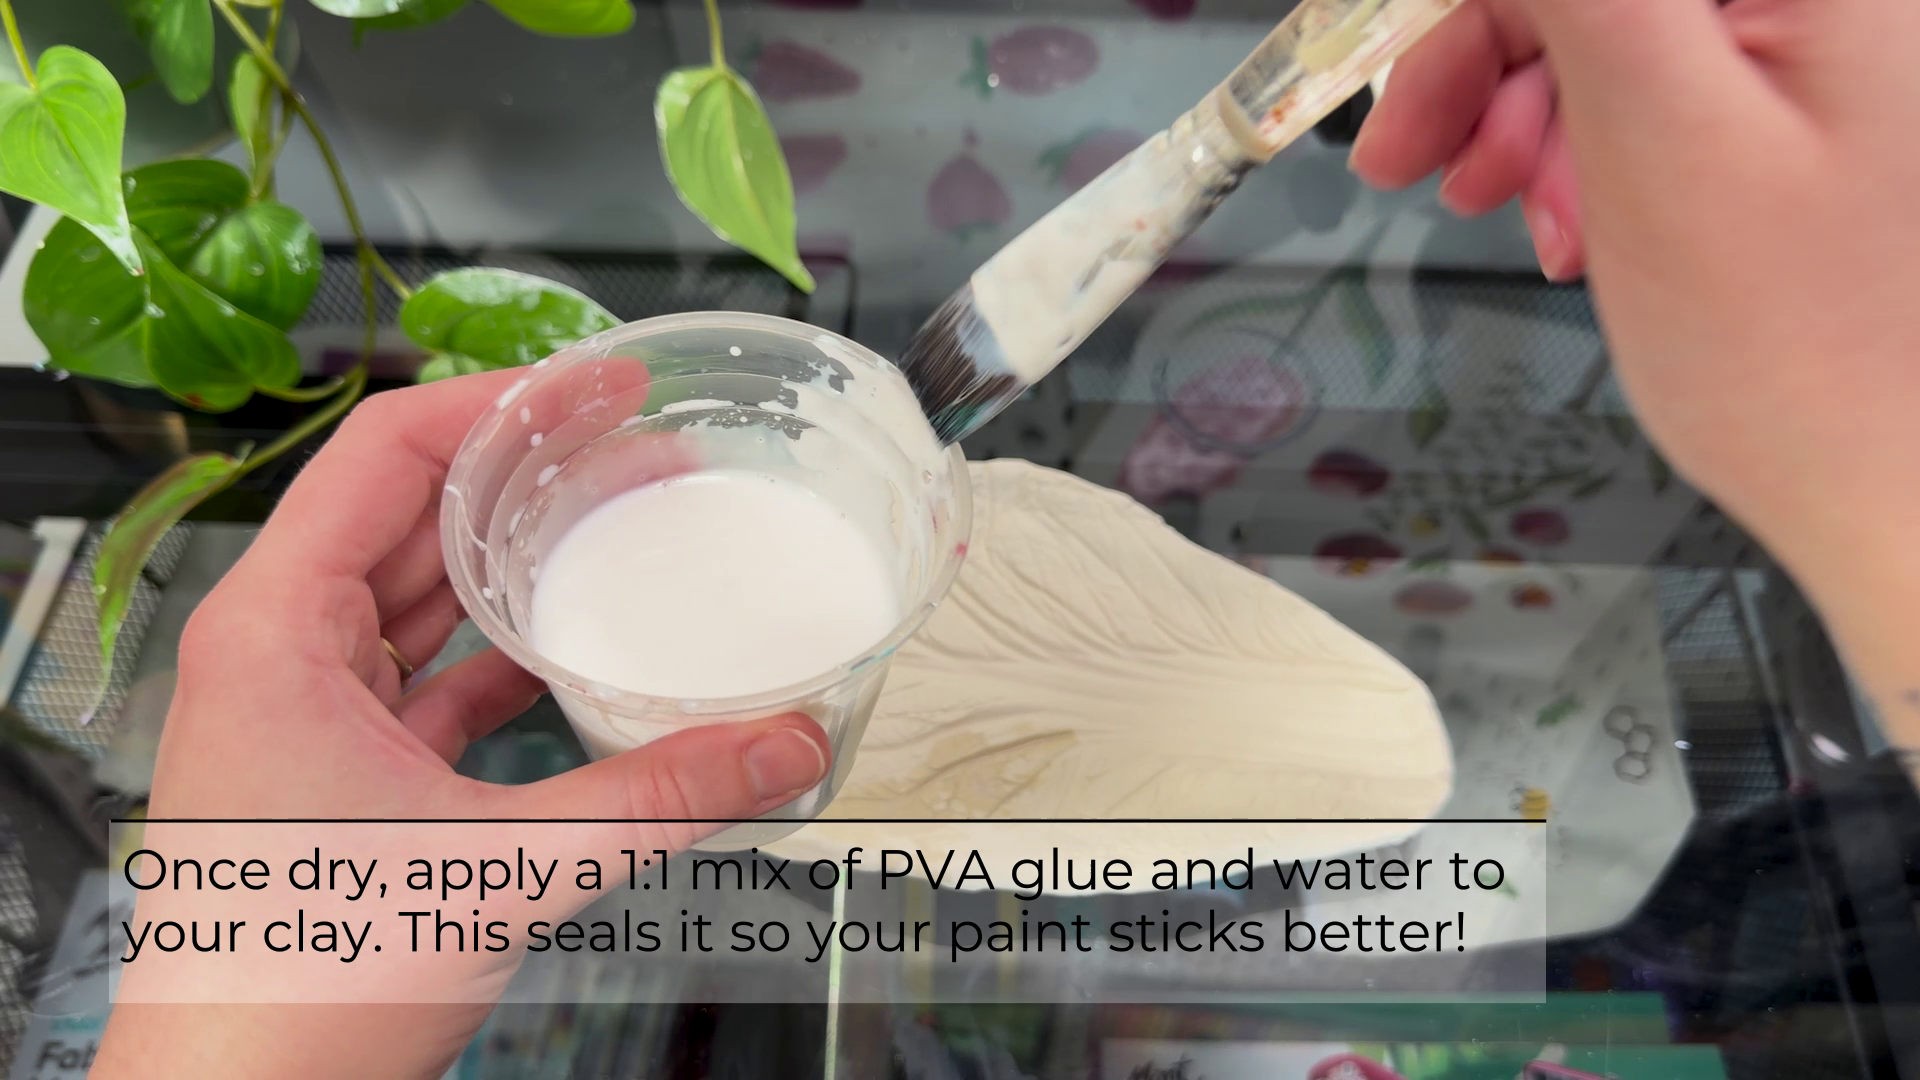
- Once the clay is completely dry, mix 1 part PVA glue and 1 part water in a cup
- With a taklon brush, apply the glue and water mix all over the tray
- This step will help paint adhere to the clay better so it won’t peel or chip
- Allow the glue coat to dry completely before painting
Painting the trinket tray
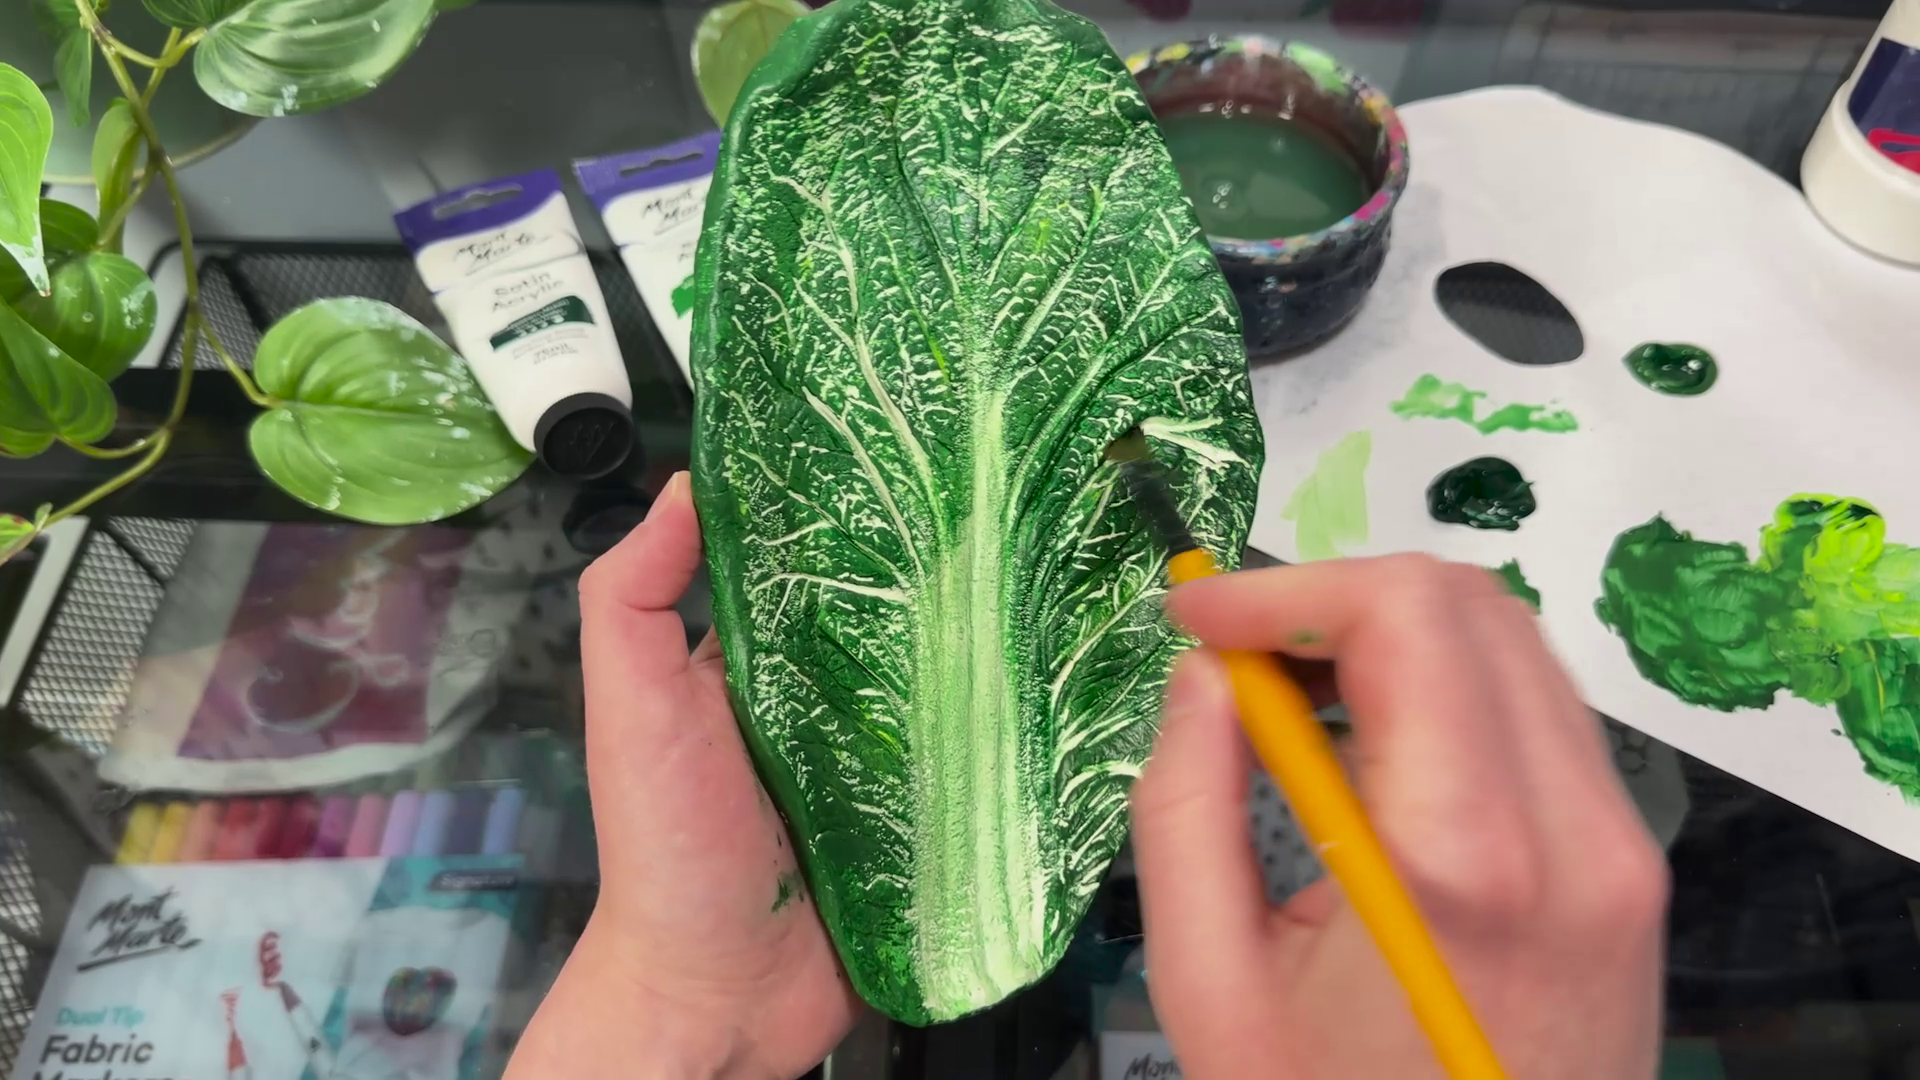
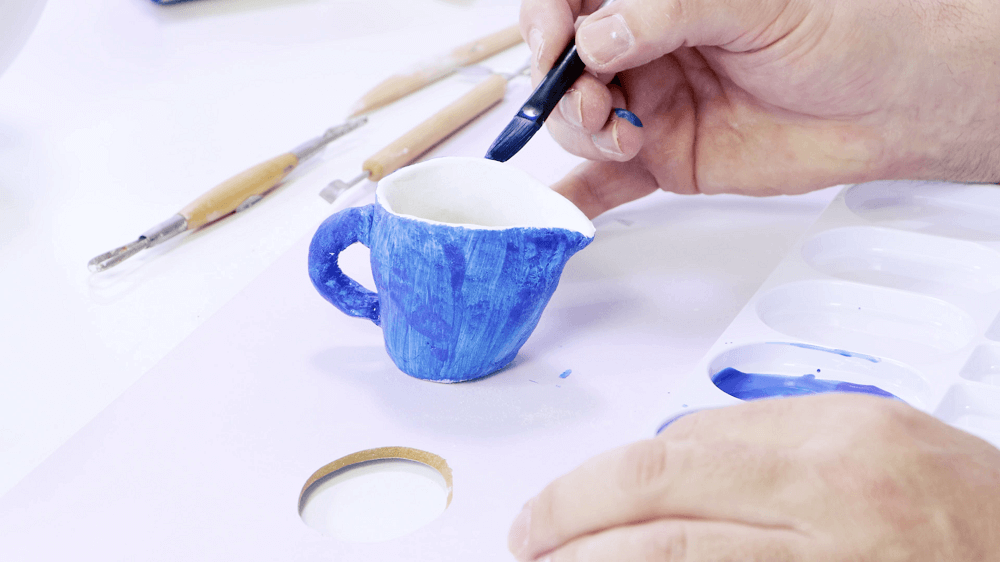
- Load your brush with an even coat of green paint and lightly drag it across the surface so the raised areas pick up the colour while the veins remain lighter
- Build up the green until you have an even, rich cabbage colour, avoiding overloading the brush so paint doesn’t seep into the veins
- Use a detail brush and the lighter colour to redefine any veins that need more contrast
- Add a darker green around the larger veins and along parts of the leaf edges
- Dapple the darker colour through other areas to create more variation
- Add a darker green around the larger veins and along parts of the leaf edges
- Add a lighter green to the curled outer edges where the leaf would naturally catch more light
- Continue working between mid and dark greens until the leaf has plenty of variation
- Go back over the veins with the lighter shade to make them stand out
- Allow the paint to dry completely for a couple of hours
Acrylic varnish for air dry clay
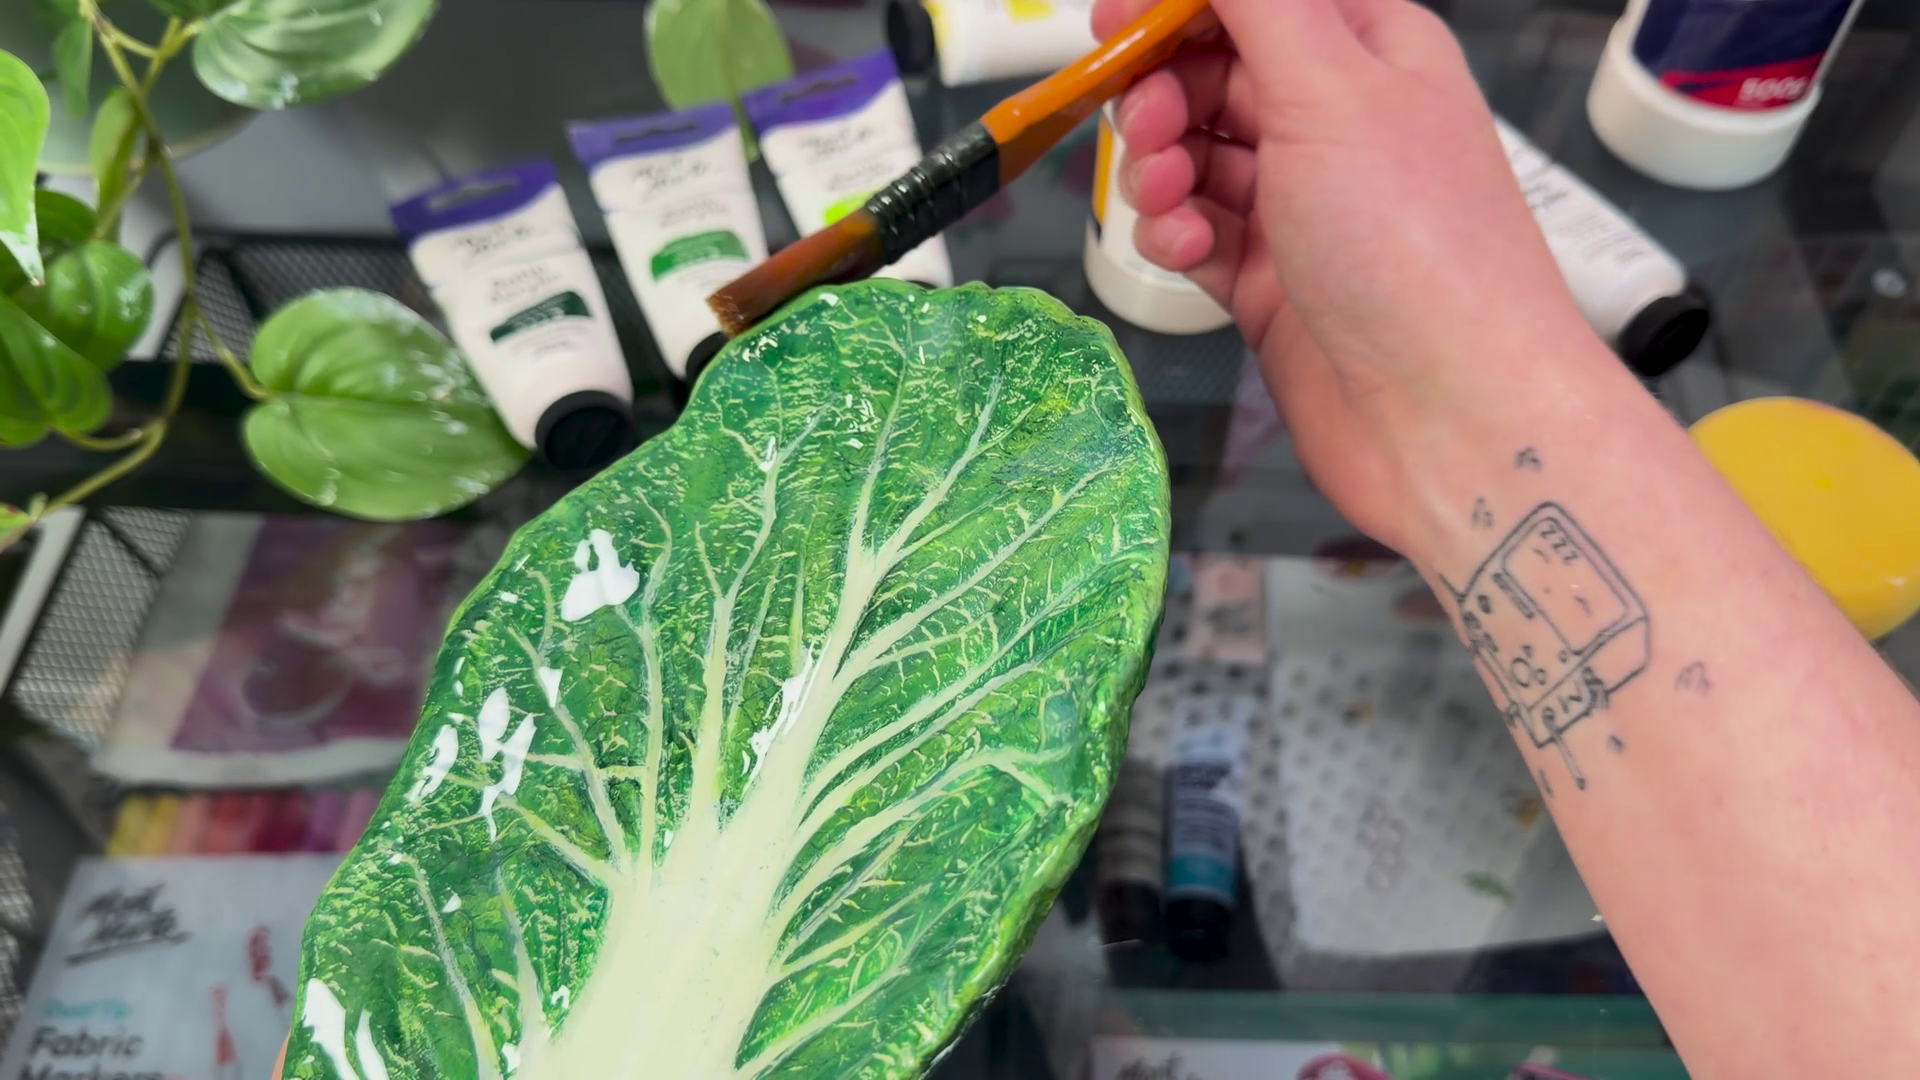
- Our Gloss Clay Varnish is an acrylic varnish for air dry clay. You can also use Gloss Acrylic Varnish
- Spread it generously all over the trinket dish
- Best way to do this is to pour some varnish directly on the tray and then move it around with a soft taklon brush
- Allow it to dry completely and apply a second coat if needed
-The varnish will dry to a super glossy finish, making the tray look like it was coated in resin or glazed in a kiln
-Once the varnish is dry, the tray is ready to use
- Air Hardening Modelling Clay Premium White 500g
- Clay tools
- Satin Acrylic Premium 75ml Hookers Green or similar
- Satin Acrylic Premium 75ml Medium Green or similar
- Satin Acrylic Premium 75ml Yellow Green or similar
- Satin Acrylic Premium 75ml Titanium White or similar
- Gloss Acrylic Varnish Signature 250ml or Gloss Clay Varnish Signature 120ml
- PVA Craft Glue Signature or any other PVA glue designed for crafting
- Brushes
- Palette
- Tweezers can be helpful
You may also like
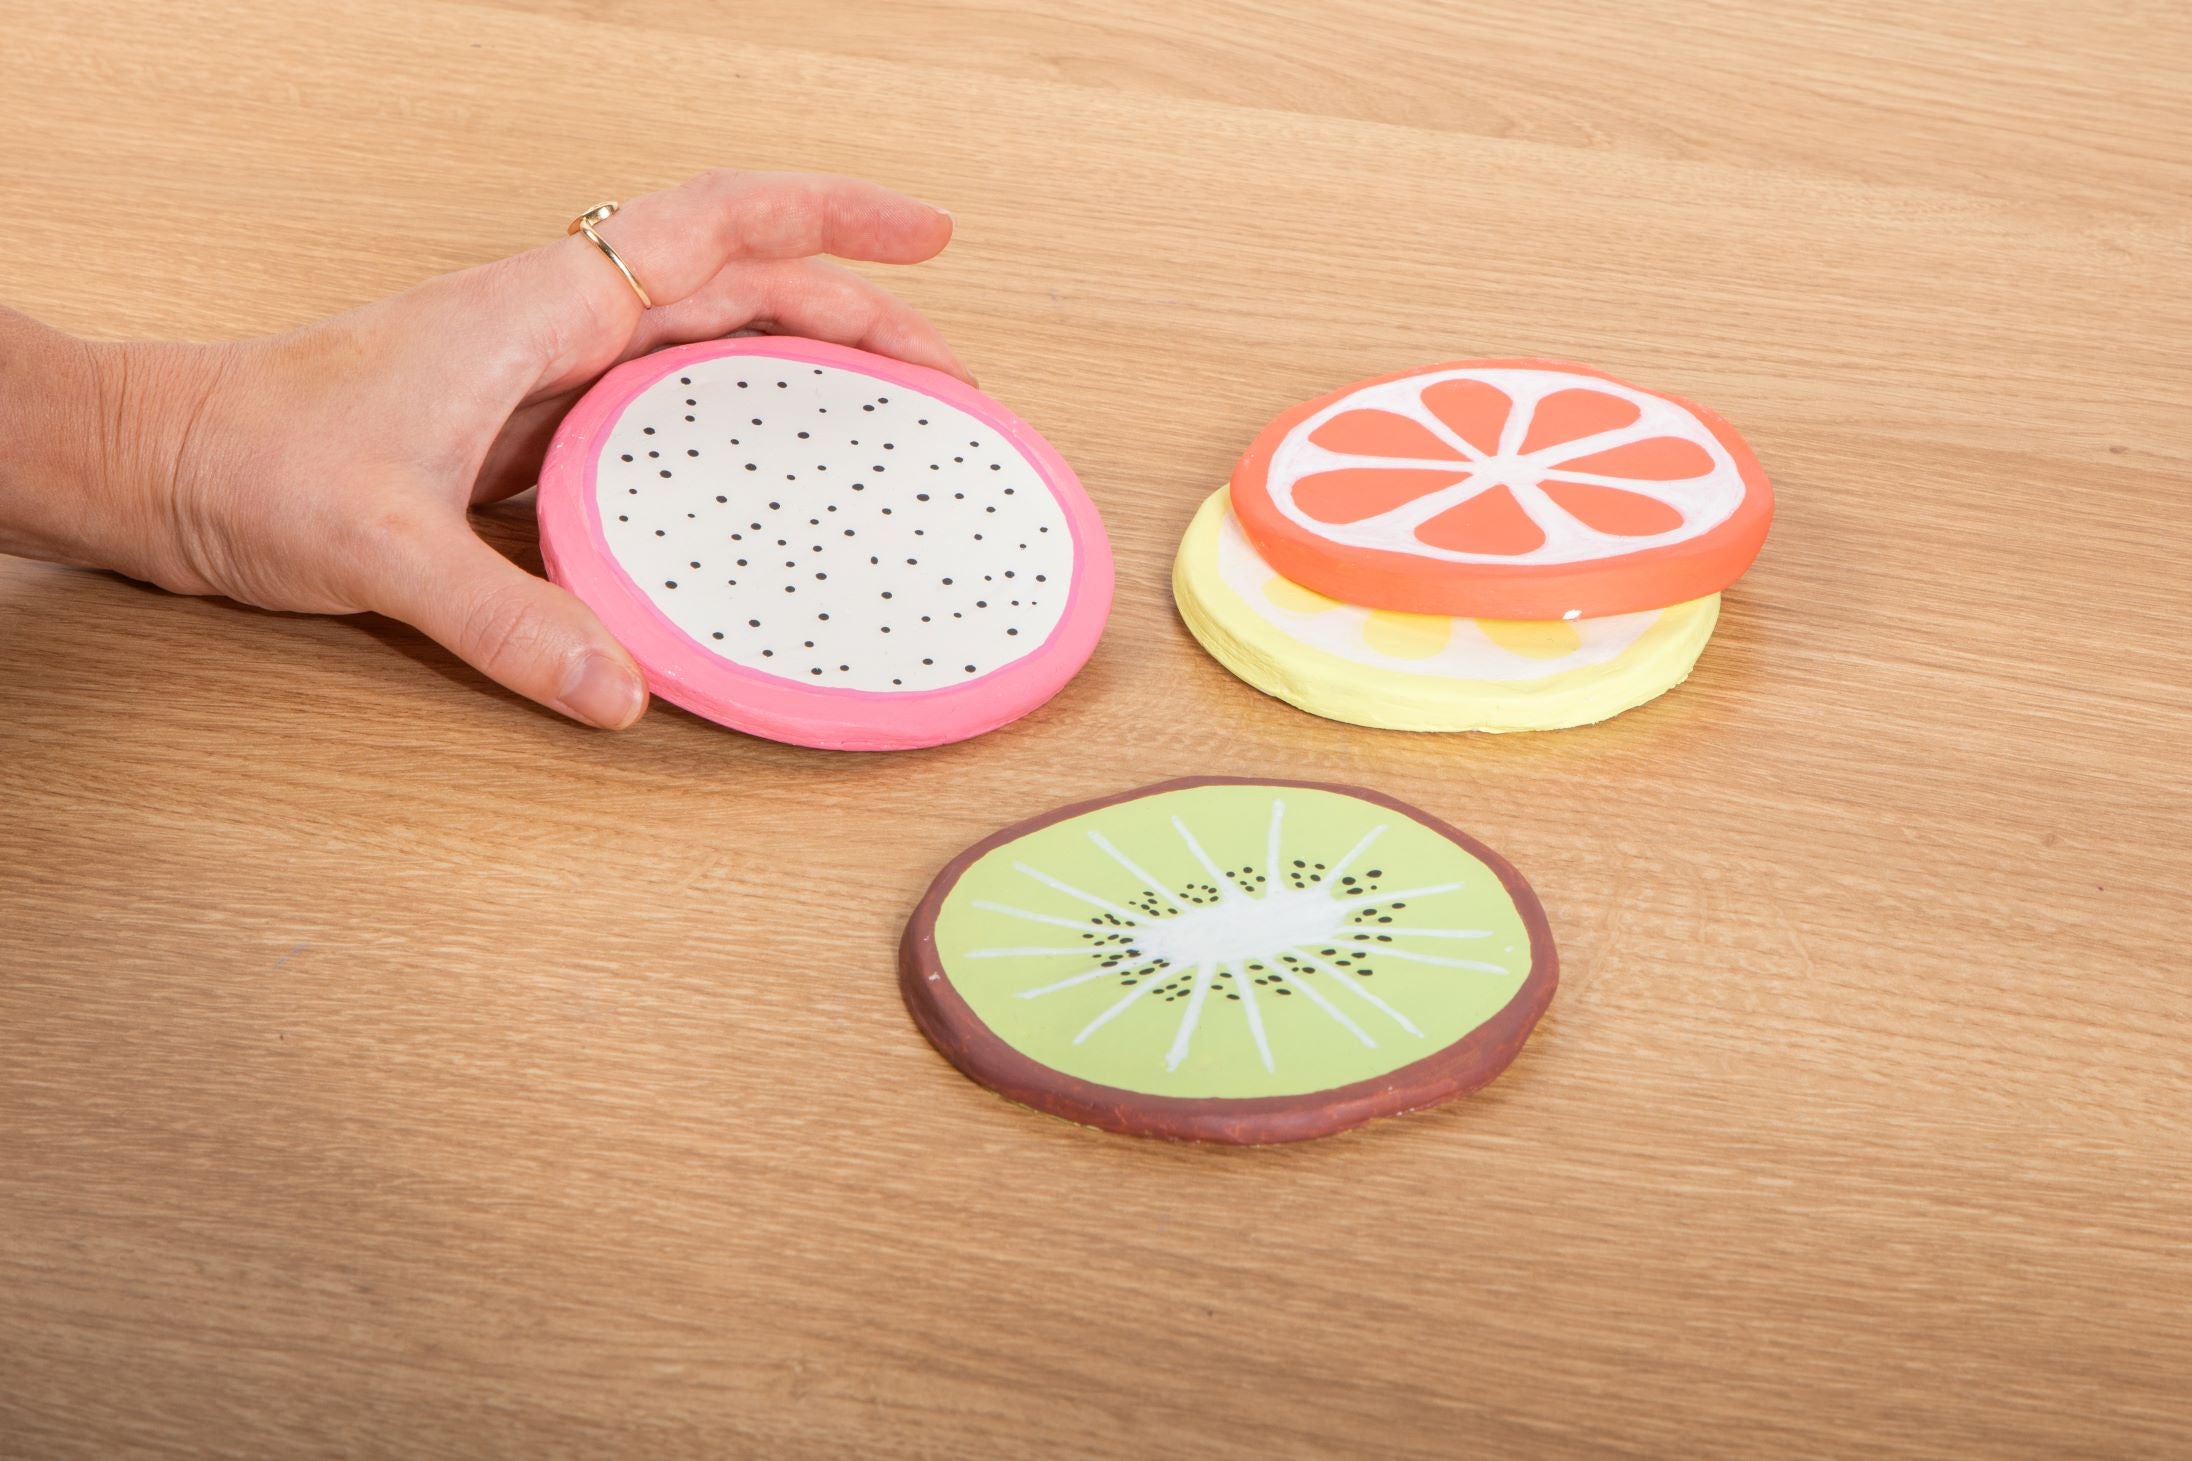
Air dry clay coasters

5 air dry clay candle holders