


Create a coloured clay trinket dish with air dry clay
Follow along with us as we show you how to create a coloured clay trinket dish using air dry clay. Brighten your shelves, gift yours to someone special or use them to sort your bit and bobs with these three fun clay creations.
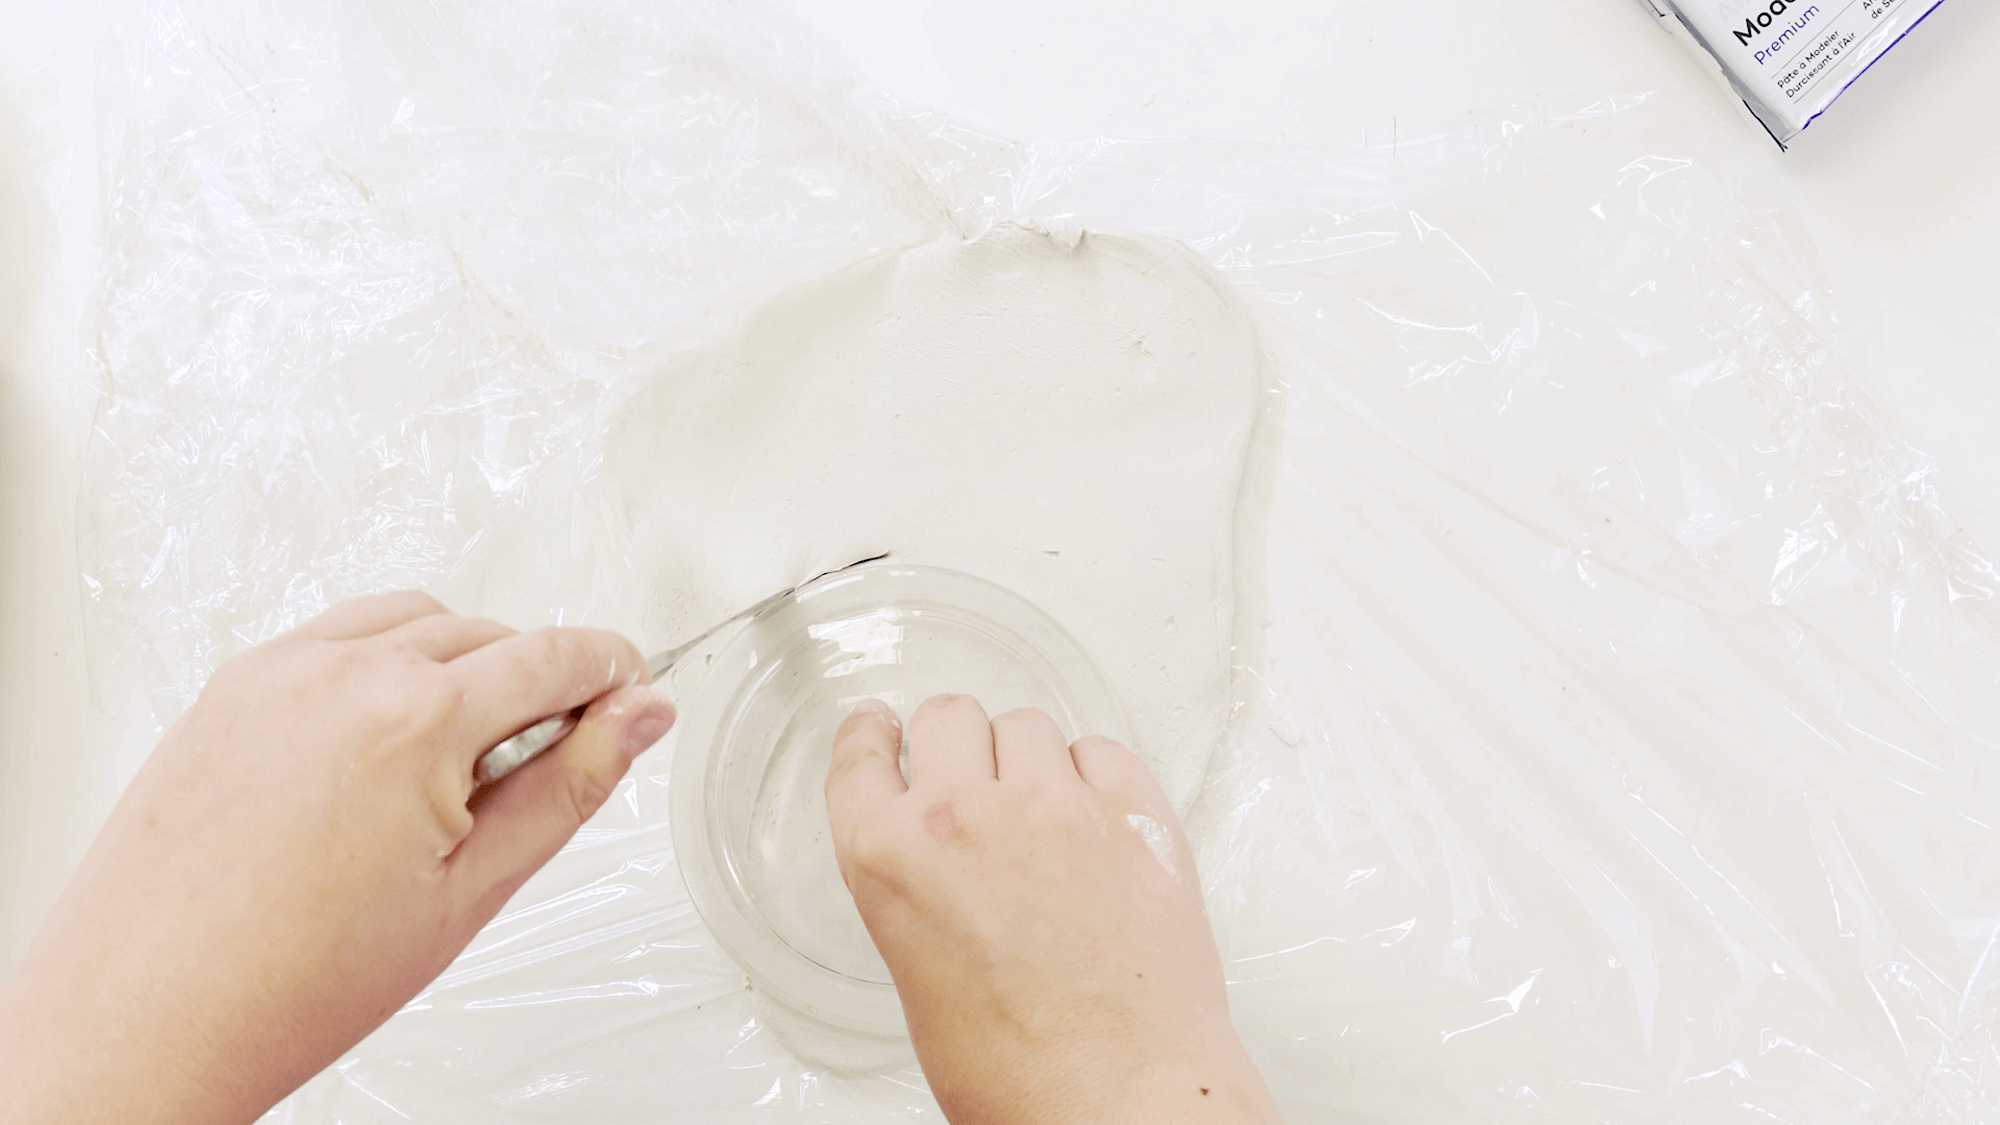
Lay cling film over the air dry clay, then using a rolling pin, roll over the clay to create a flat slab.

Keep rolling until the slab is flat. Unwrap the cling film. Grab a circular dish and cut around the clay with a knife to form a circle.
Remove the dish and pull the clay off slightly. Mould the edges to form an edge.
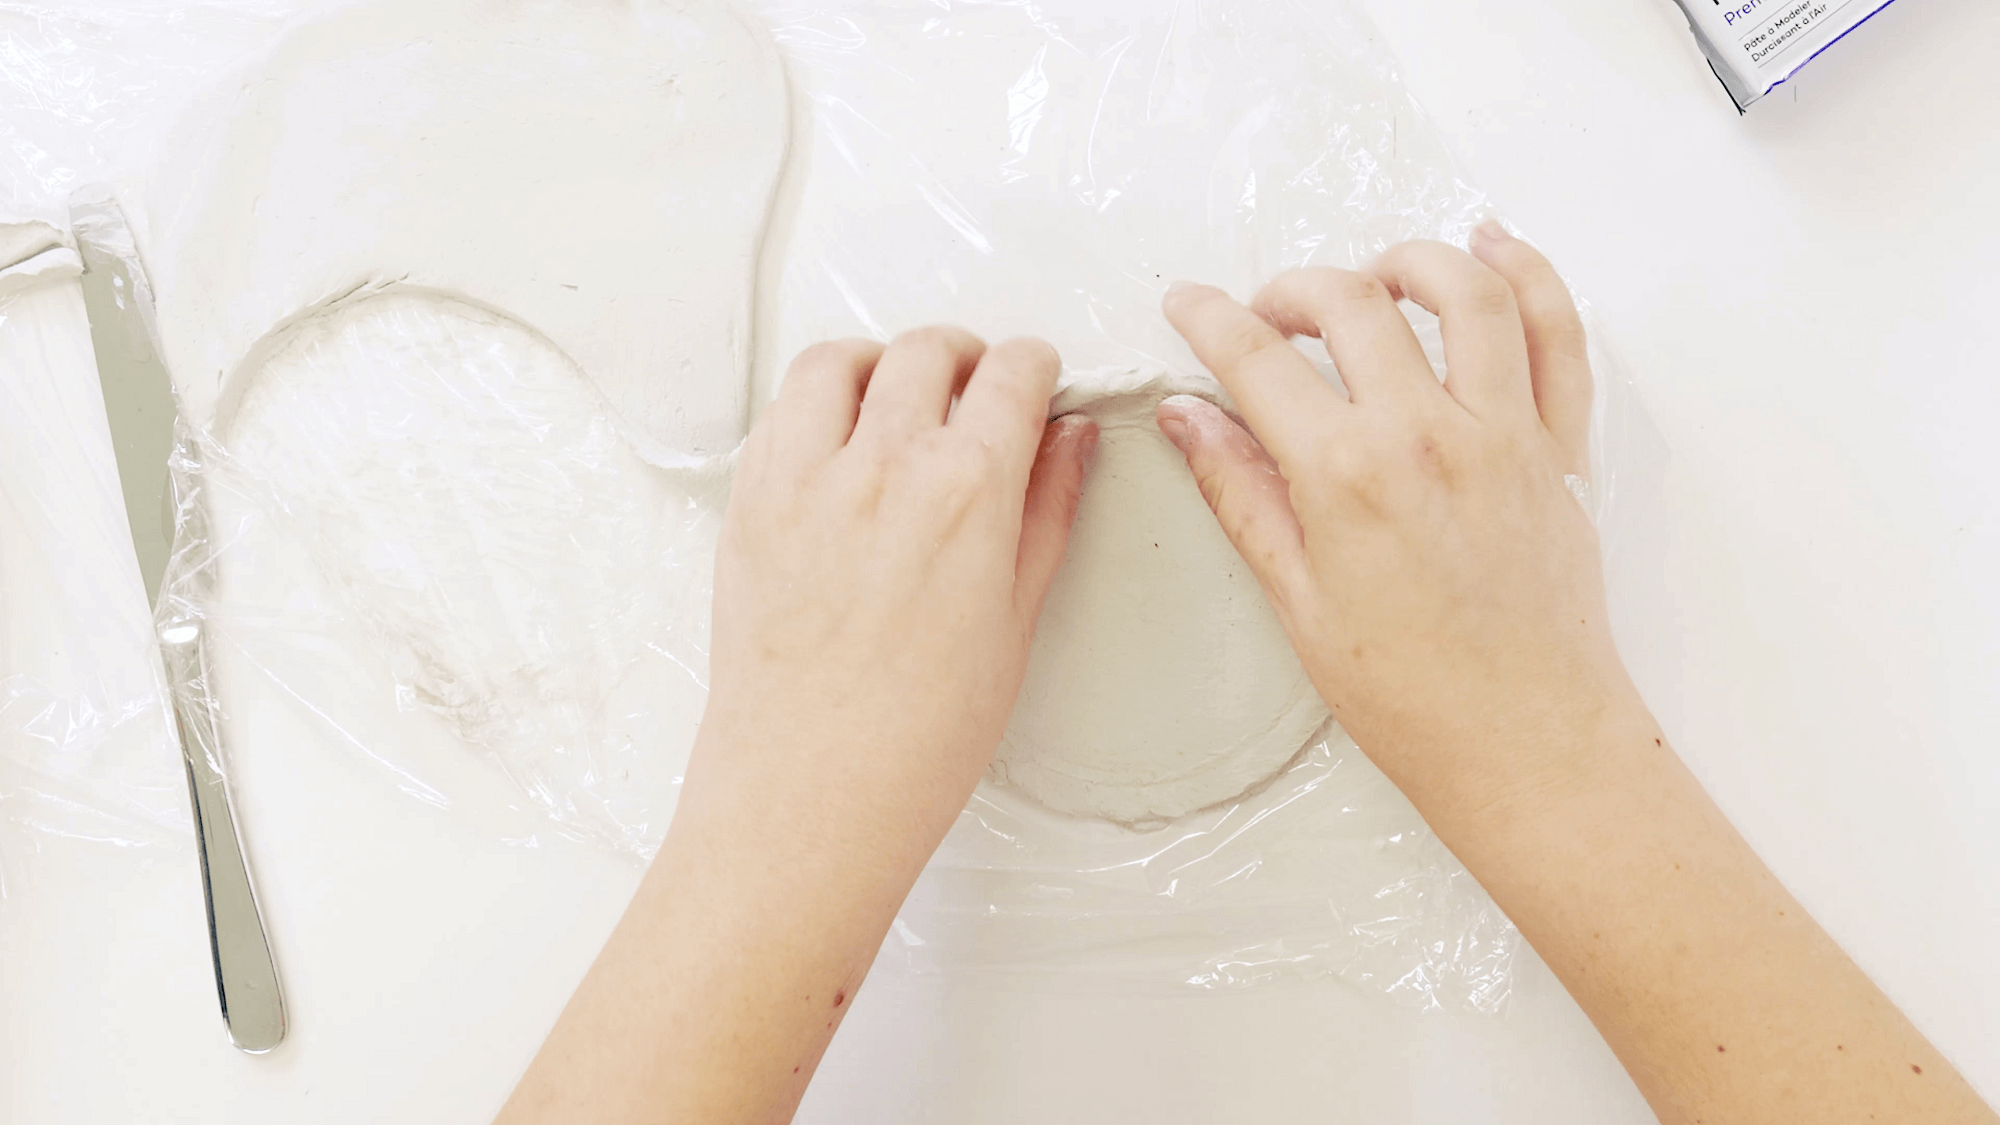
Continue to pinch each edge around, rolling the clay slightly to form a stronger edge. Keep pinching the clay until you’re happy with the edge. Make sure each edge is even, then you're ready to paint.

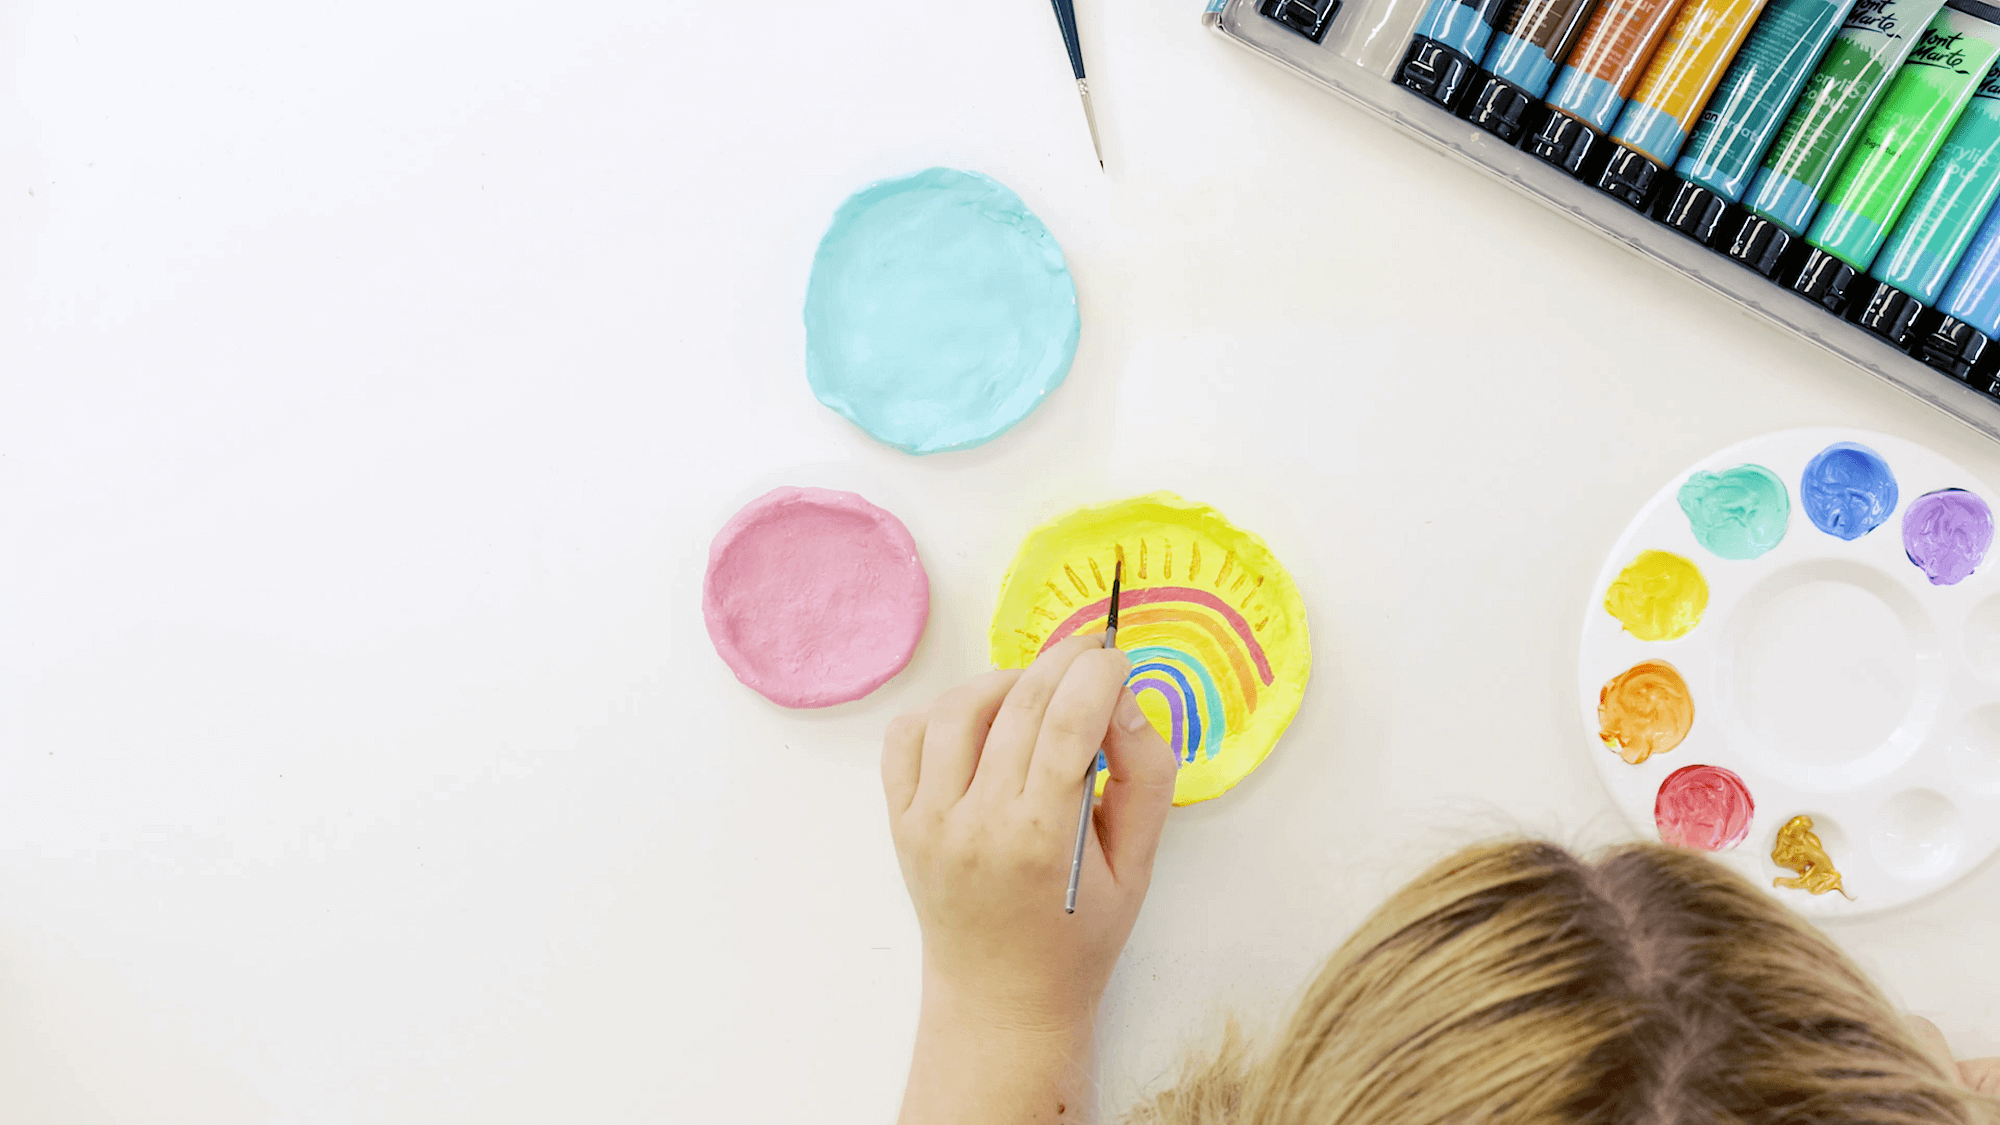
Once the clay is dry, you can start painting yellow on the dish. Spread the paint out and onto the edges. Spread the paint to the bottom too.

Squeeze red and white, orange and white, yellow and white and turquoise and white, violet and white, indigo and white together in a palette. Mix the colours together.

Using a thin brush, begin painting the rainbow using an arch shape of each colour. Add extra paint to strengthen the colour if needed.

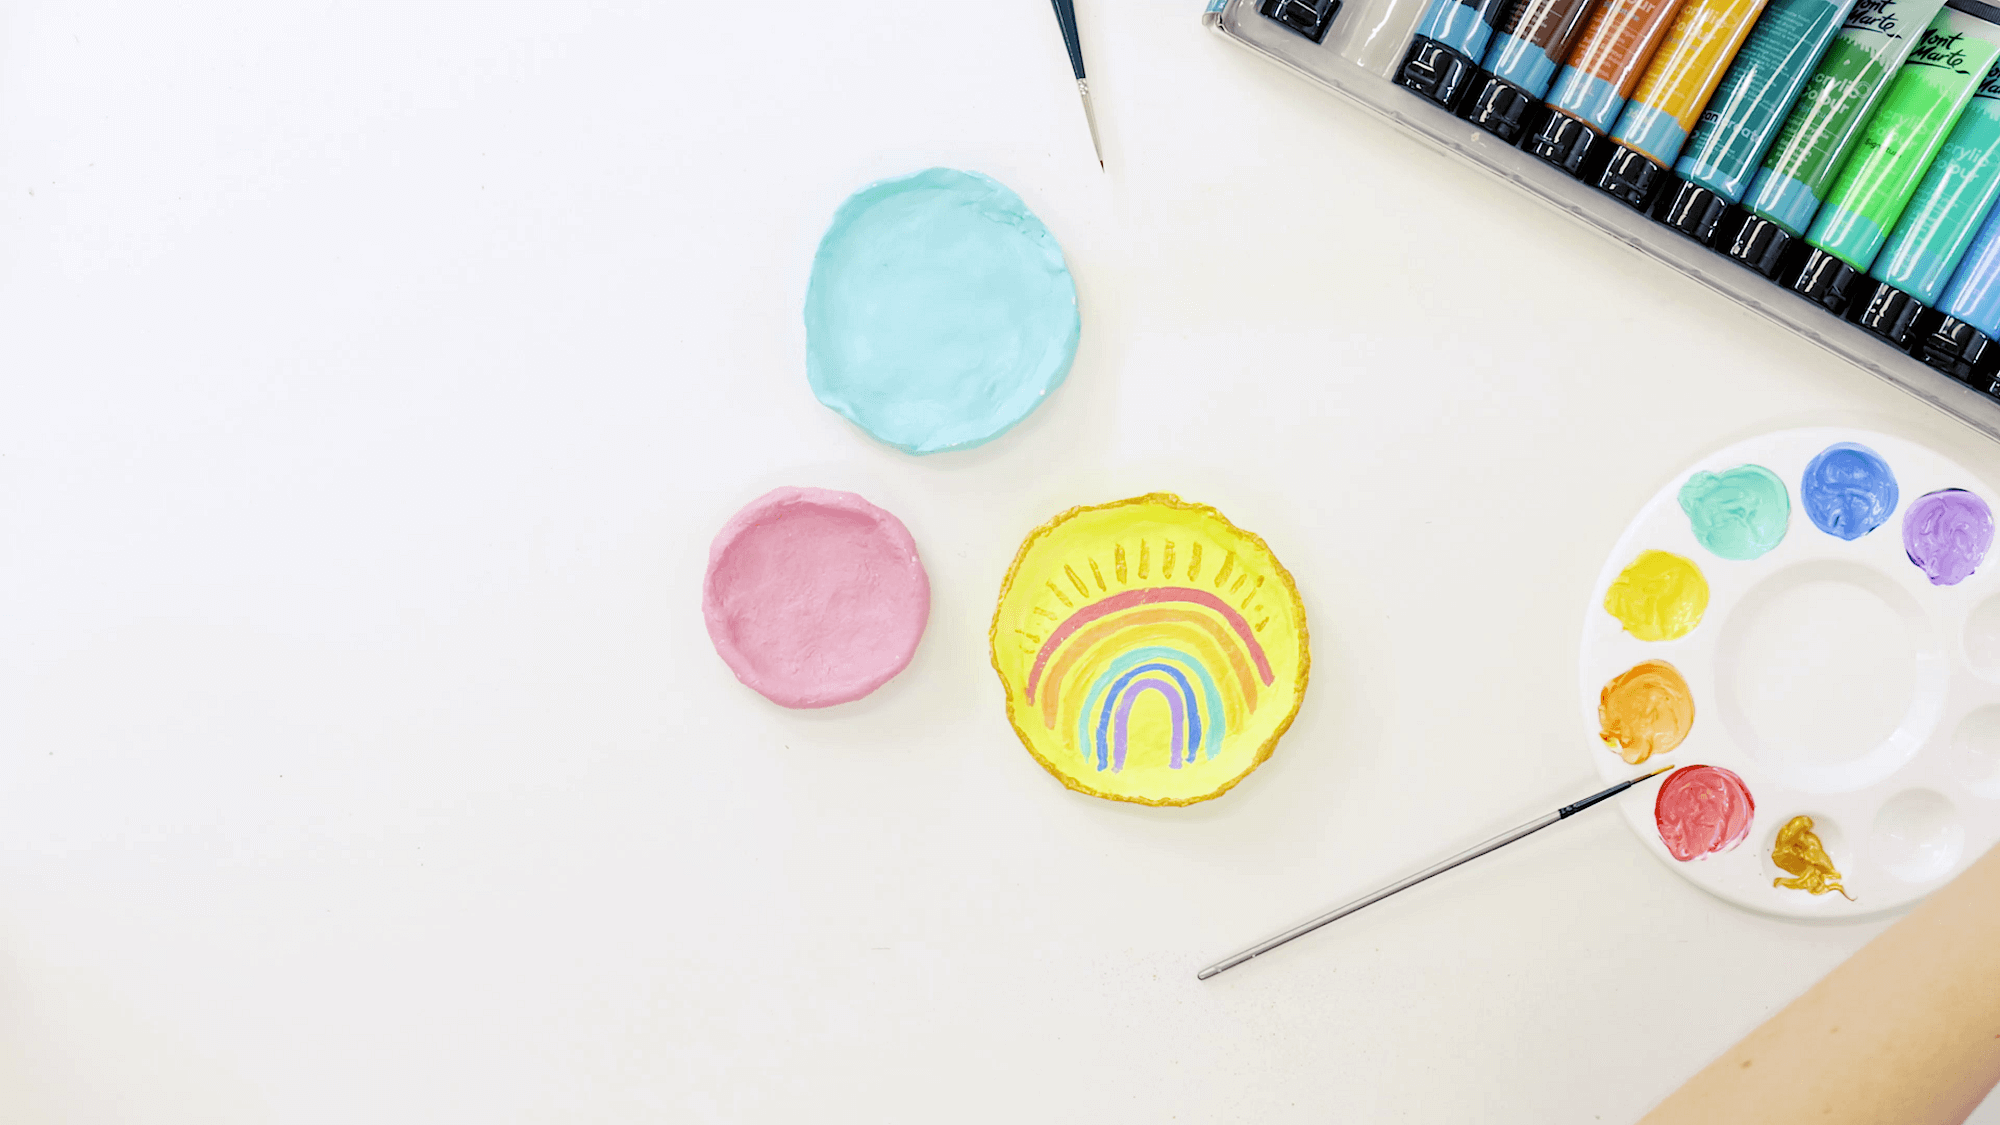
Add a touch of gold paint to add sun rays coming out from the rainbow.
Using a flat brush, add gold to the edge of the dish. Leave the paint to dry, then you're all done!
Once the clay is dry, mix white and red paint to create a pink. Spread the paint out and onto the edges. Spread the paint to the bottom too.
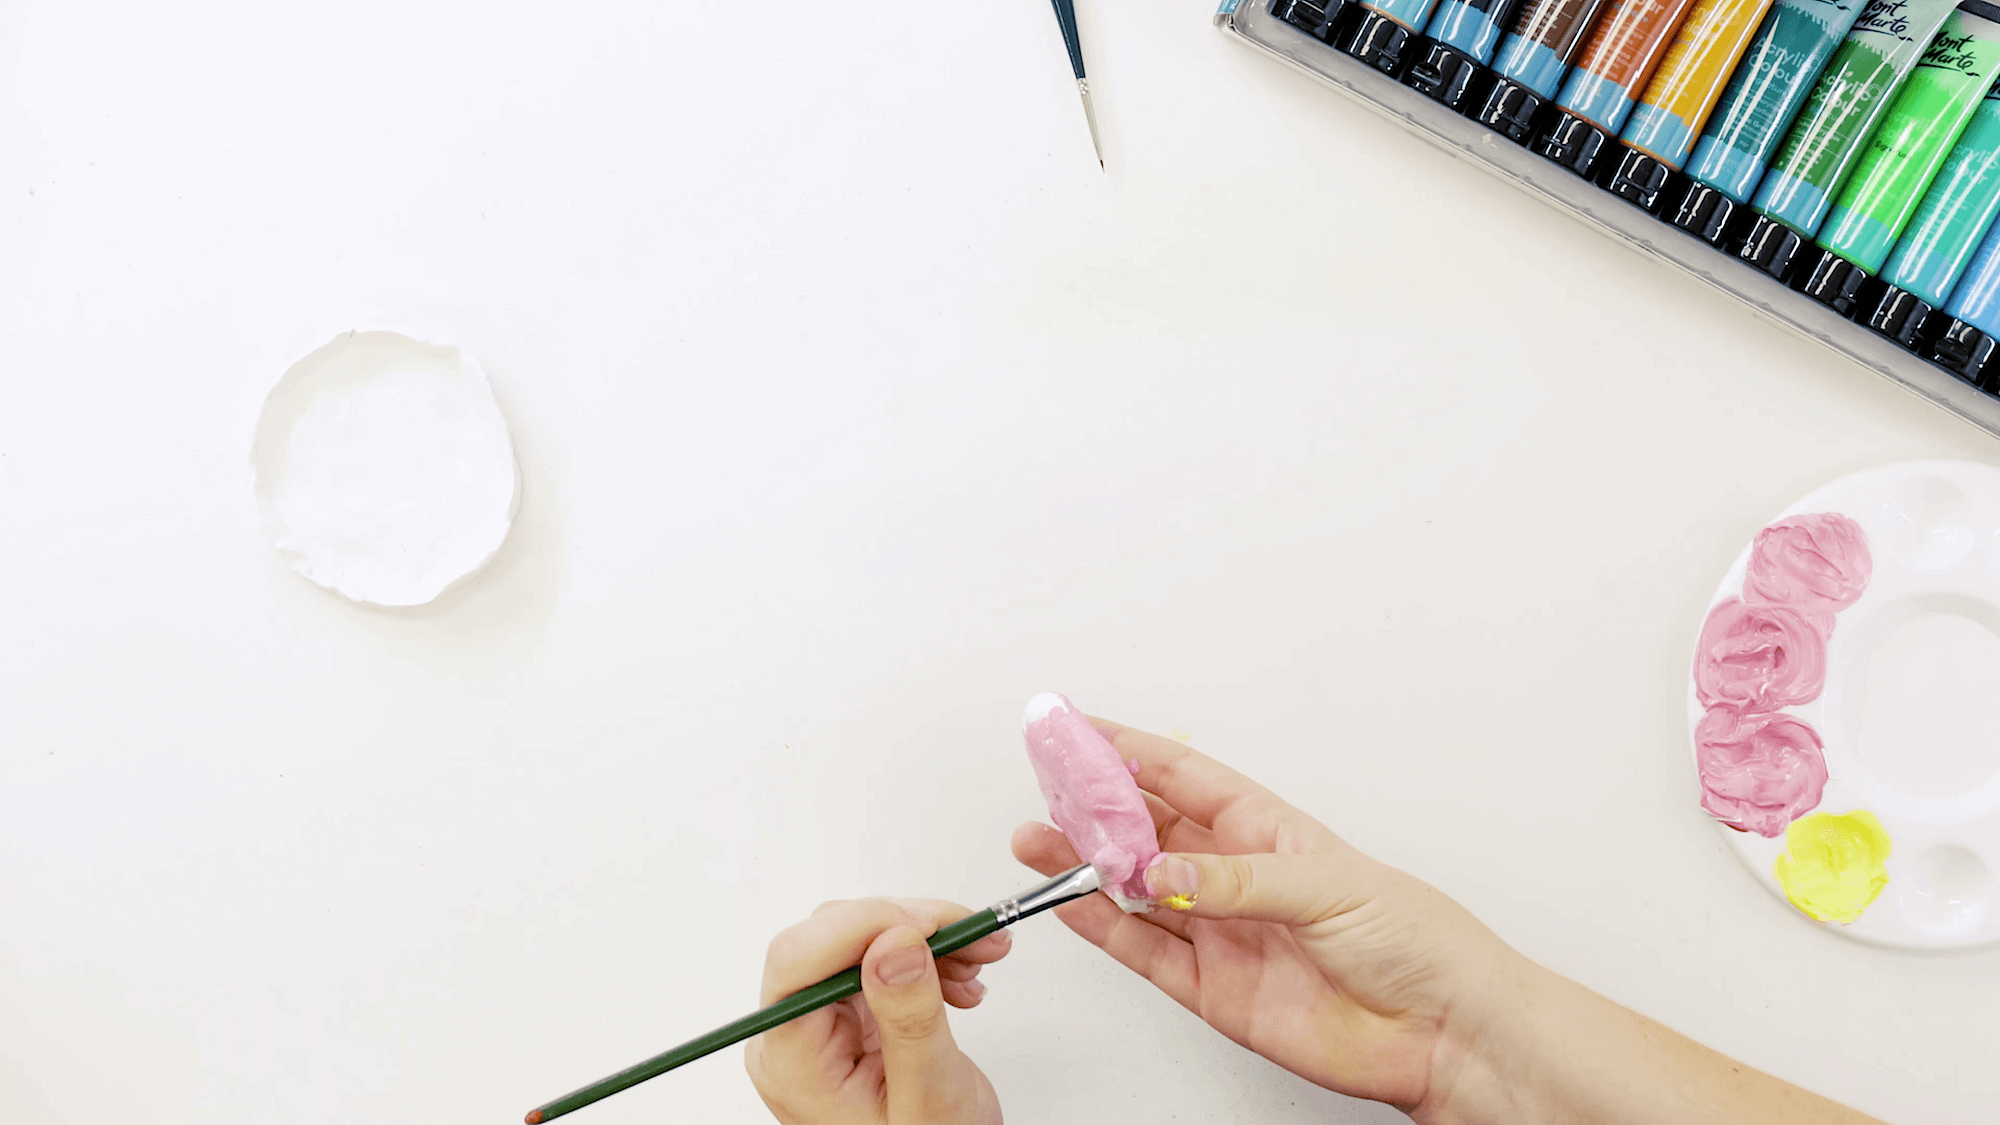
Add white flower shapes and fill it in with paint. Fill the shape with colour then strengthen the white if needed. Add more flower shapes.
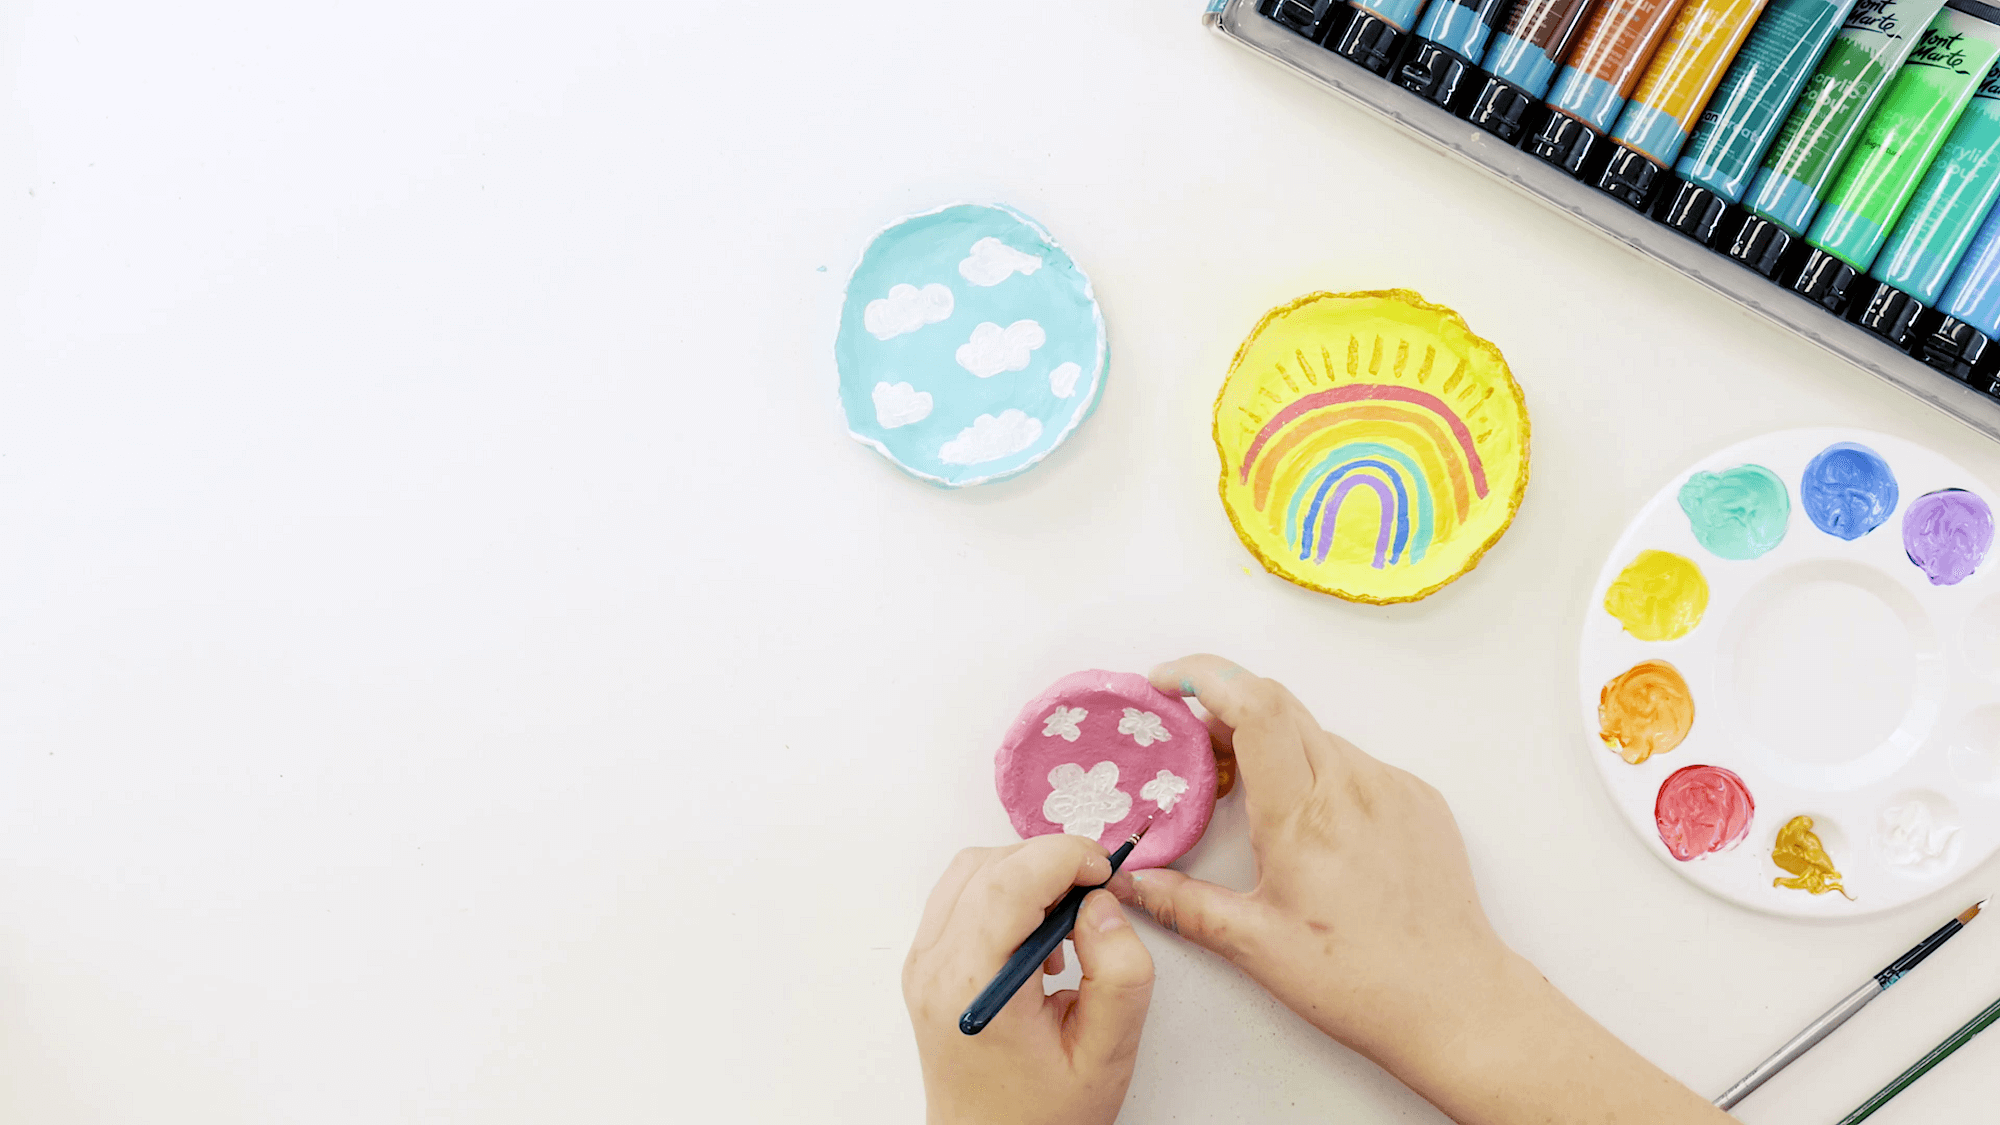
Dip into the gold paint to add a flower bud to each flower. Add the final details and add a gold trim around the edges.
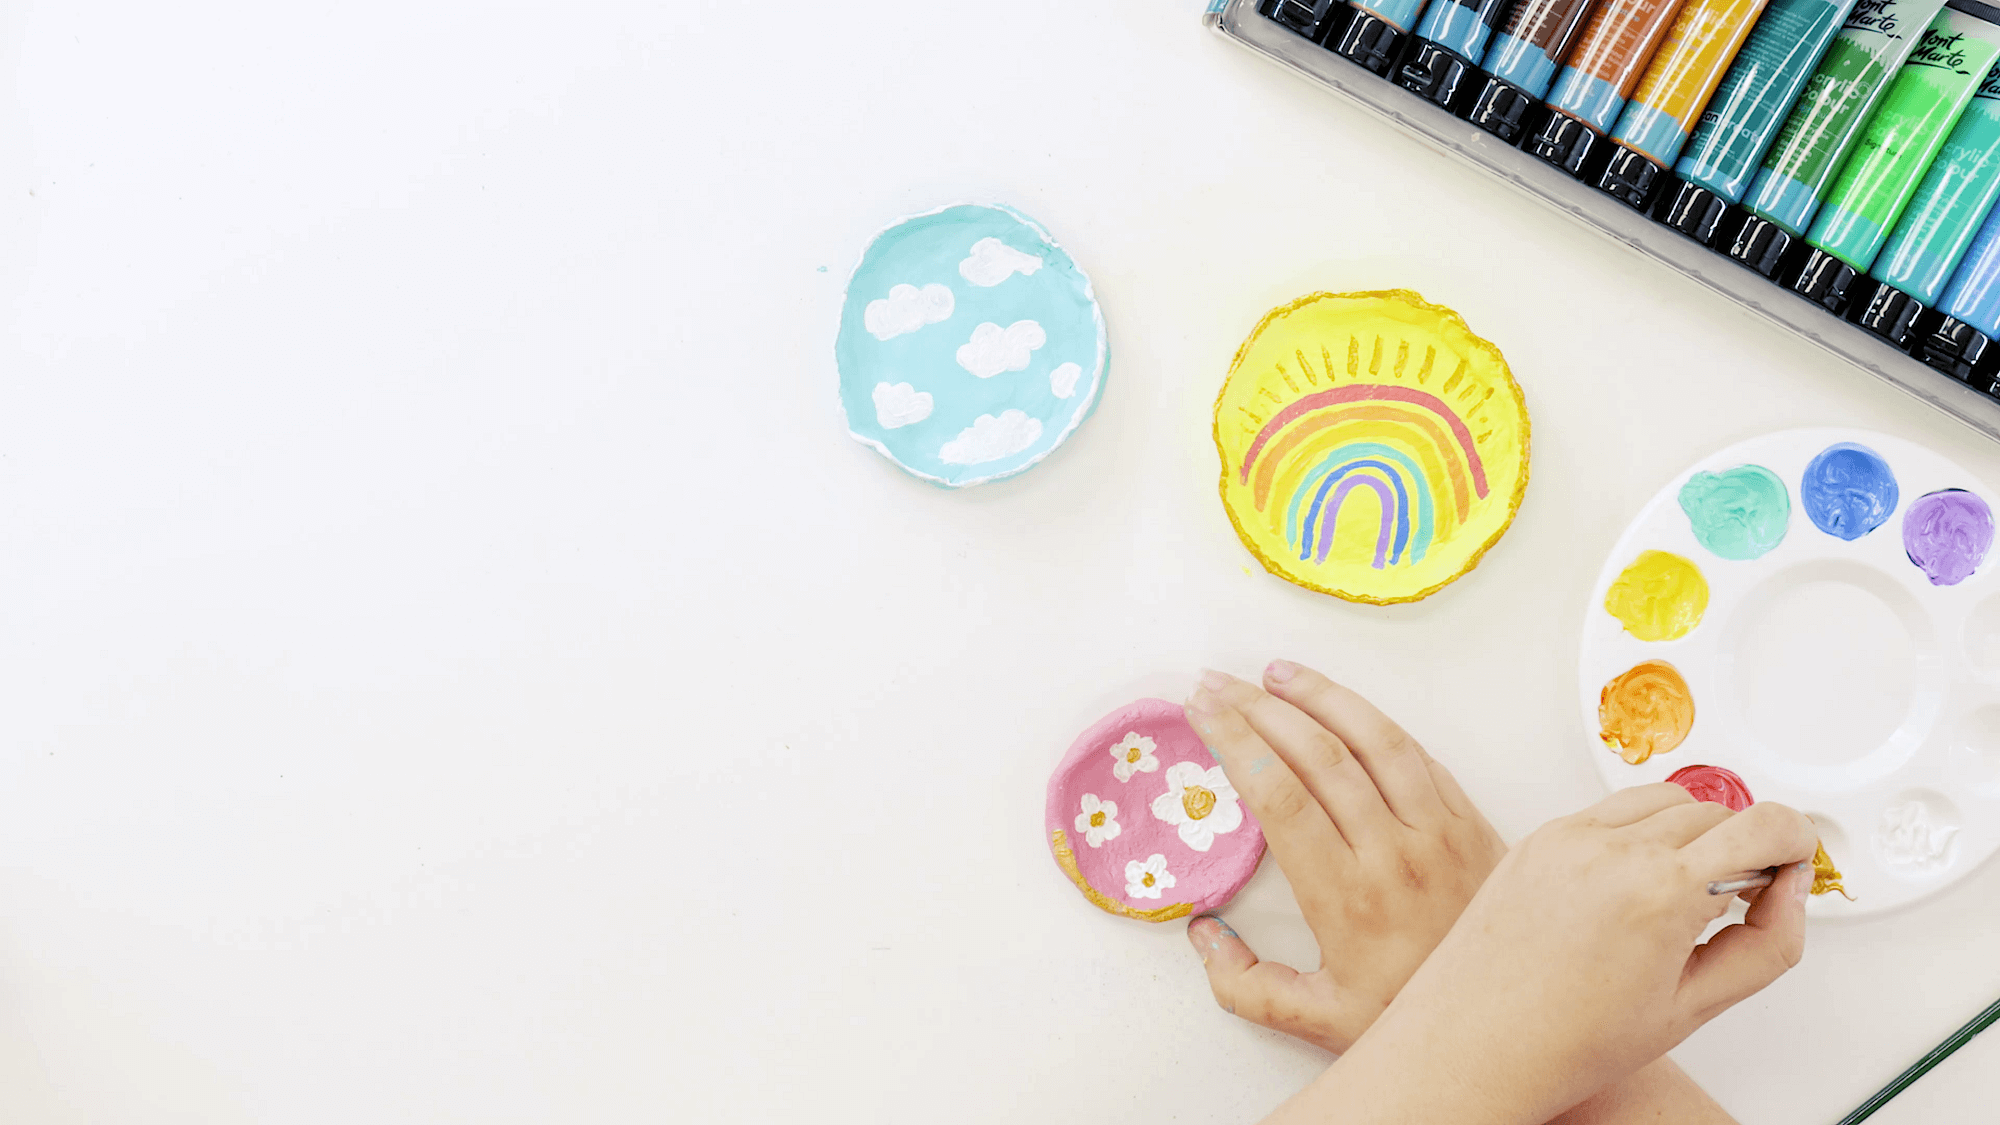
Leave to dry, then you're all done.

Once the clay is dry, mix turquoise, white and blue to create a soft, pastel blue. Add this colour to the tray, spreading outwards. Spread the paint to the bottom too.

Using a thin brush detailer brush, add a cloud shape to the dish using white paint. Add more cloud shapes to the dish. Fill the cloud shapes in using white paint. Add white detail around the edges. Strengthen any colours and add any final details.

Once the paint is dry, you're all done!

Material List
- Acrylic Colour Paint Set Signature 24pc x 36ml (1.2 US fl.oz)
- Air Hardening Modelling Clay Premium - White 500gms
Shop Materials List
You may also like

Peacock drawing in watersoluble oil pastels


How to use ceramic paint on a thrifted plate


