


How to decoupage a flower pot
1. Clean the pot
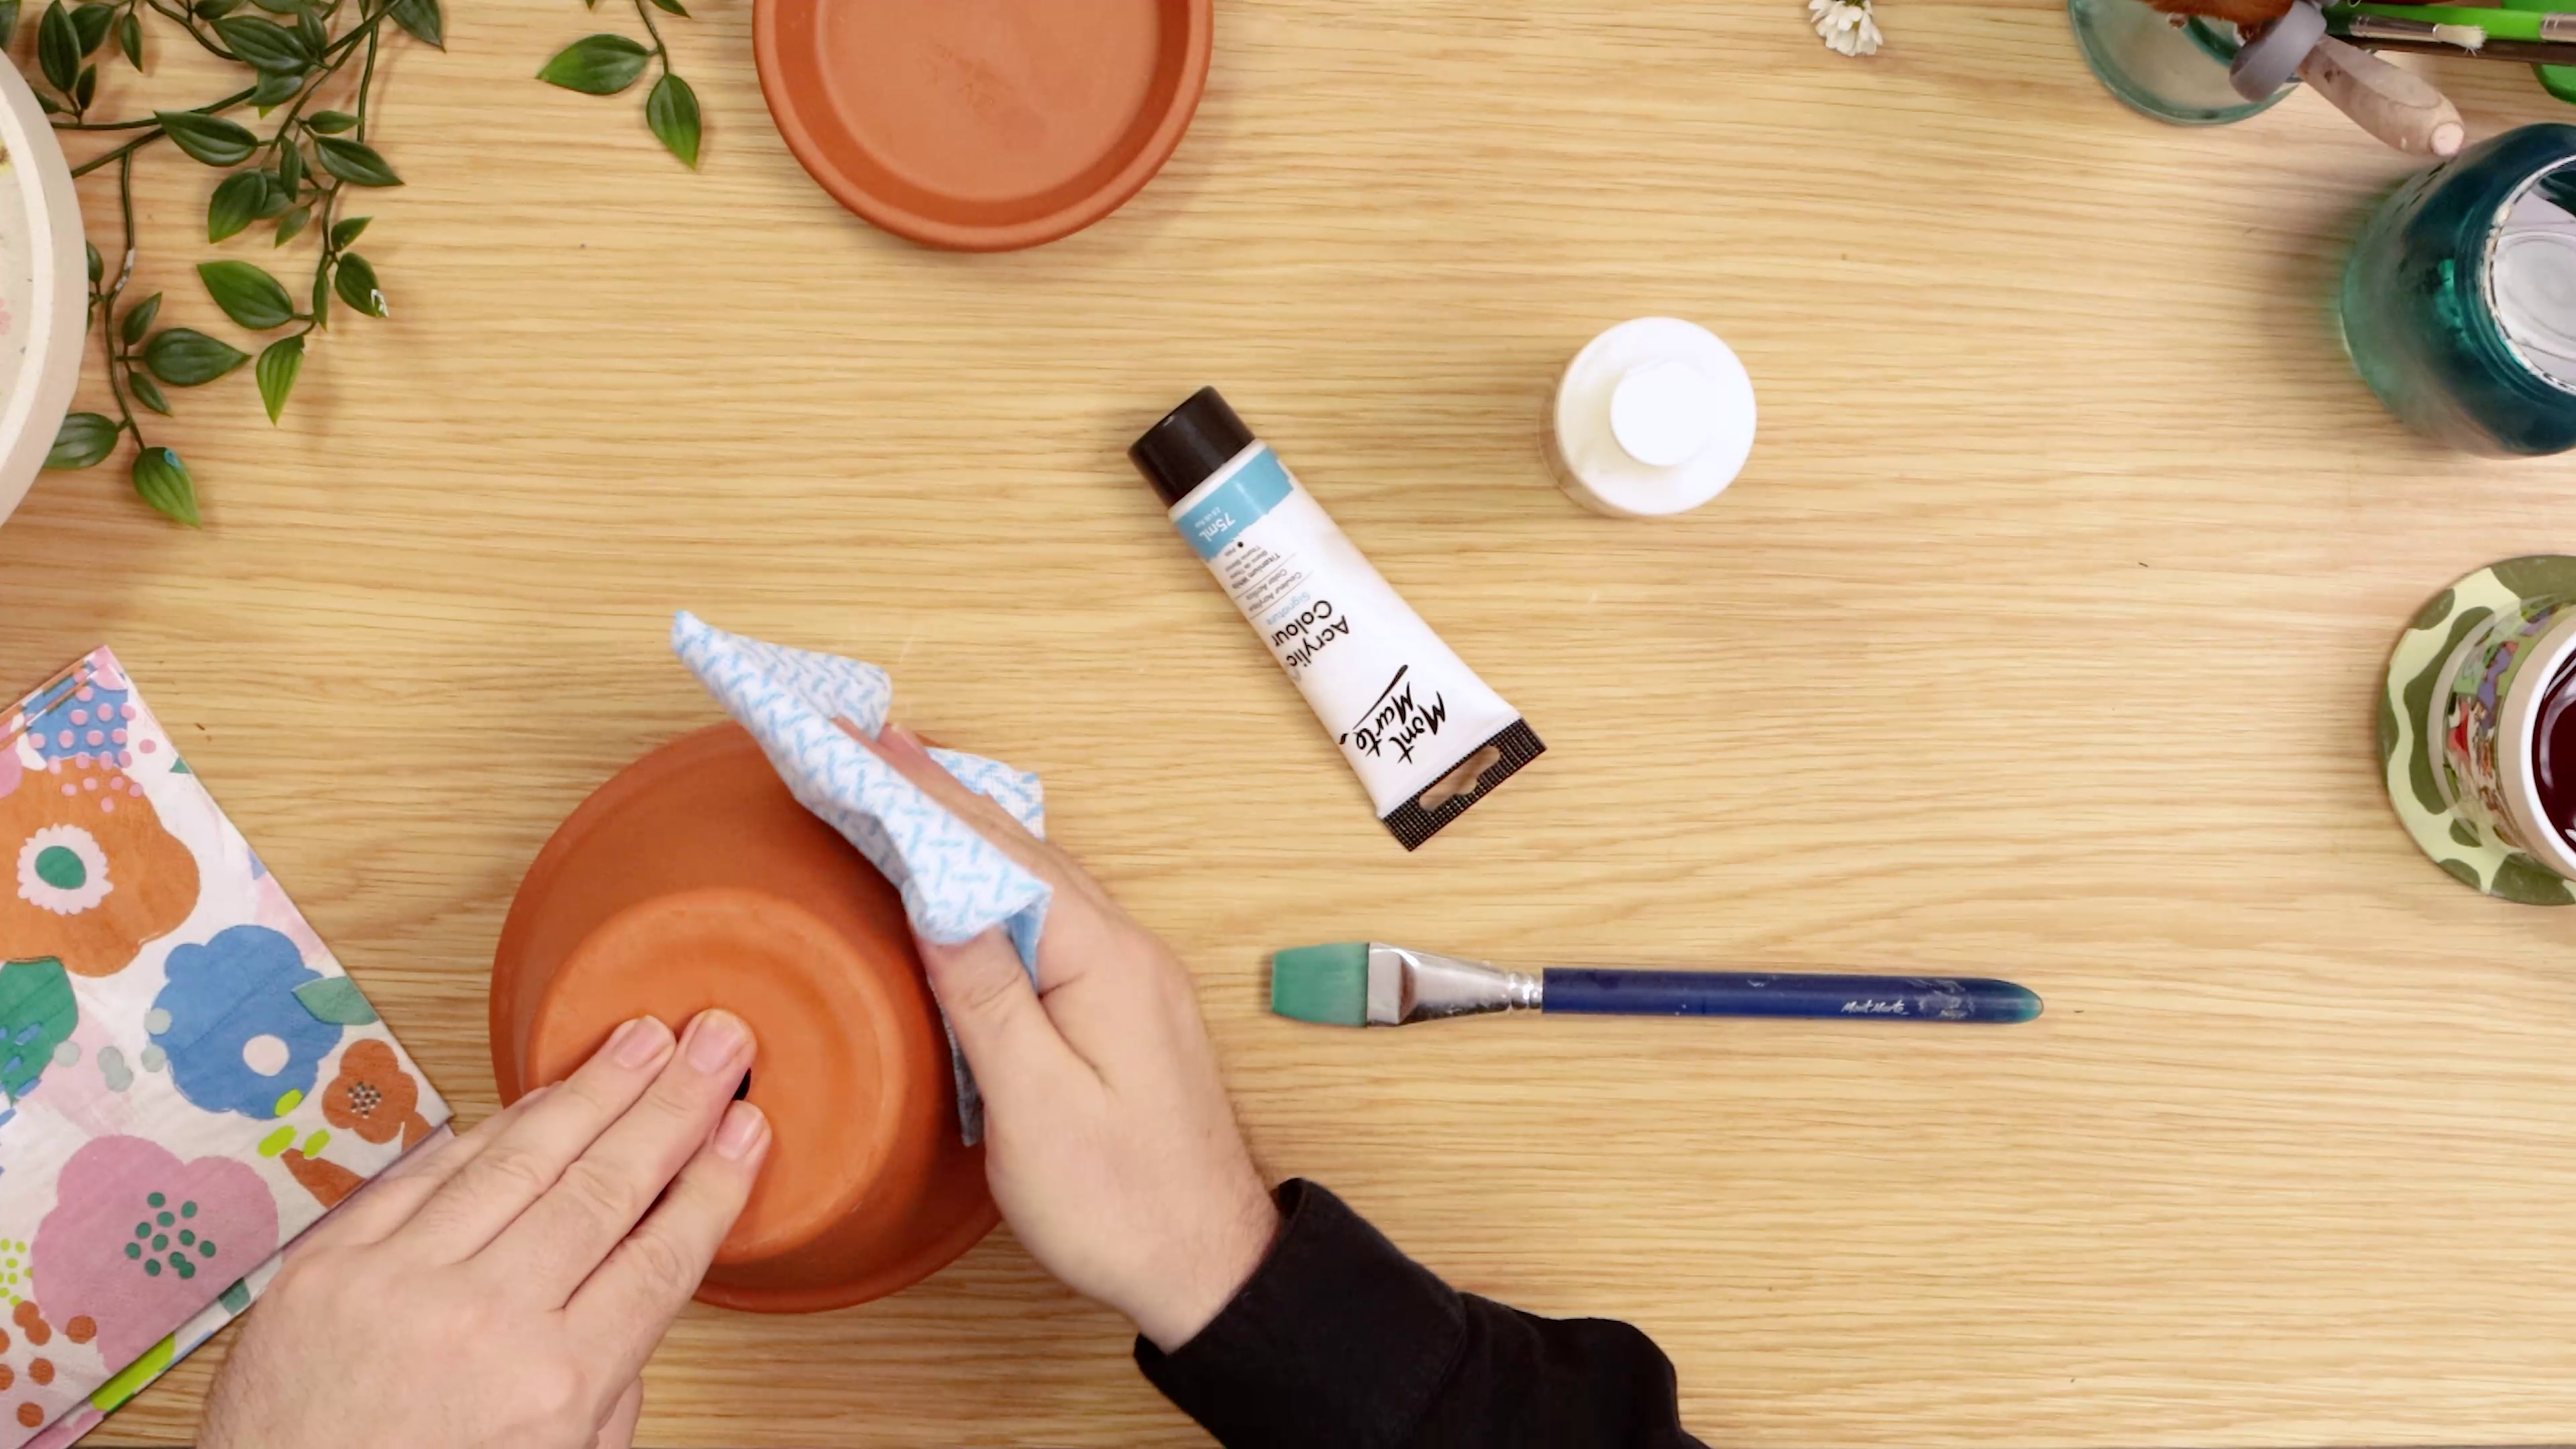
- Wipe away any dust or dirt so the paint sticks properly
2. White background painting
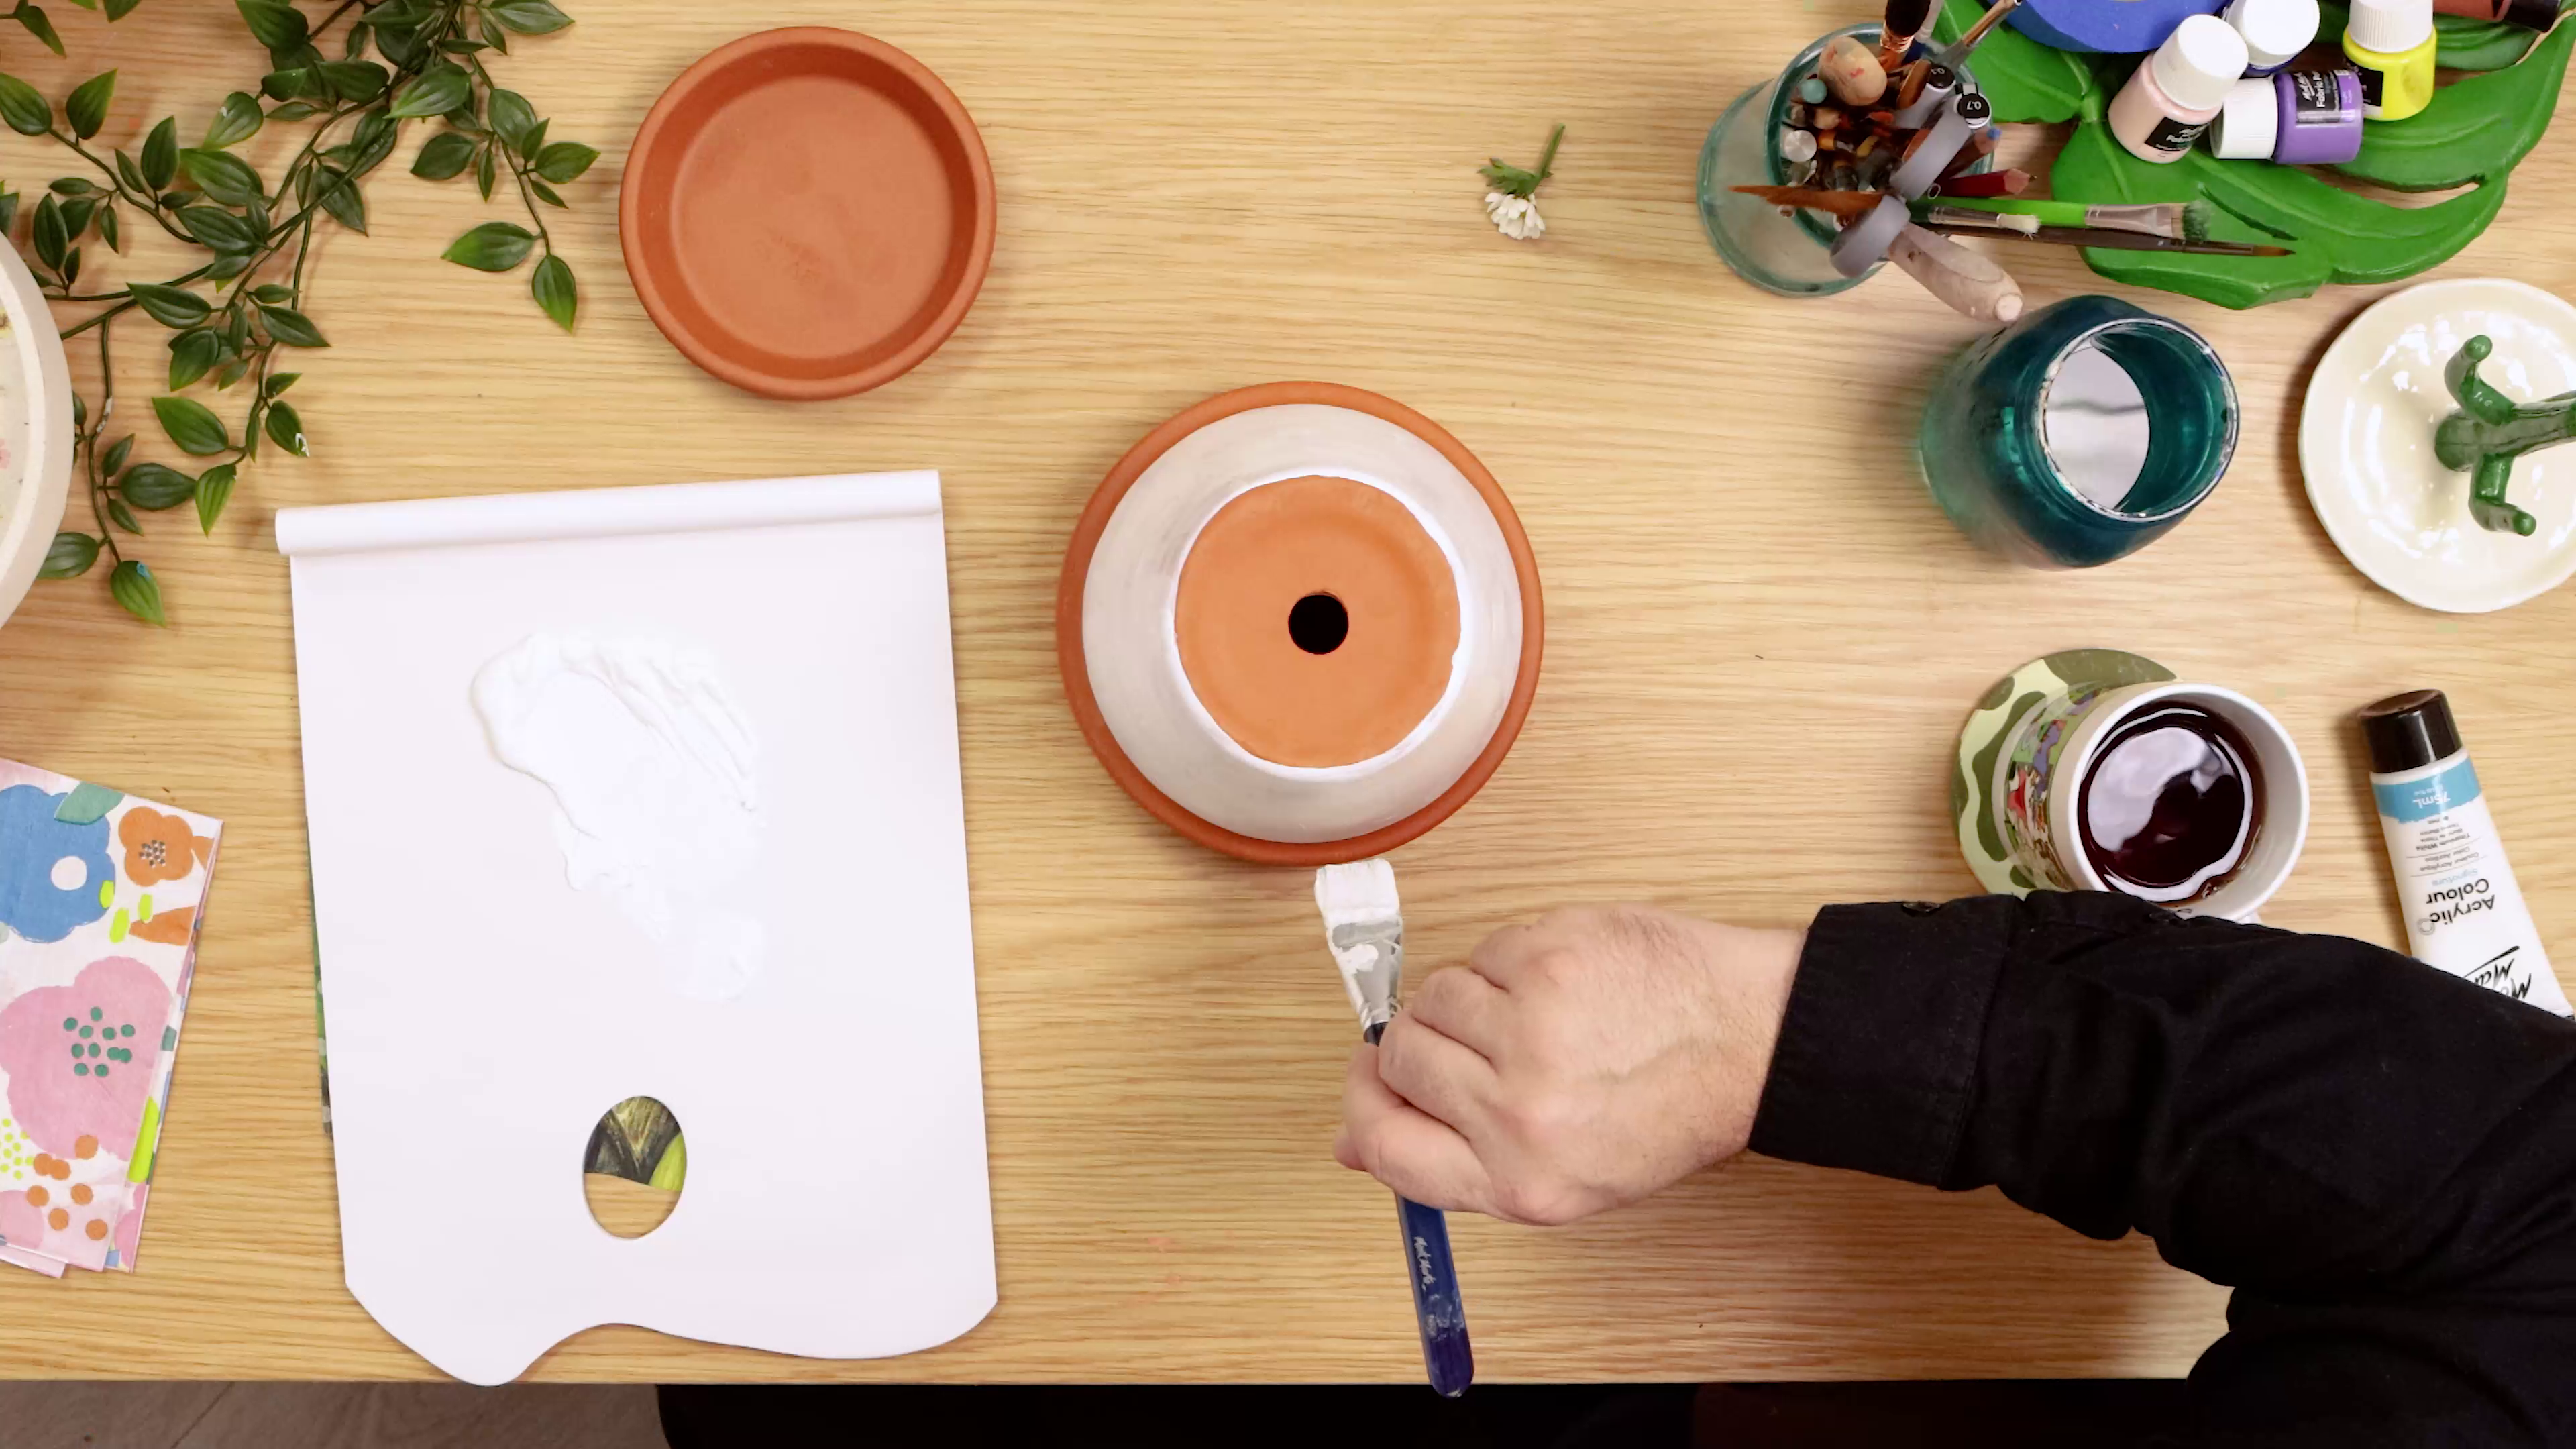
- Squeeze out some white acrylic paint
- Dip your brush in water and apply one coat to the pot
- Let dry, then add a second coat for even coverage
- Paint horizontally first, then vertically for coat two
- This step brightens the napkin colours and helps prevent translucency
3. Cut out the decoupage template
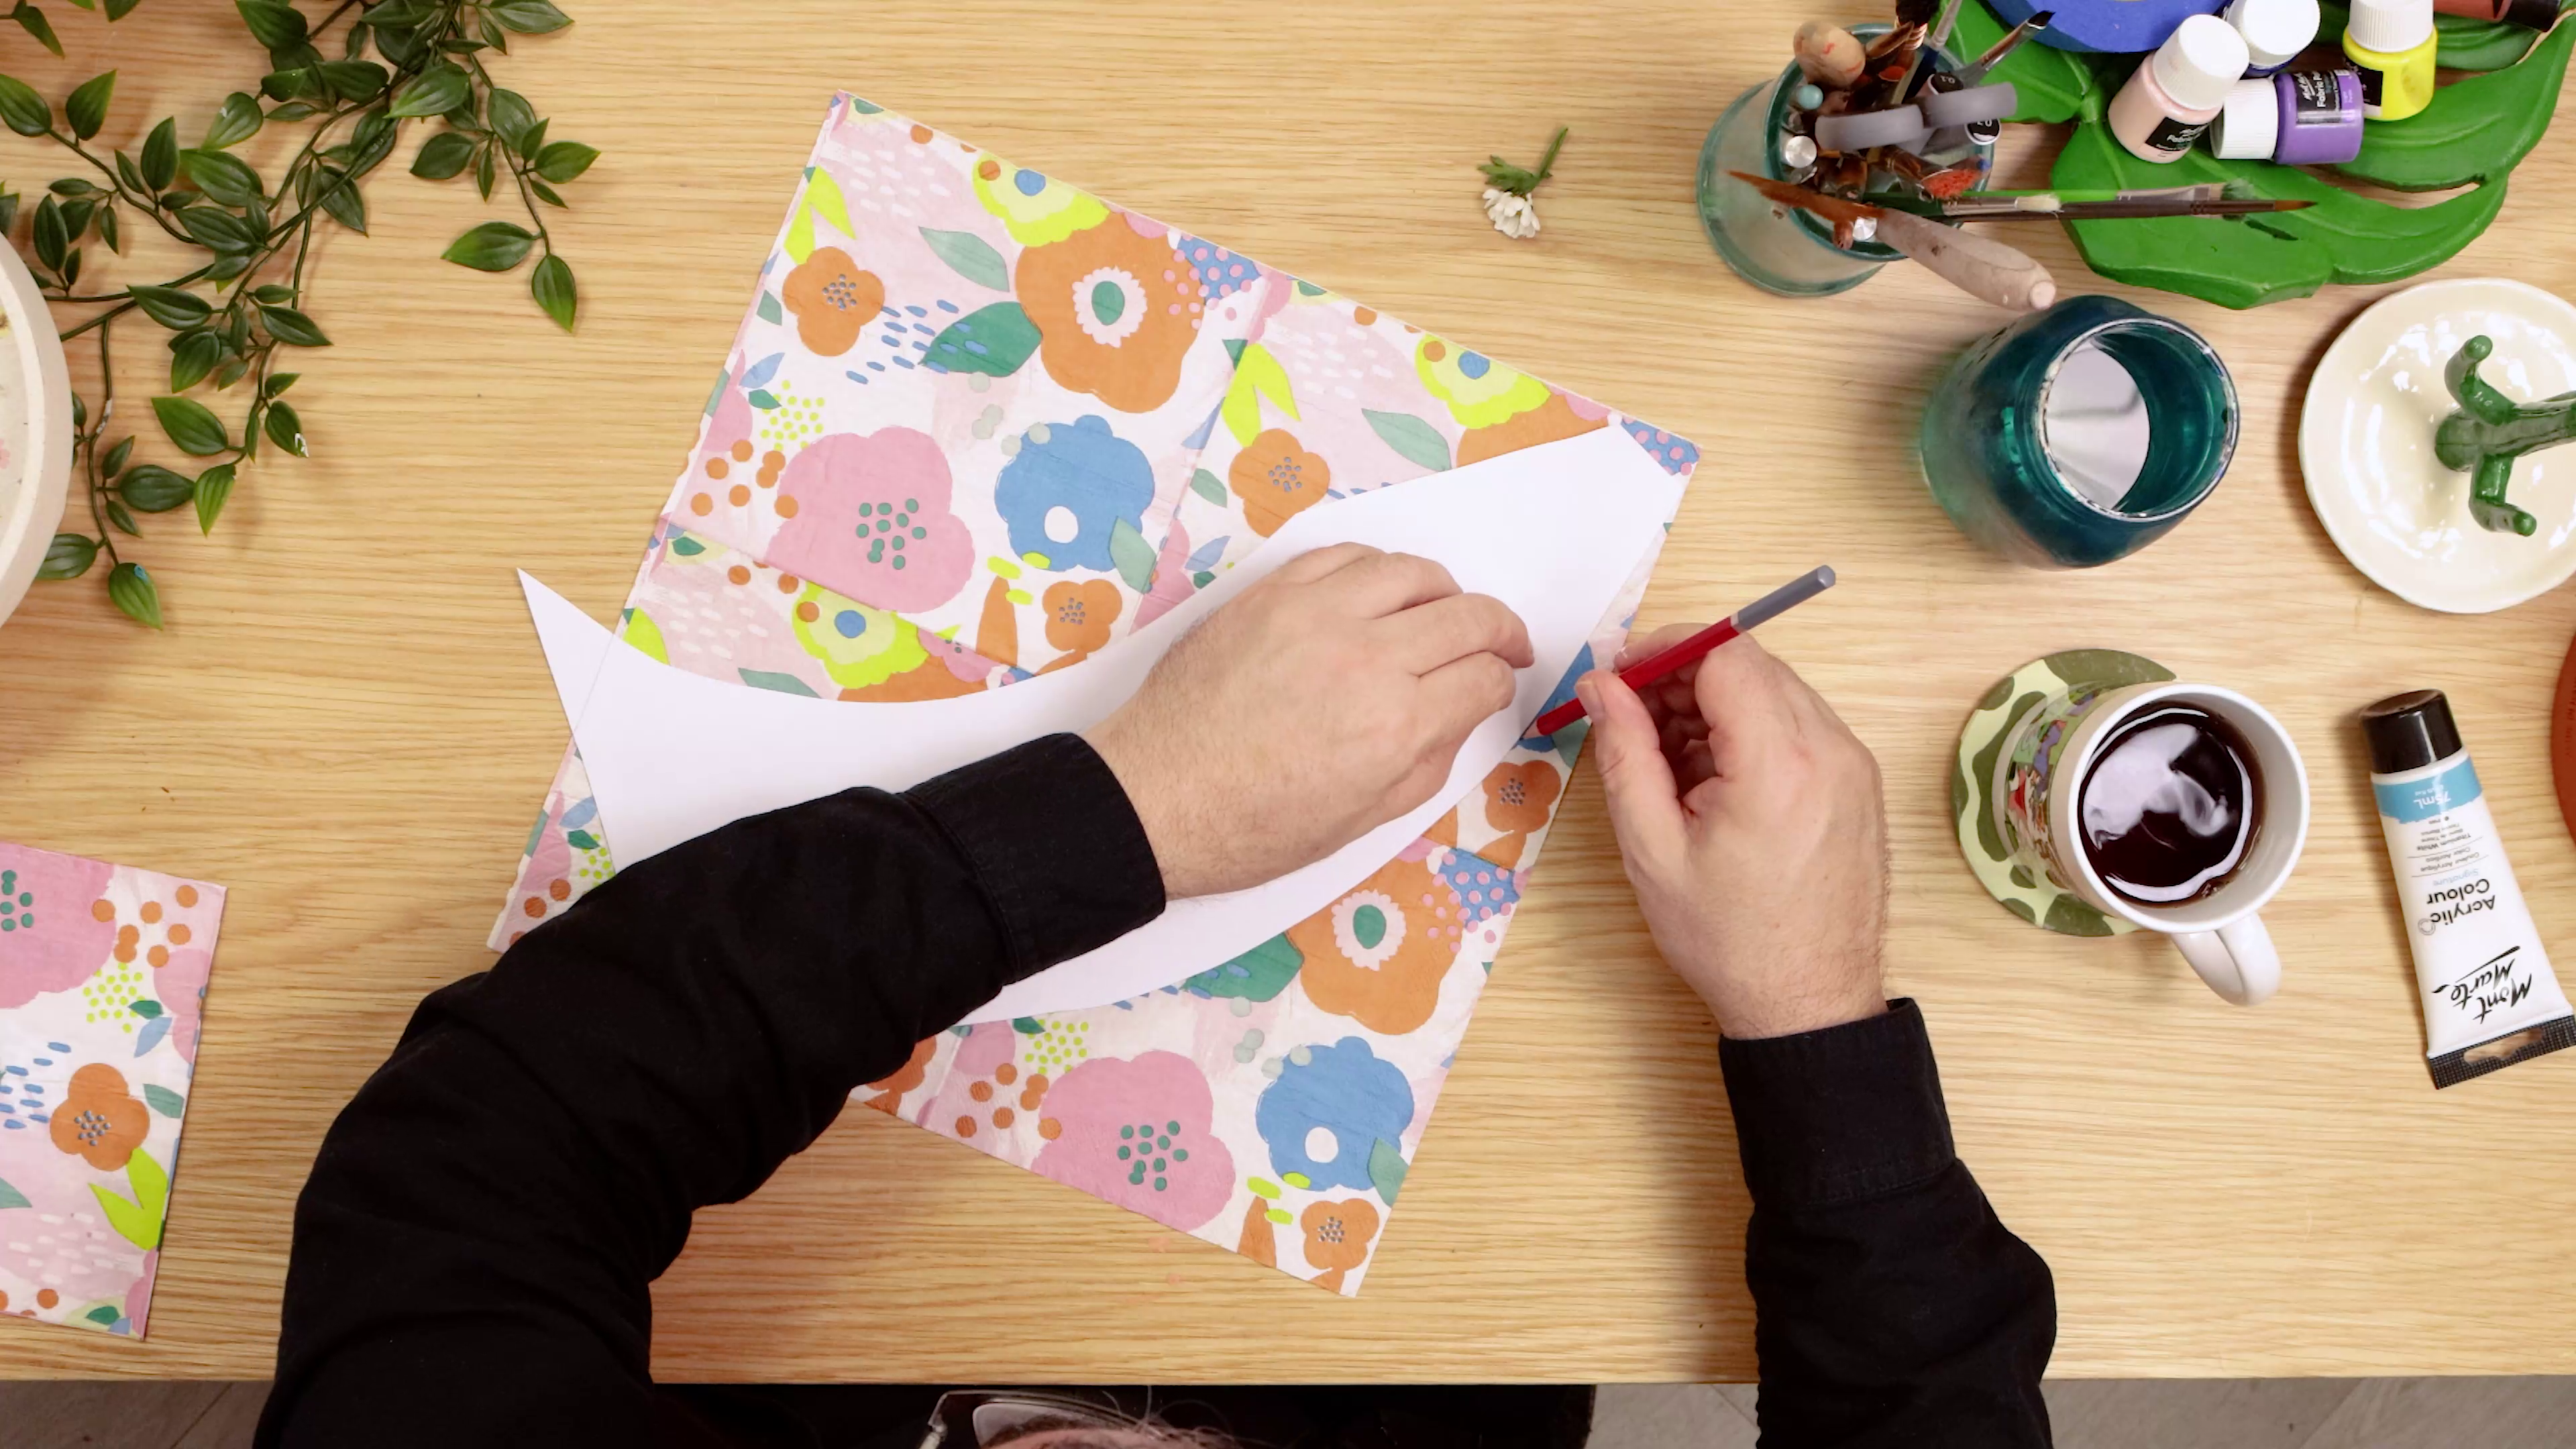
- Print and cut out the pot template from our website
- Trace the shape onto your napkin using pencil
- Cut carefully to avoid tearing
4. Do a dry fit
- Wrap the napkin around the pot to check the fit
- Trim any overhangs or missing corners
- Separate the pattern napkin layer from the second ply (a thinner layer applies best!)
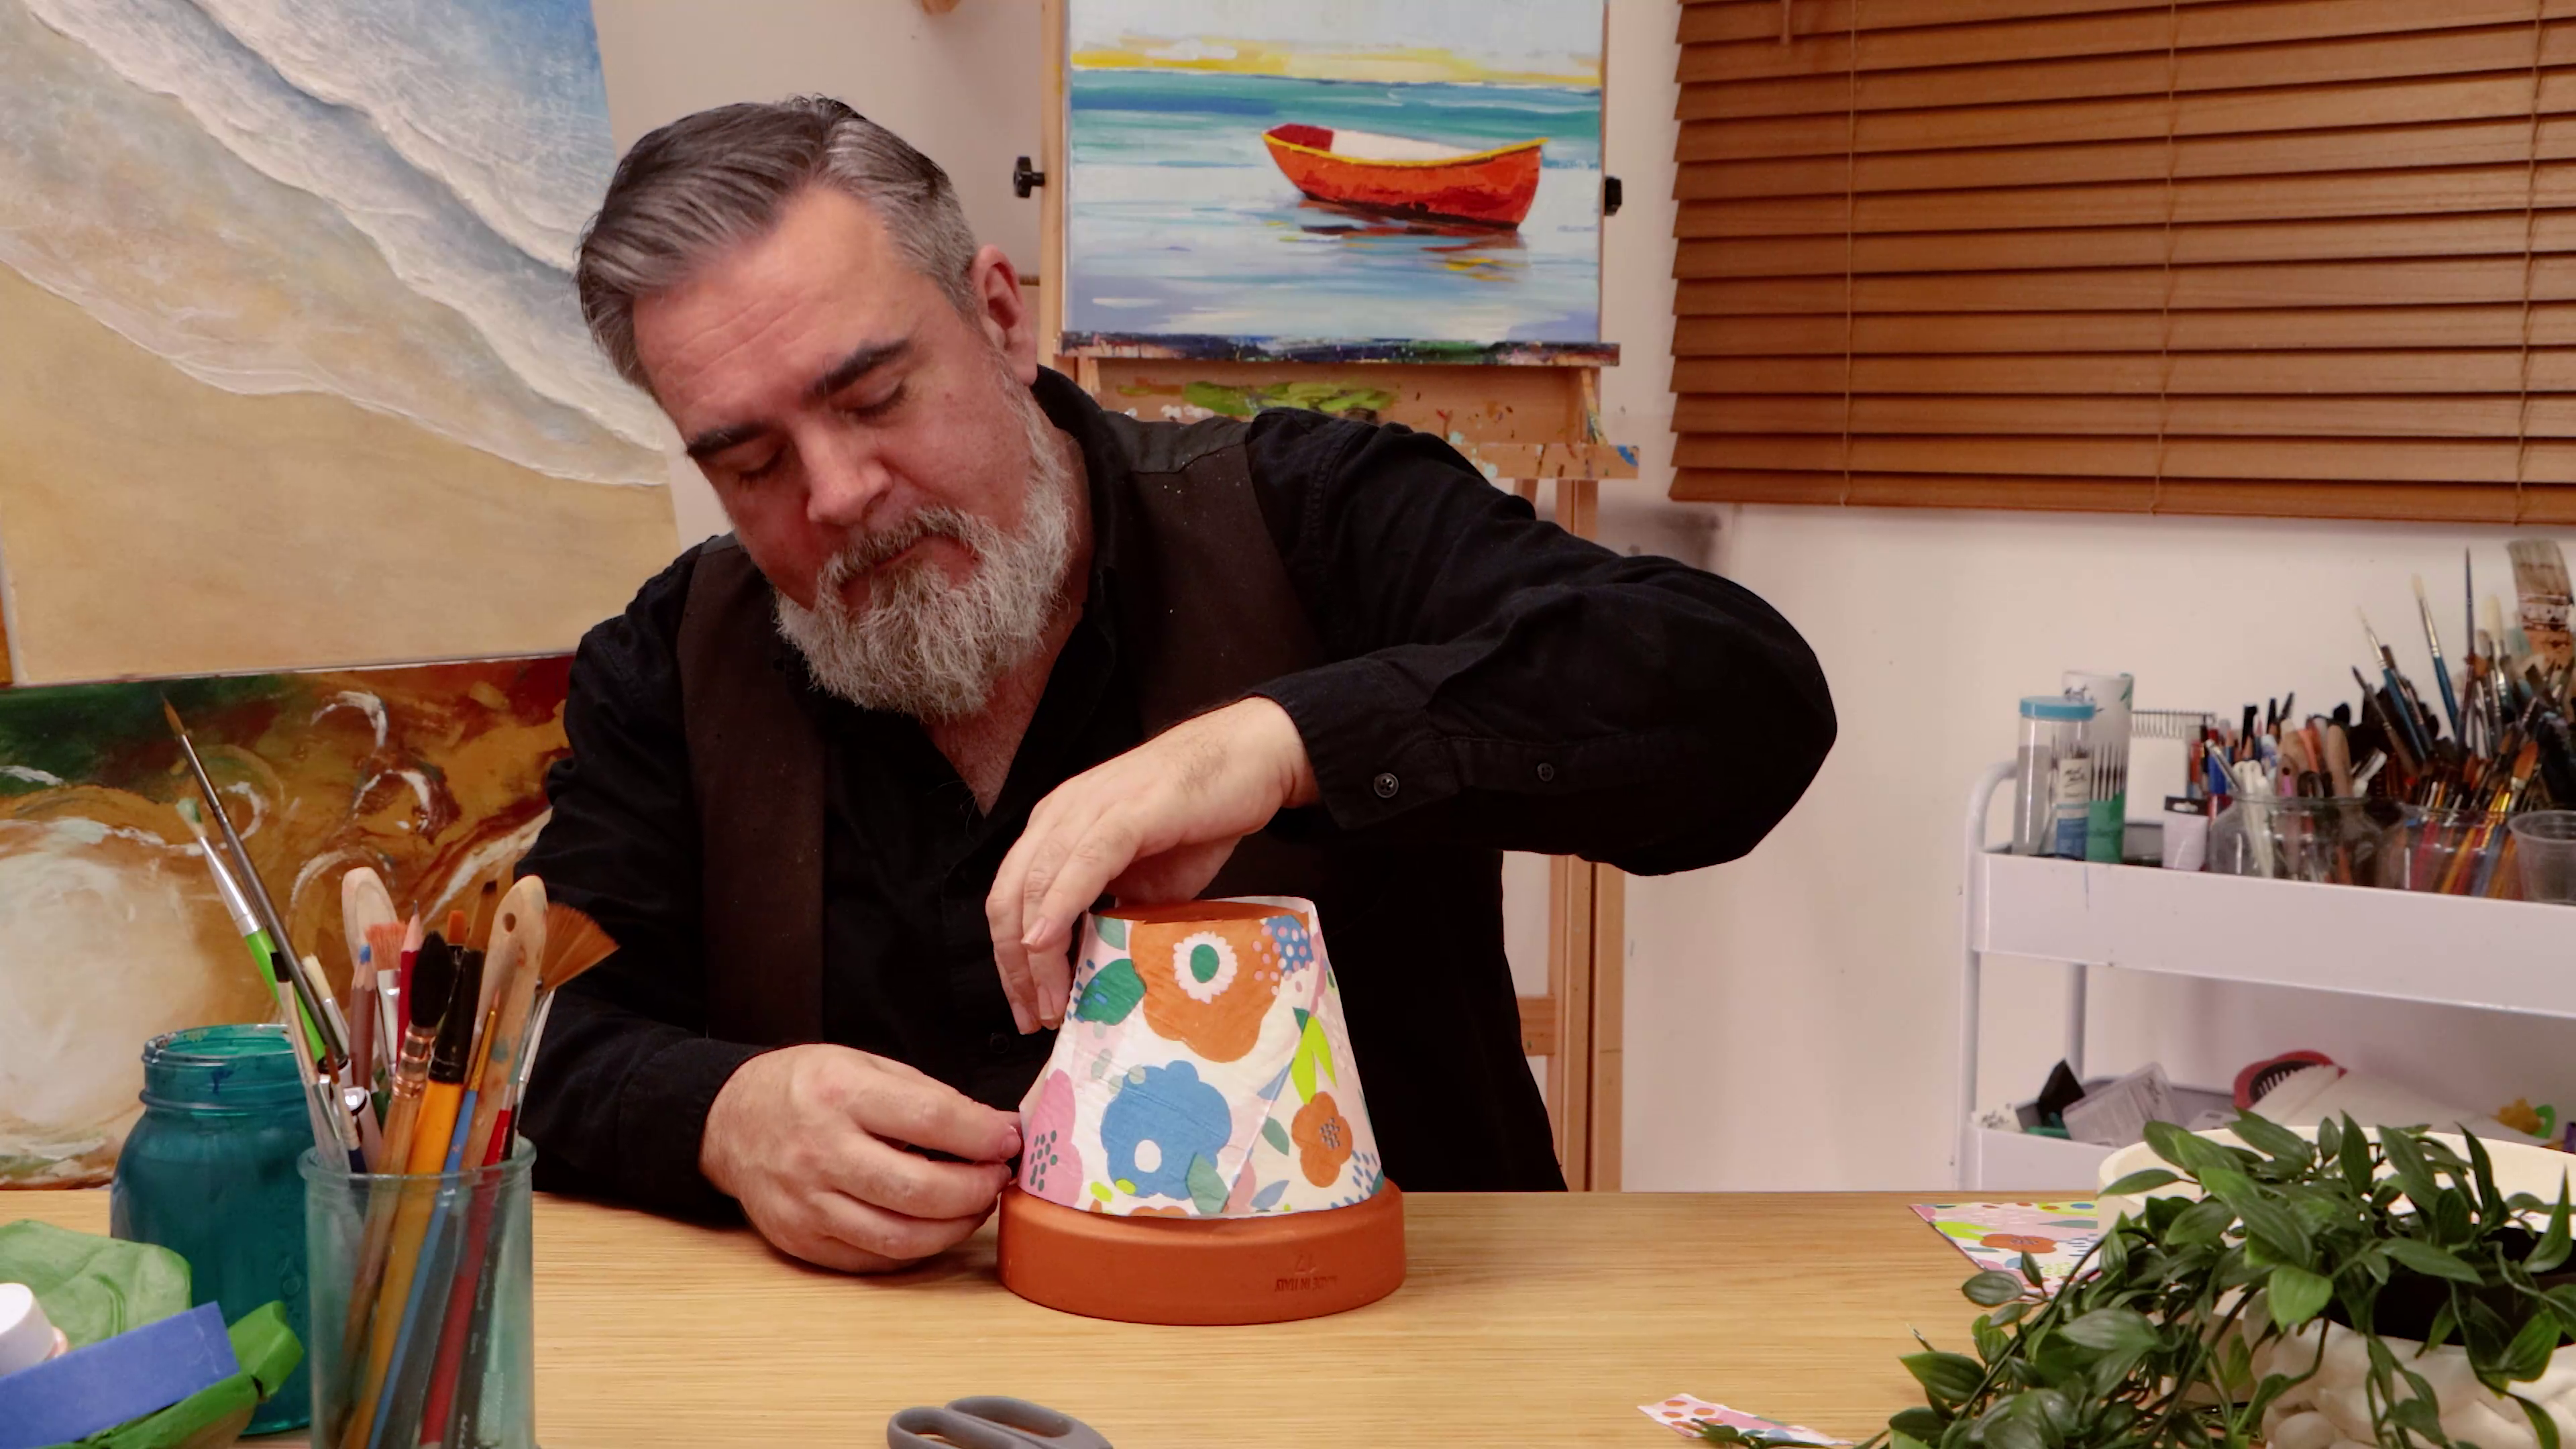
5. Apply the Mont Marte Deco Pudge
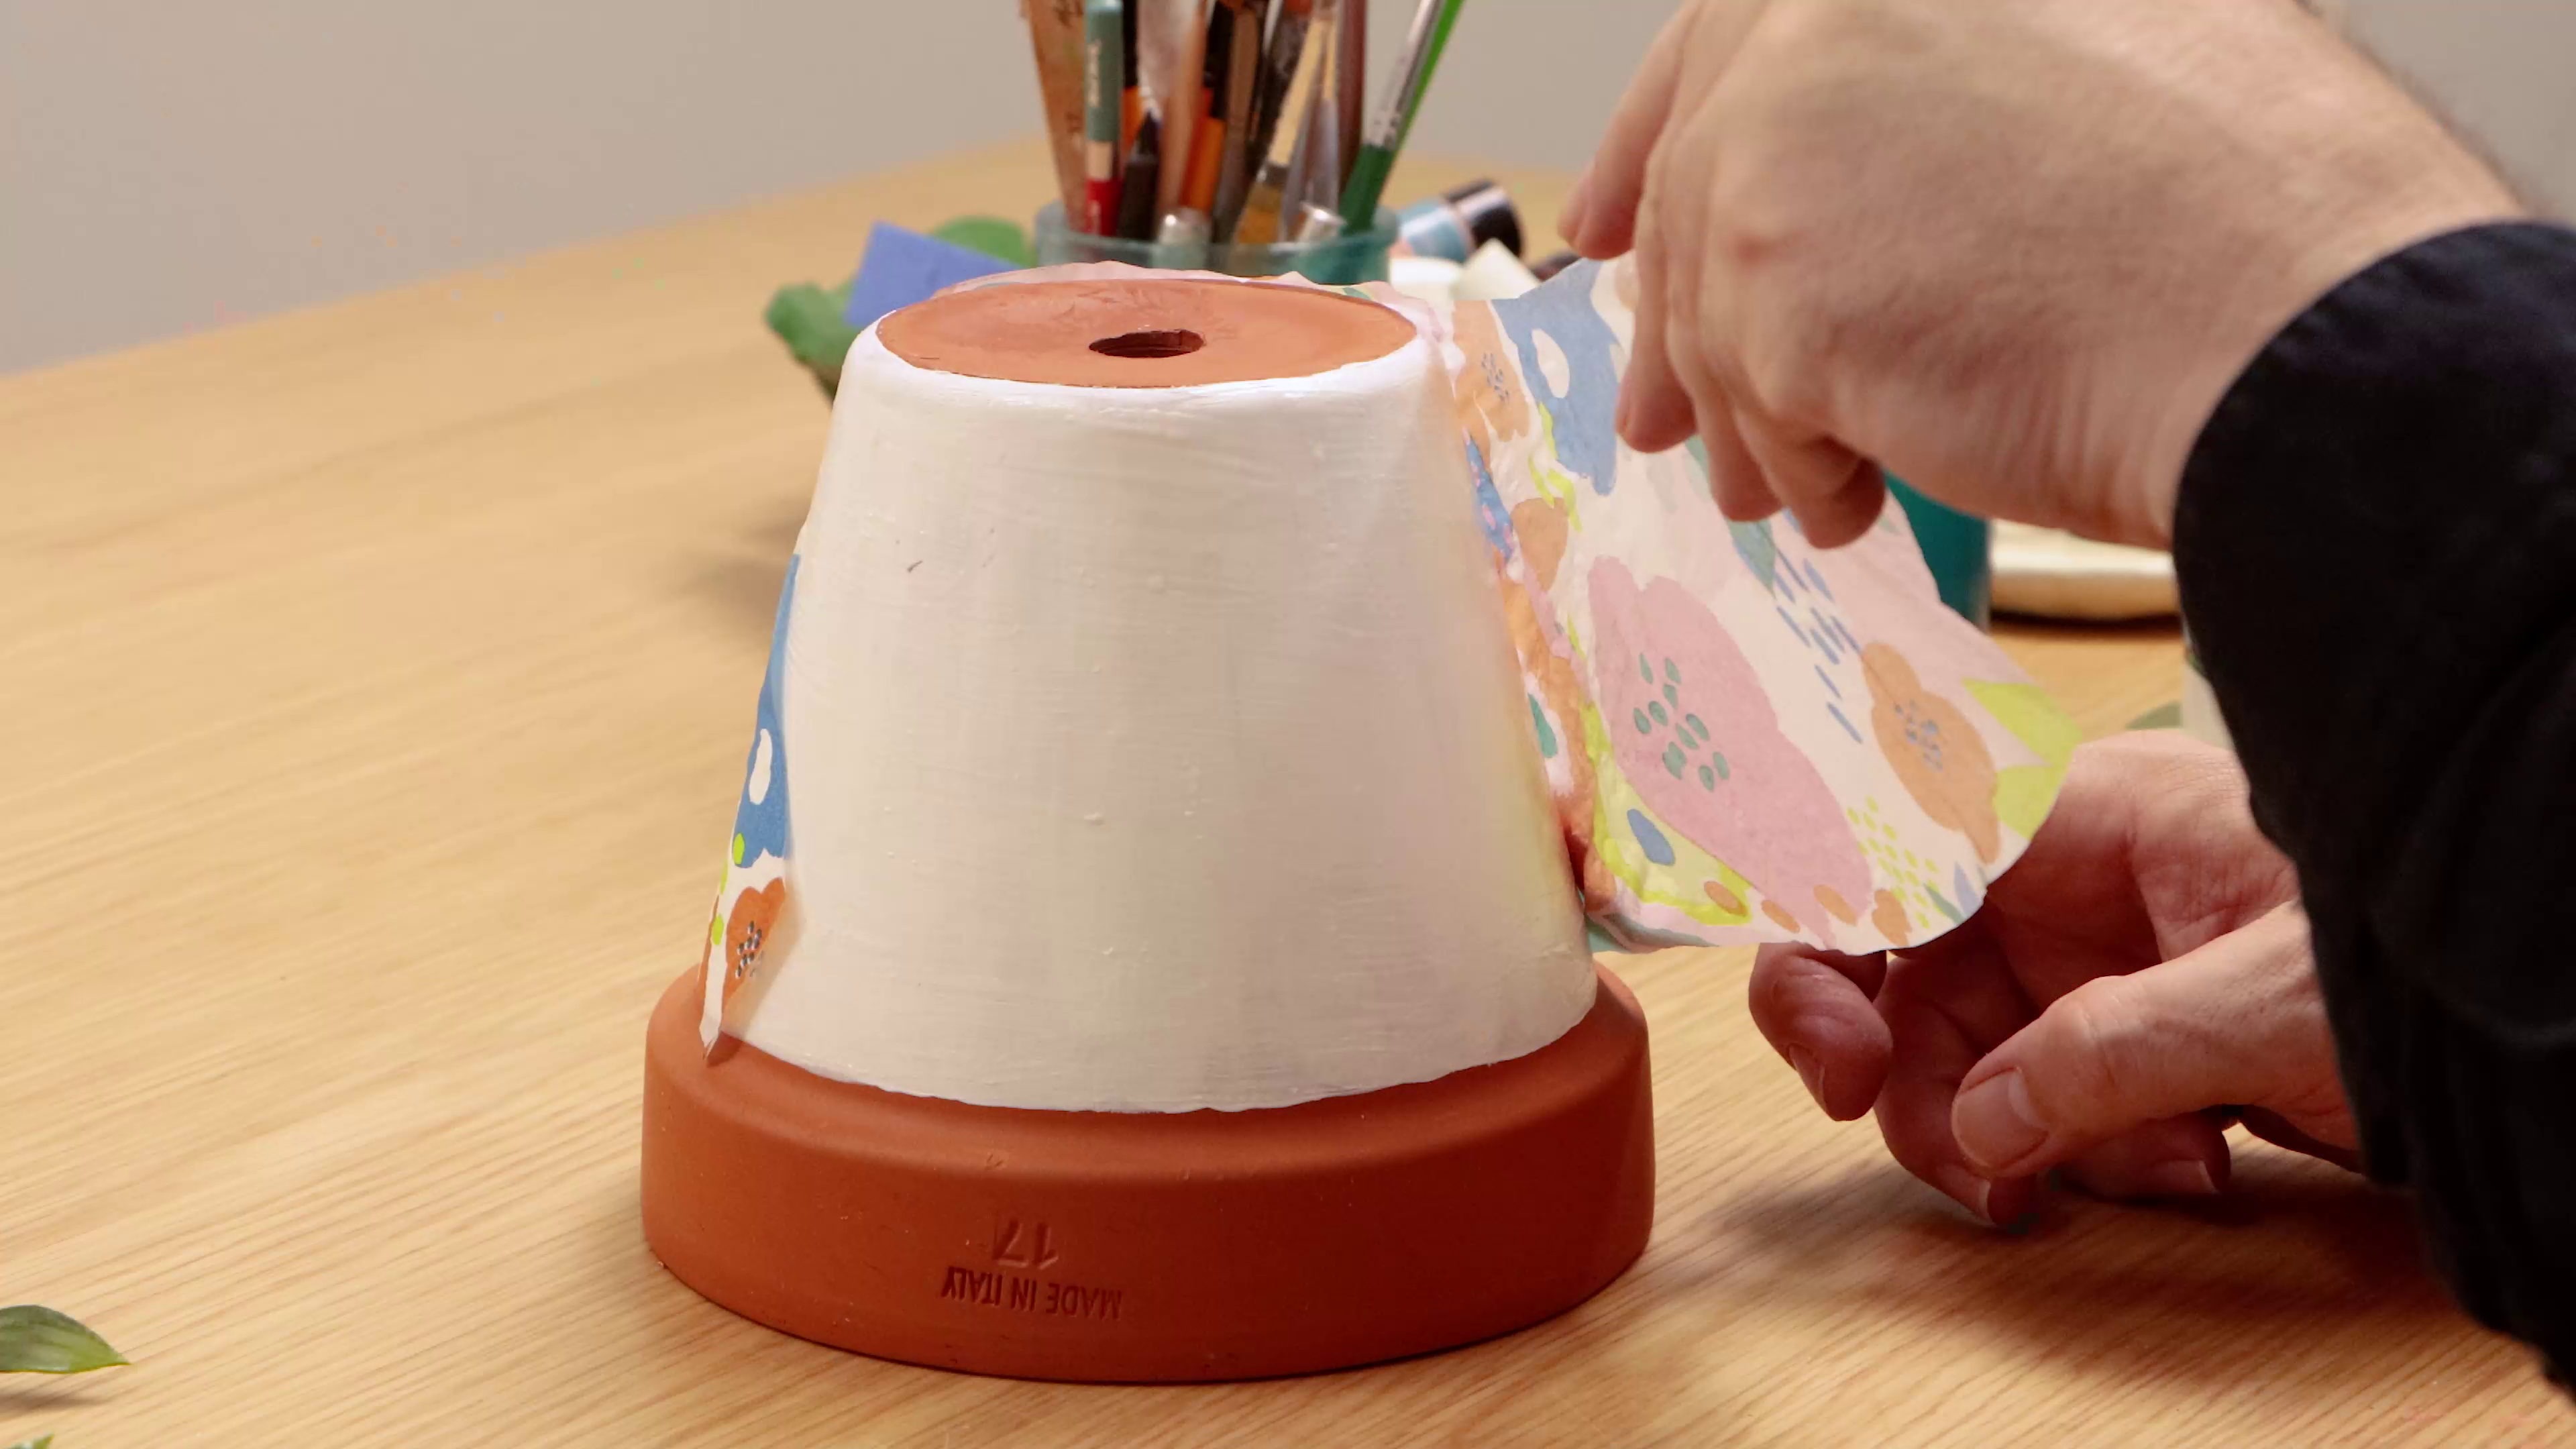
- Brush on a generous coat of Deco Pudge onto the pot
- Place your napkin onto the wet glue and gently smooth it out
- Let it dry completely
6. Pot sealer
- Once dry, brush another thin coat of Deco Pudge over the top
- This locks in the napkin and stops the edges from lifting
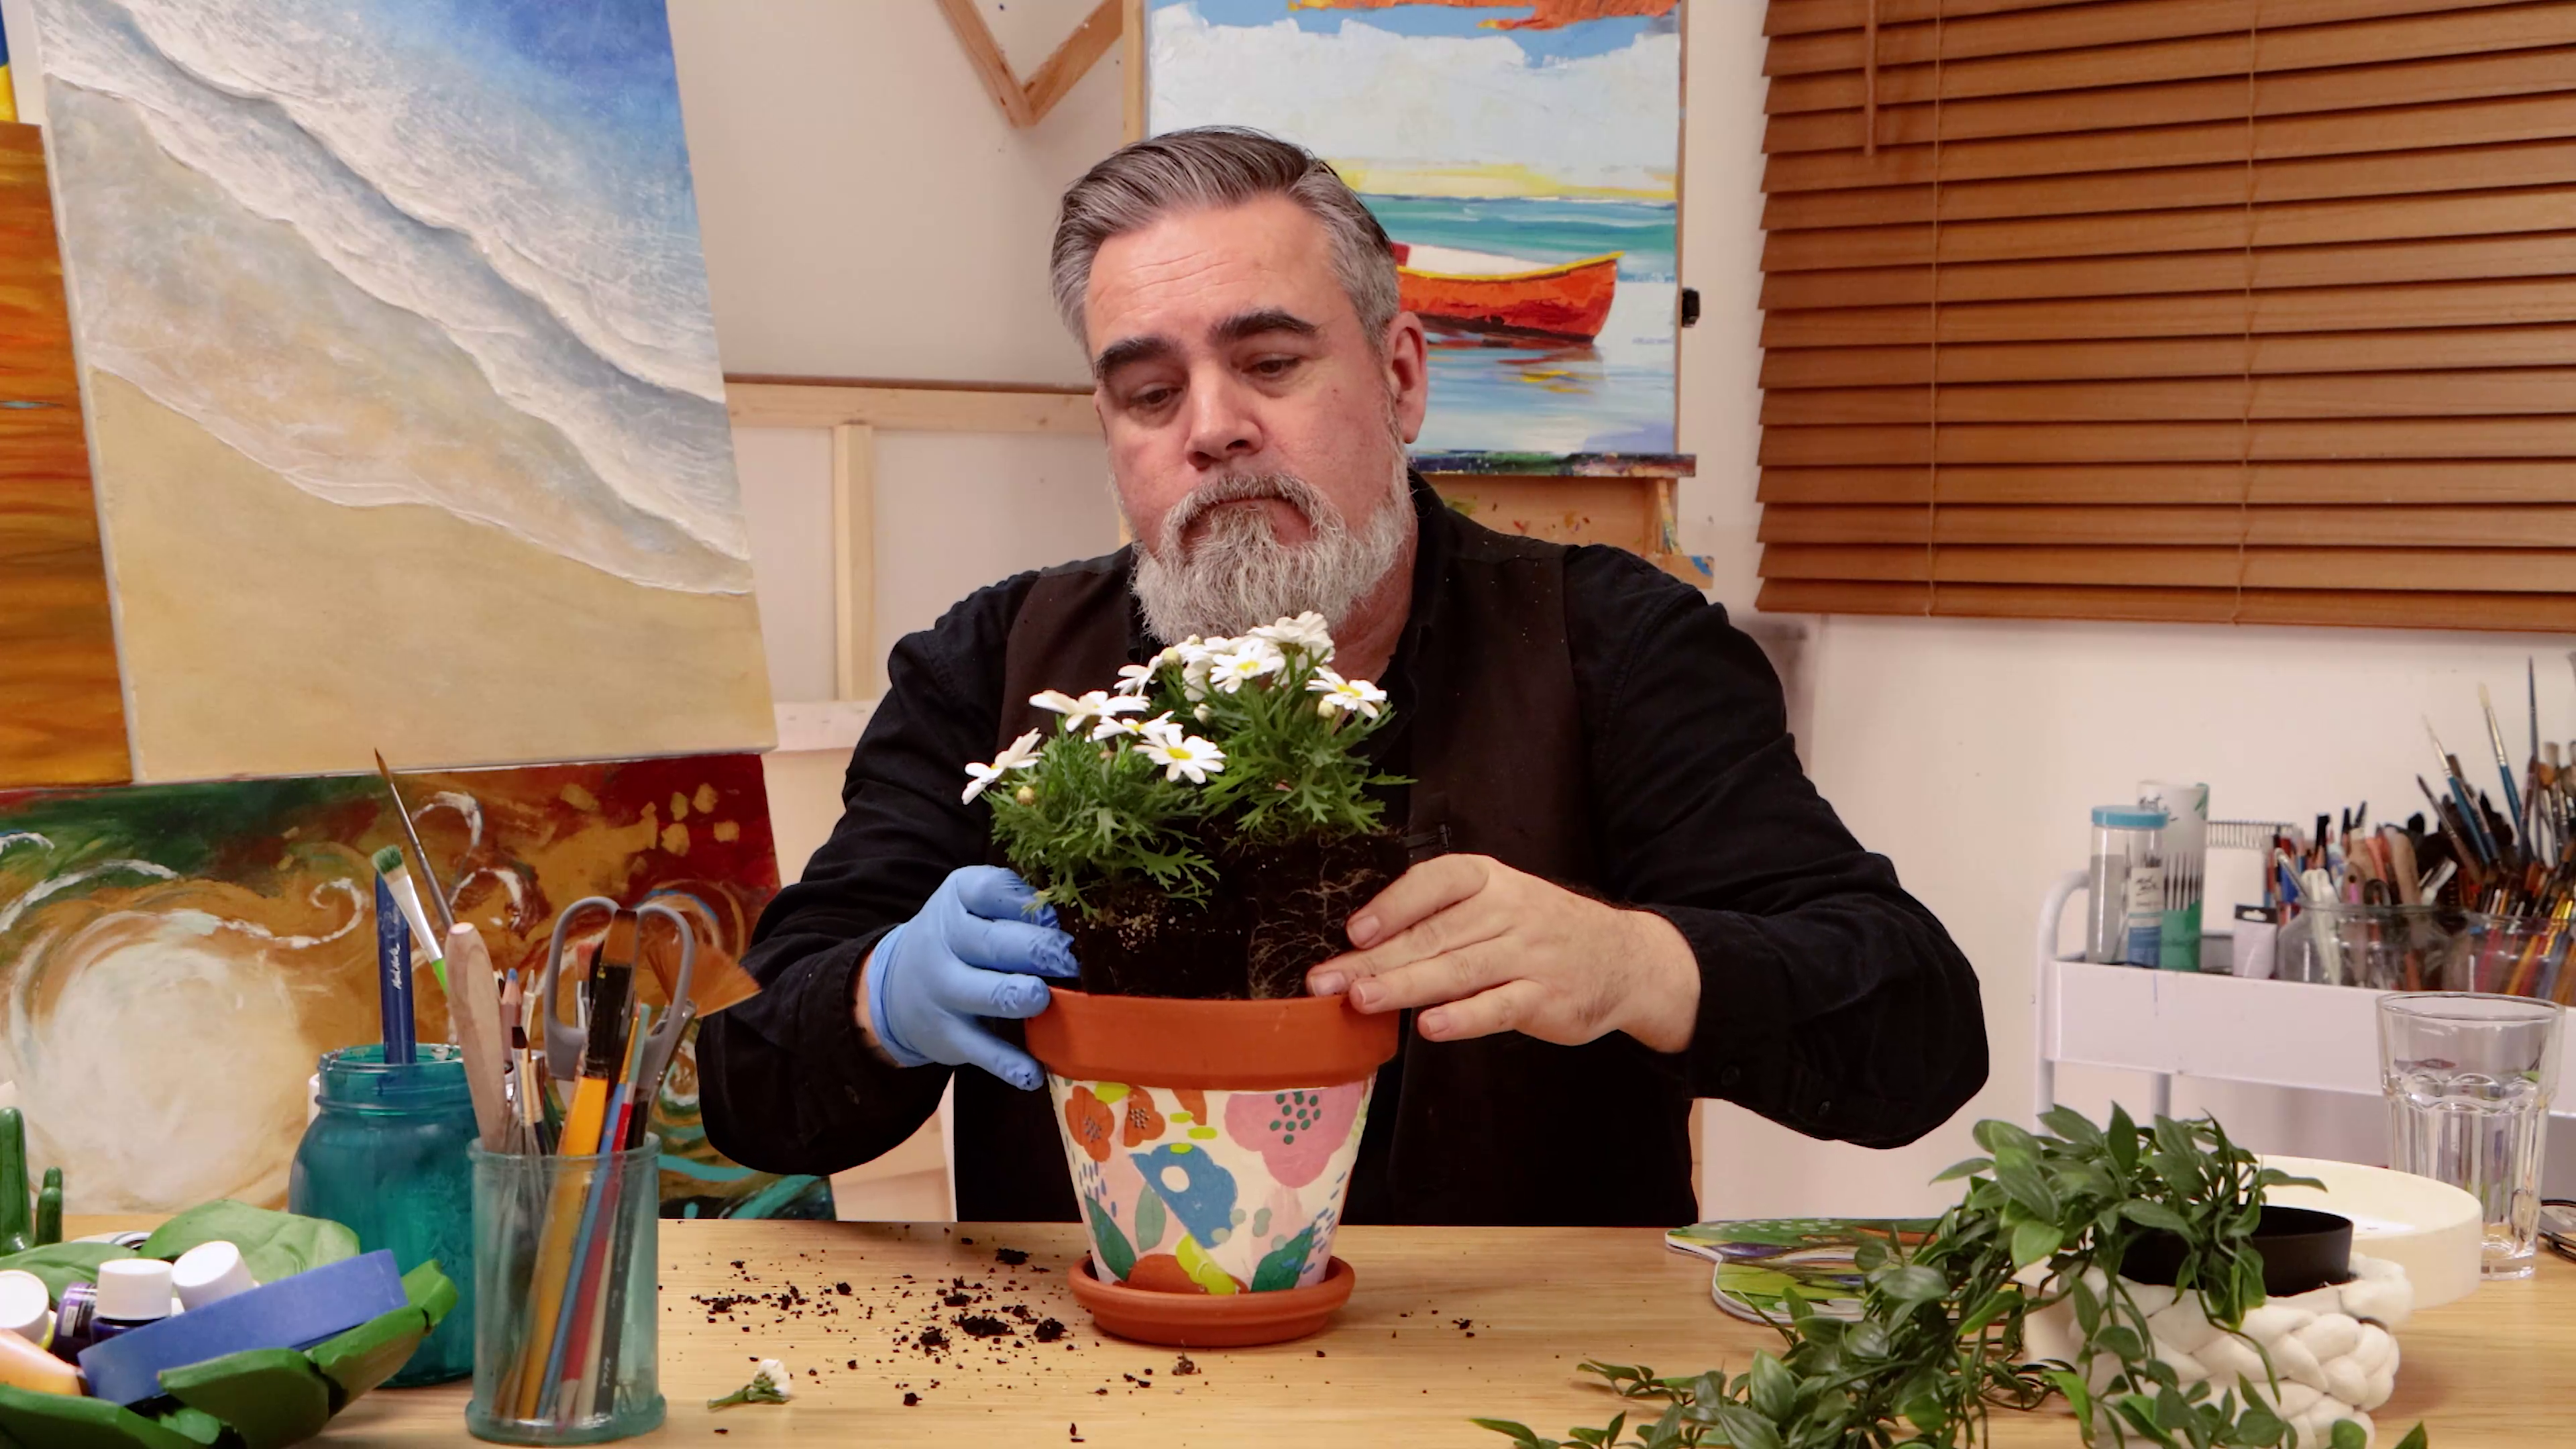
- Leave to dry then add a plant – anything from herbs to succulents works great
Whether you keep it on your windowsill or gift it to someone, this project adds a handmade touch to any space.
- A flower pot
- Acrylic Colour Paint Set (Titanium White)
- Deco Pudge (Gloss or Matte)
- Patterned napkin
- Brush (taklon)
- Tear-off paper palette (or plate/cardboard)
- Scissors
- Template (download from our website)
- Pencil
You may also like

Peacock drawing in watersoluble oil pastels


How to use ceramic paint on a thrifted plate


