


Octopus made with polymer clay mosaic tiles
1. Baking polymer clay
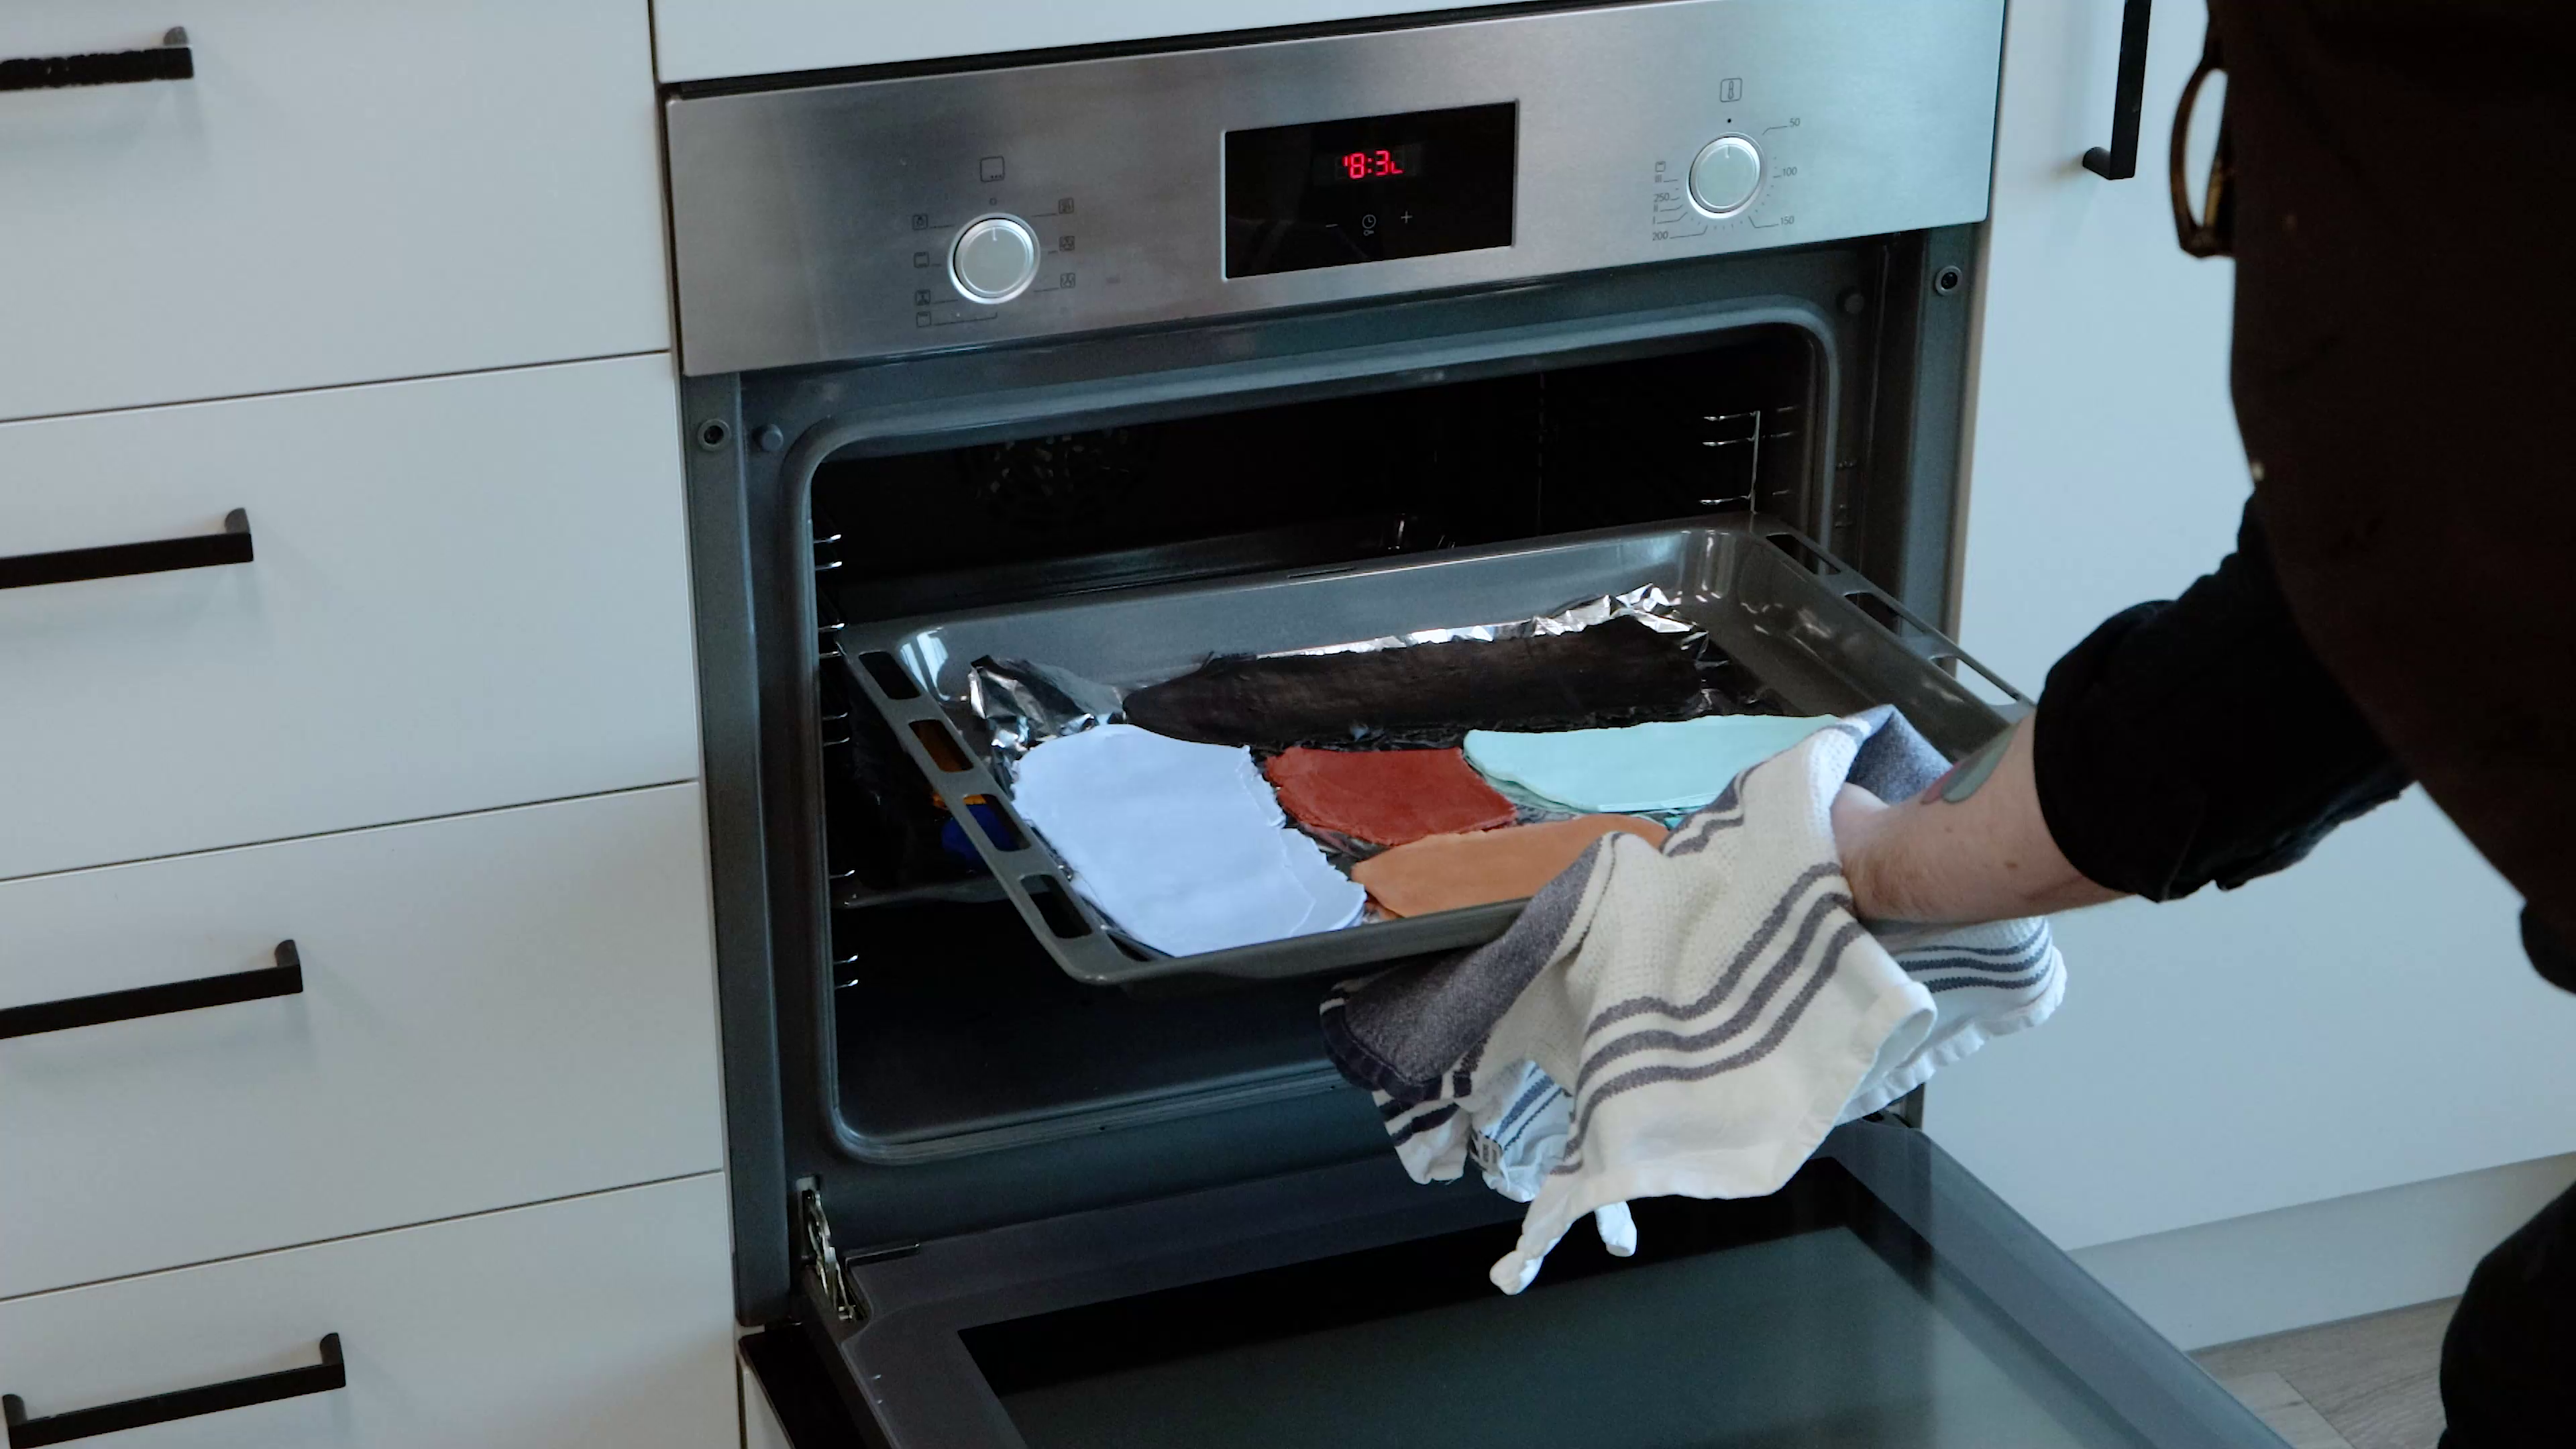
- Gather your offcuts of Make n Bake Polymer Clay Signature or condition some fresh clay
- Roll the clay into an even sheet around 5mm thick
- Use a clay press or levelling roller to keep the thickness consistent
- Bake the clay following the instructions on the packaging (approx. 30min for every 6mm thickness at 130ºC)
- Allow the clay sheet to cool completely before handling
2. How to transfer image
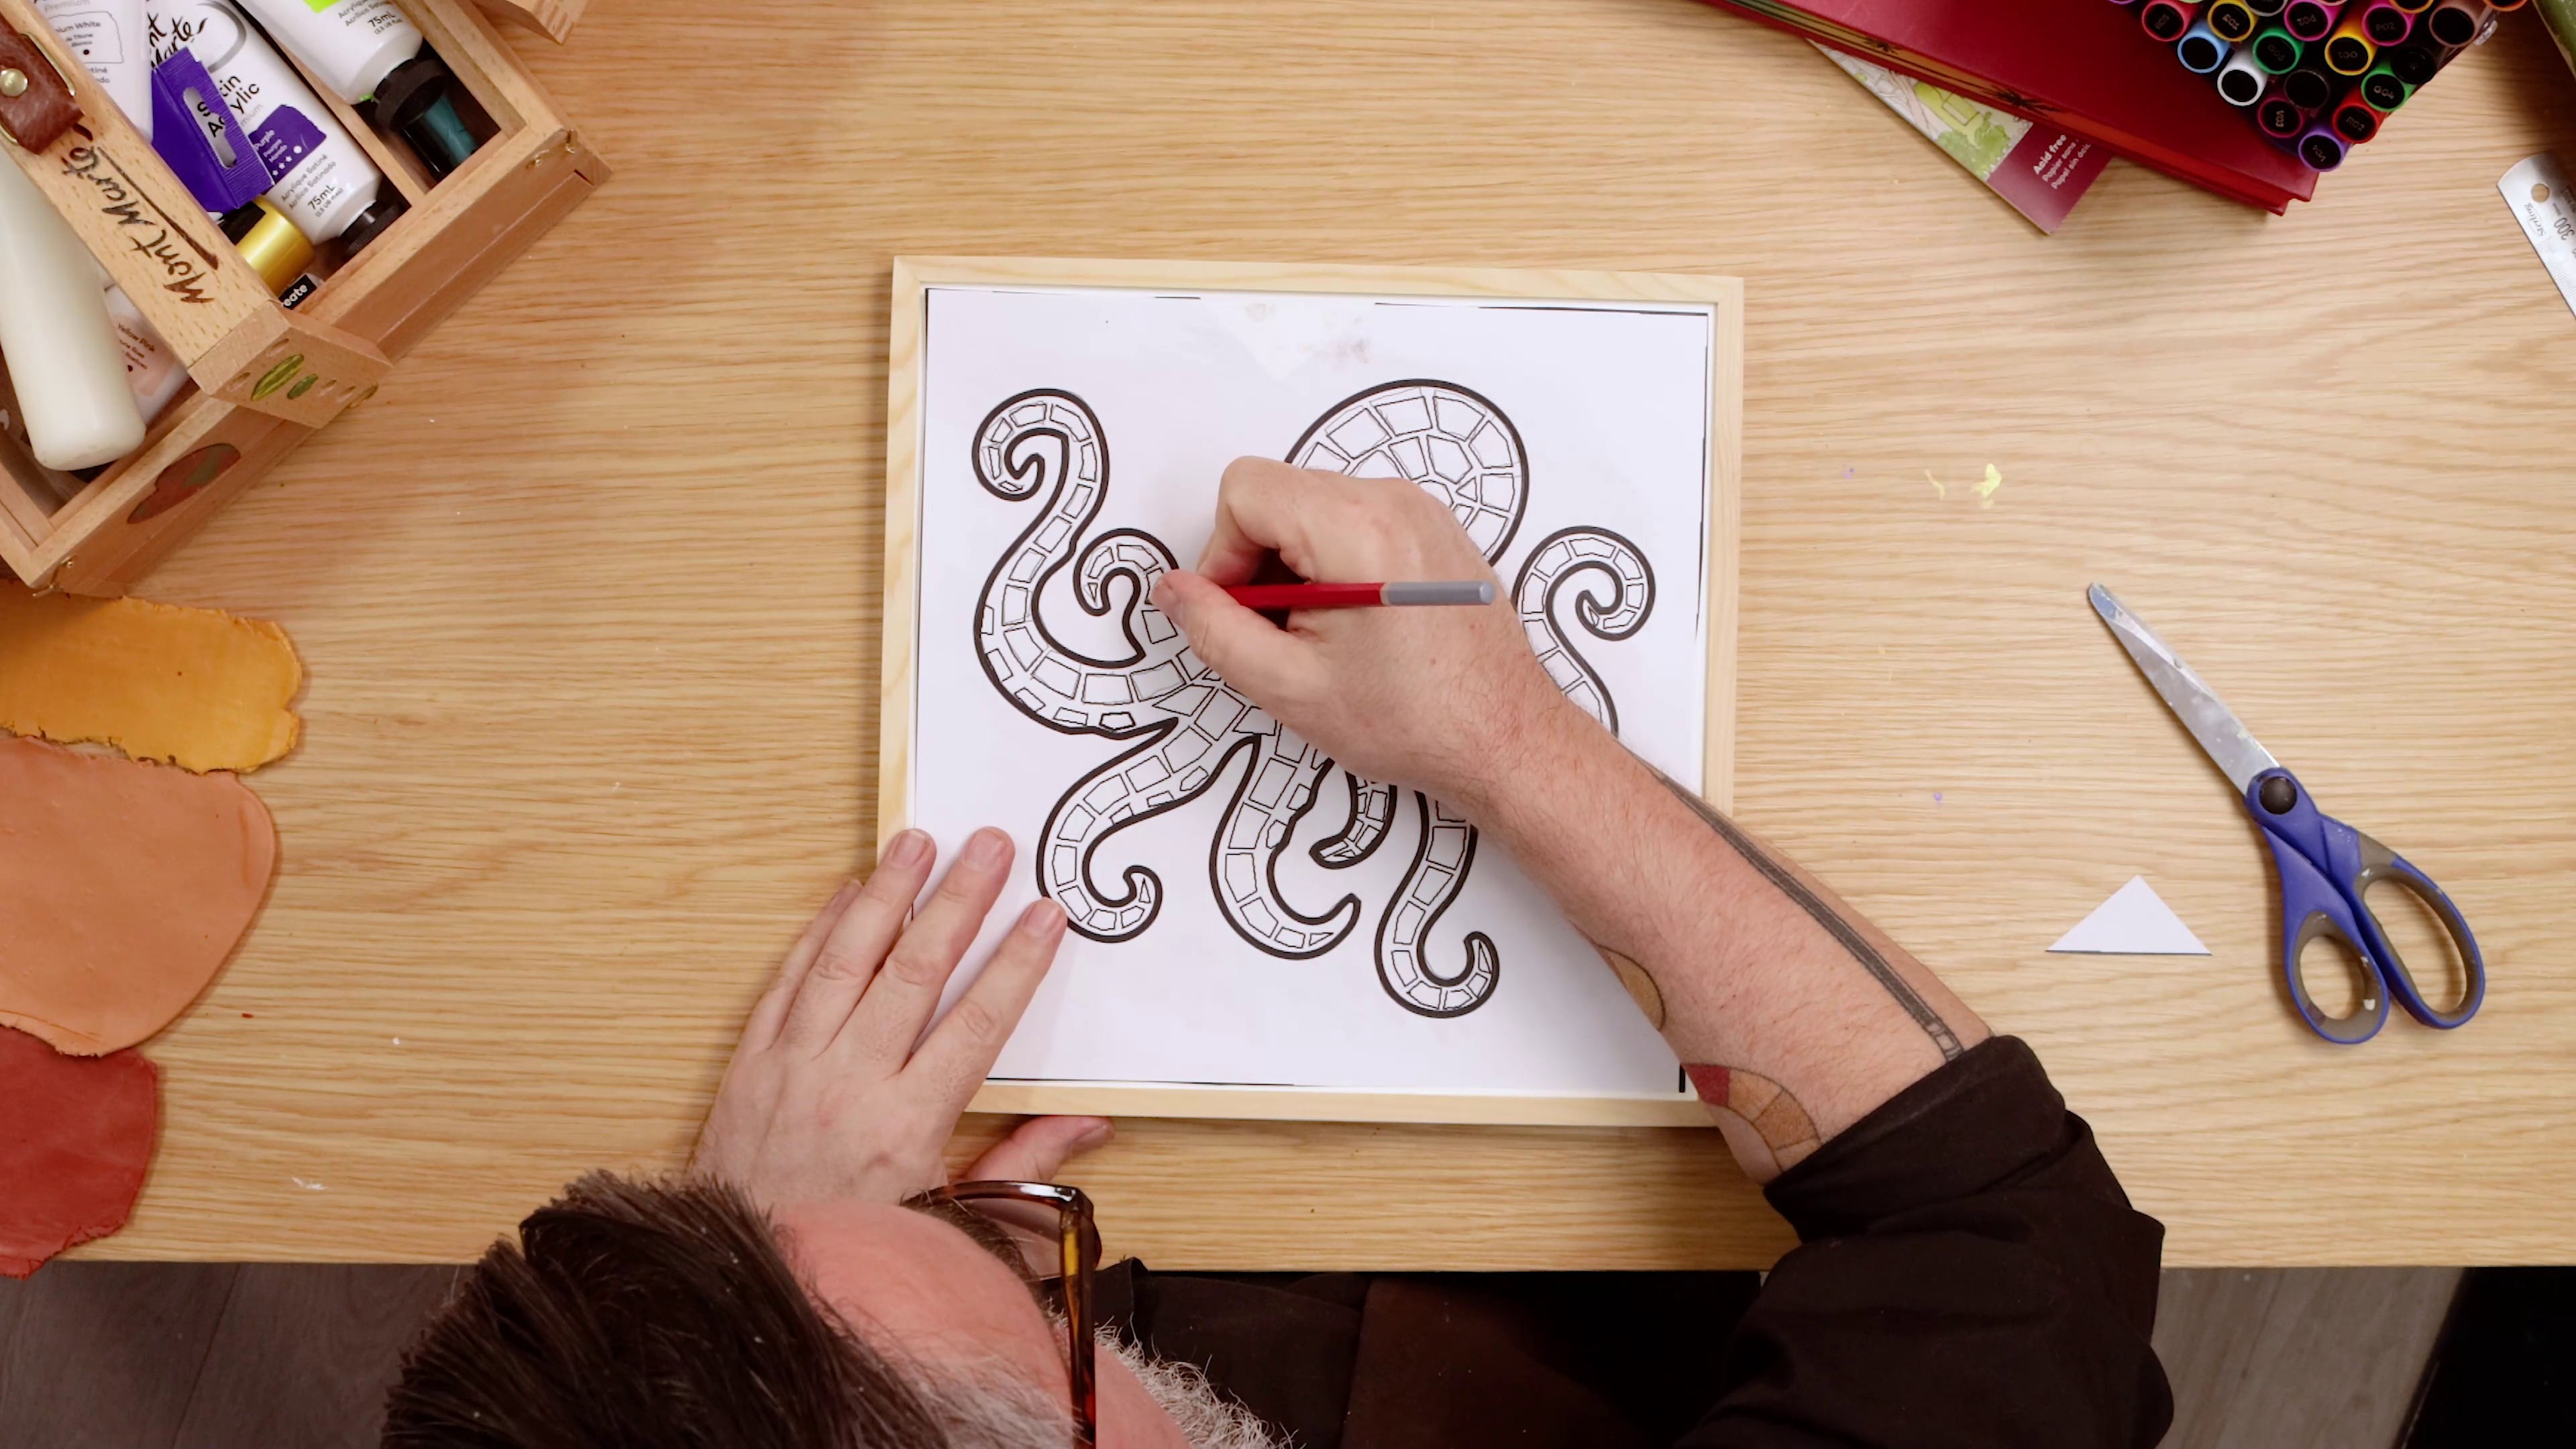
- Download and print the octopus outline, then shade the backside
- Retrace the outlines to transfer the octopus onto your mosaic surface
3. Polymer clay tiles
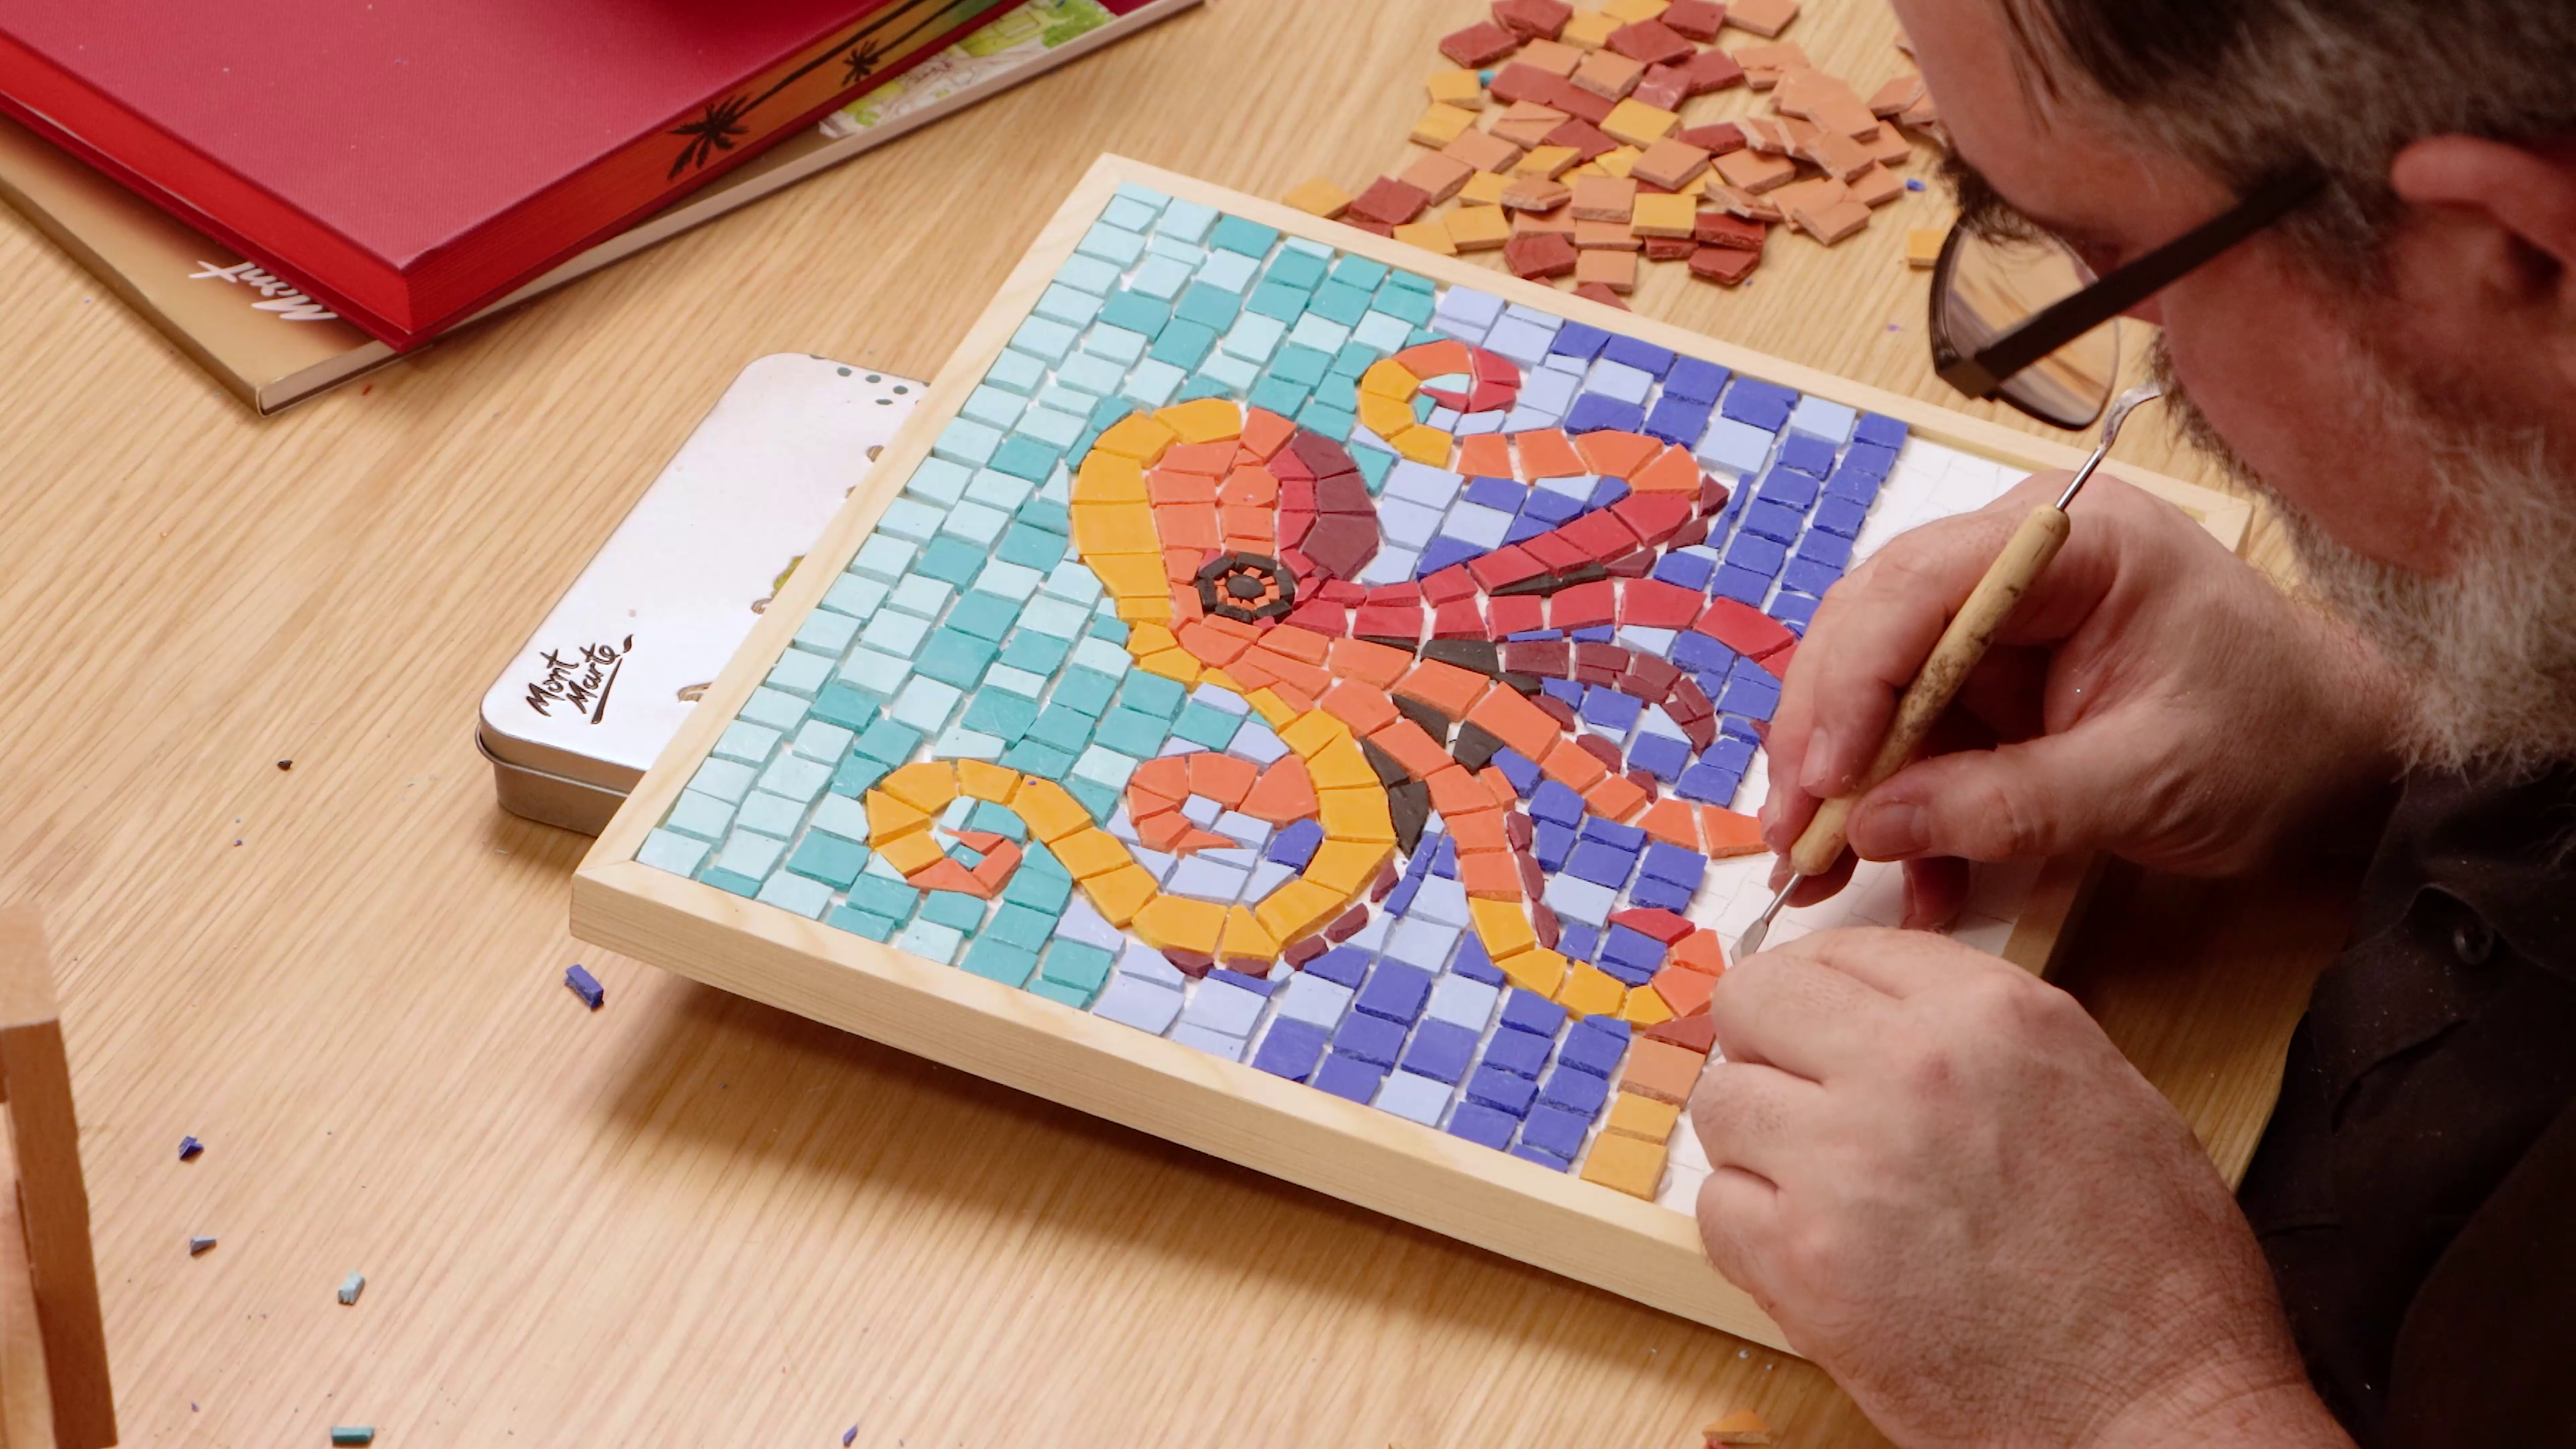
- Cut the baked clay sheets into small uneven shapes using scissors
- Arrange the clay tiles inside the outline like a puzzle, sticking them down with PVA glue
- Rotate and trim pieces to fit curves and tight angles
- Leave small gaps between tiles as grout will be added later
- Aim for a loose, offset pattern so the octopus stands out
Tip: Avoid cutting your tiles into perfect squares – odd shapes give mosaics their character!
4. Grouting mosaic tile art
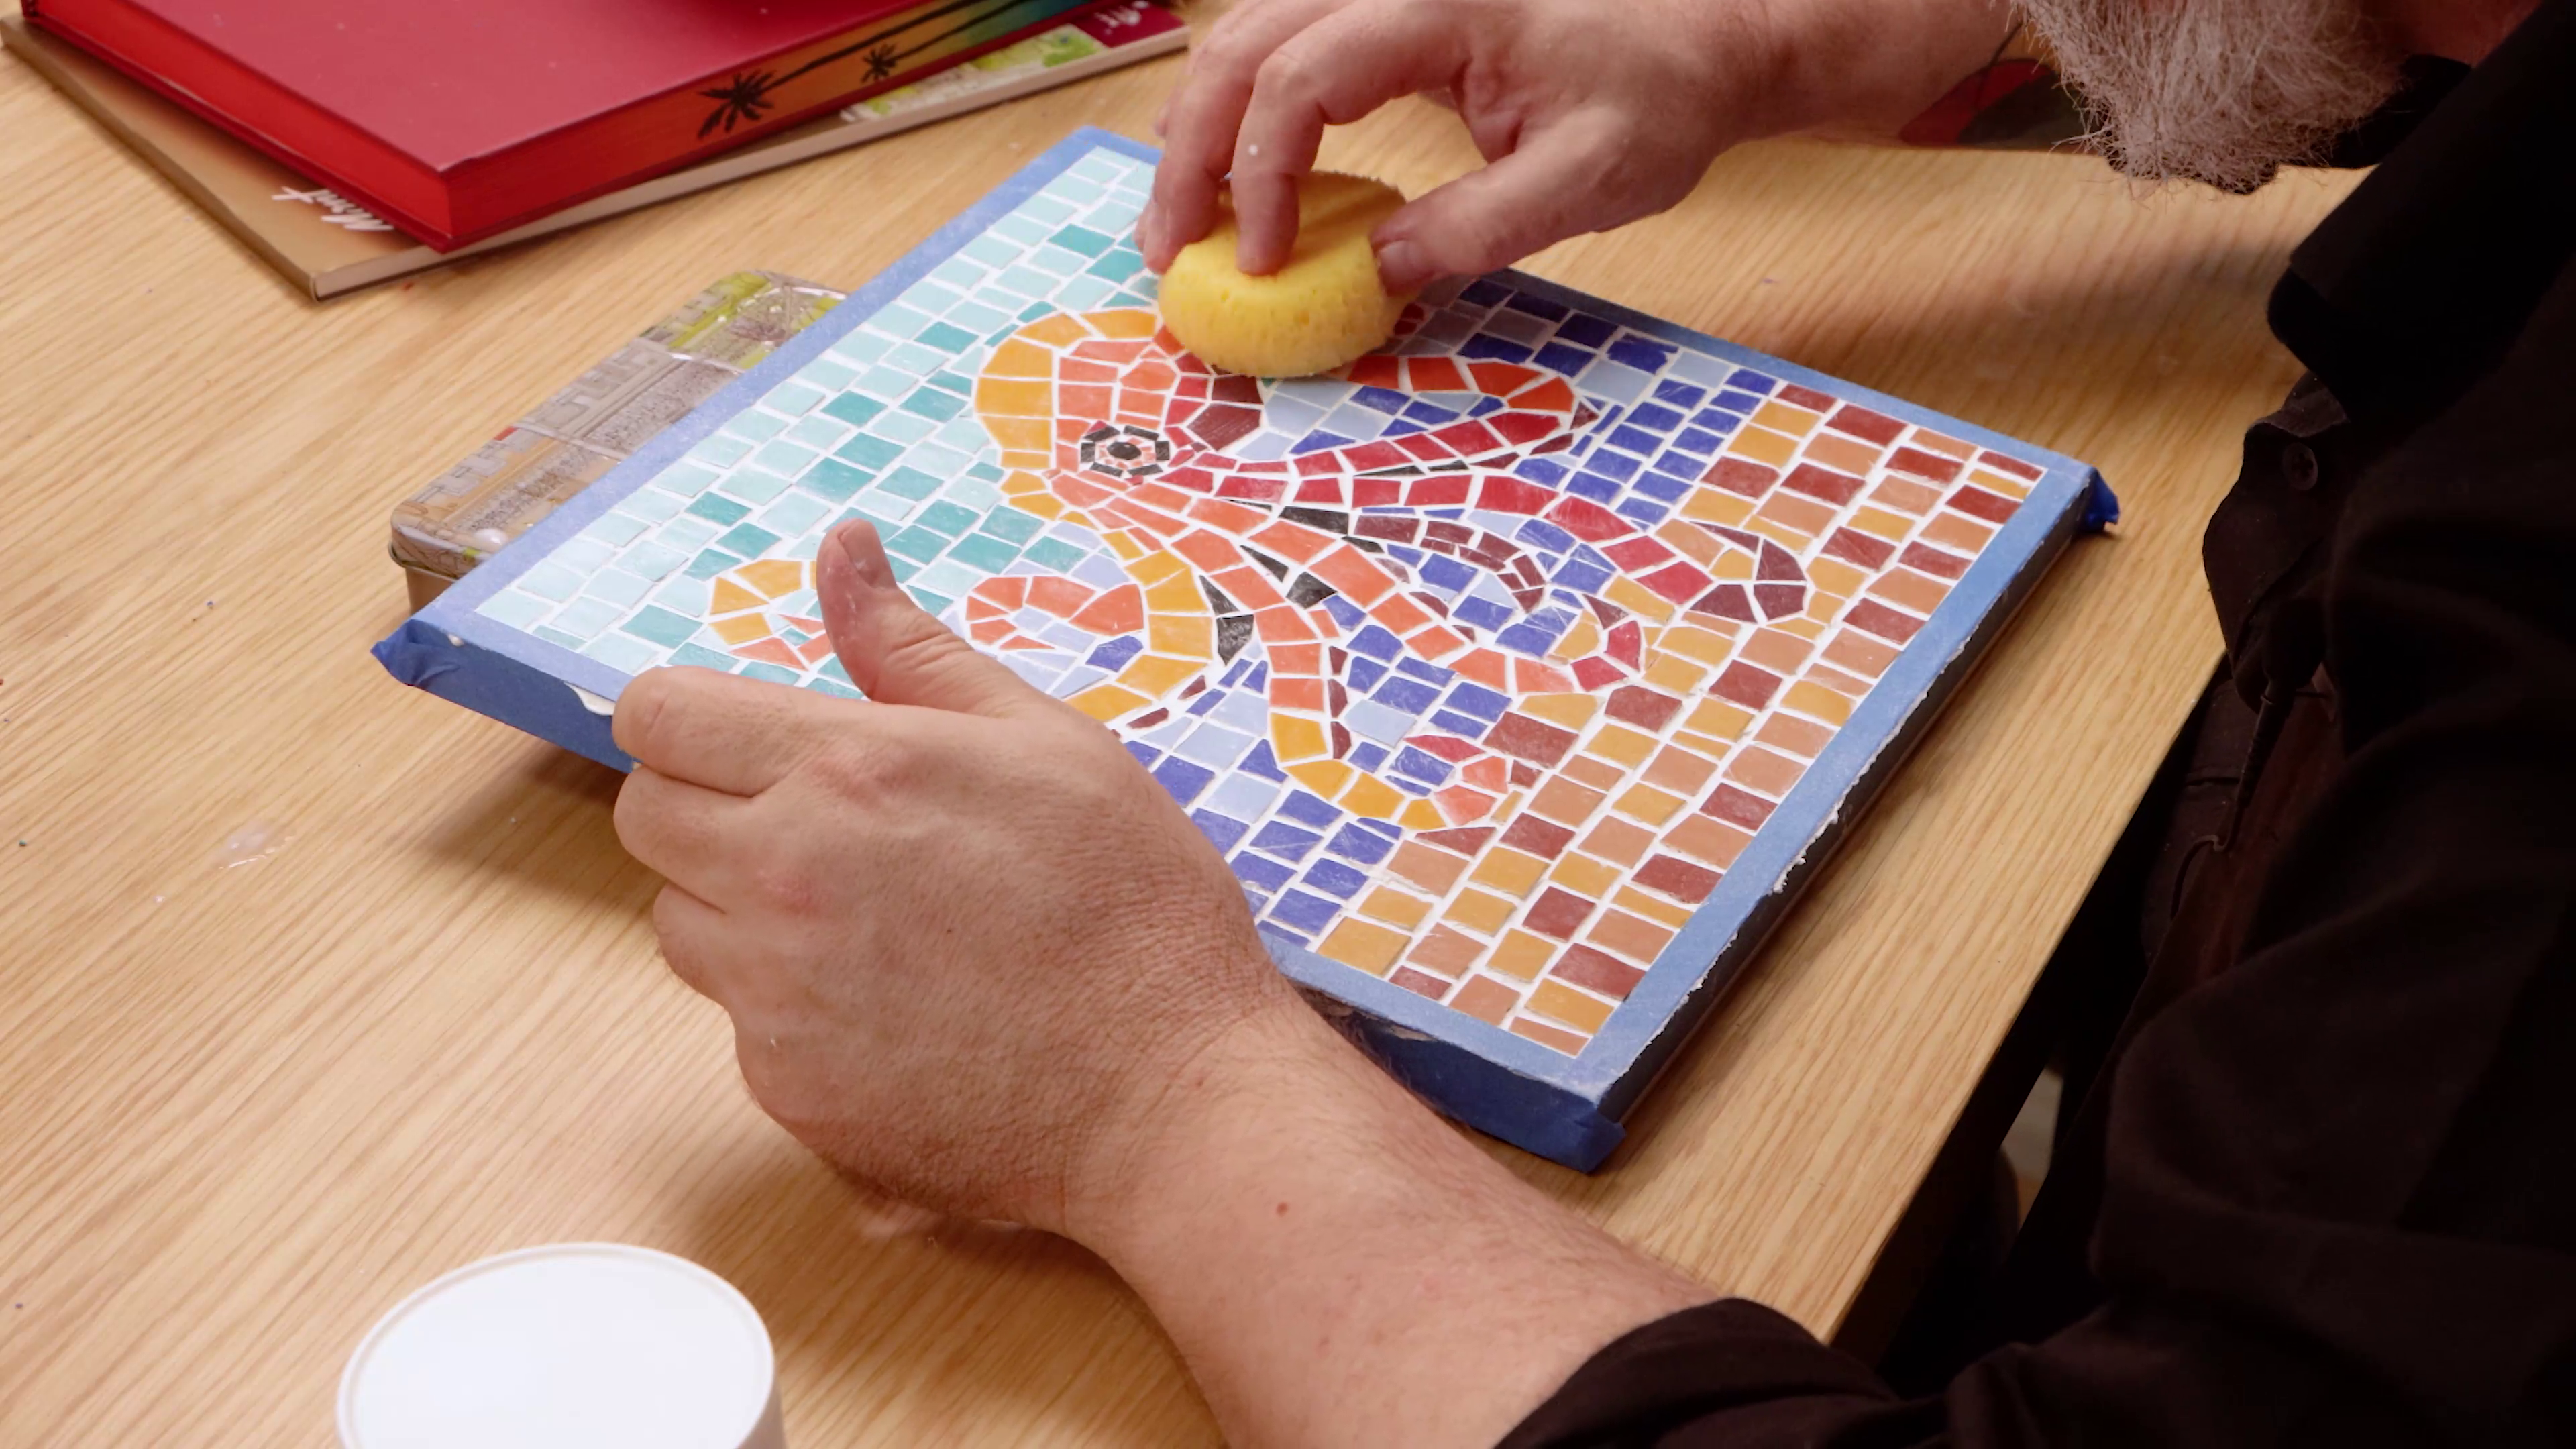
- Once the glue is dry, apply Light Moulding Paste over the tiled surface using a palette knife
- Press the paste gently into the gaps between tiles
- Smooth the surface while keeping tile edges visible
- Once evenly applied, use a damp sponge to gentle wipe away grout residue
- Allow the paste to dry completely
Once your mosaic is all dry, pop it up on the wall for tiled décor on a budget ✅
- Offcuts of Make n Bake Polymer Clay
- Clay Press or Levelling Roller
- Light Moulding Paste
- PVA Craft Glue
- Palette knife
- Fluid Art Panel or solid surface
- Baking tray and oven
- Scissors
You may also like

Peacock drawing in watersoluble oil pastels


How to use ceramic paint on a thrifted plate


