


How to sculpt a turtle with air dry clay
1. Sculpture foundation
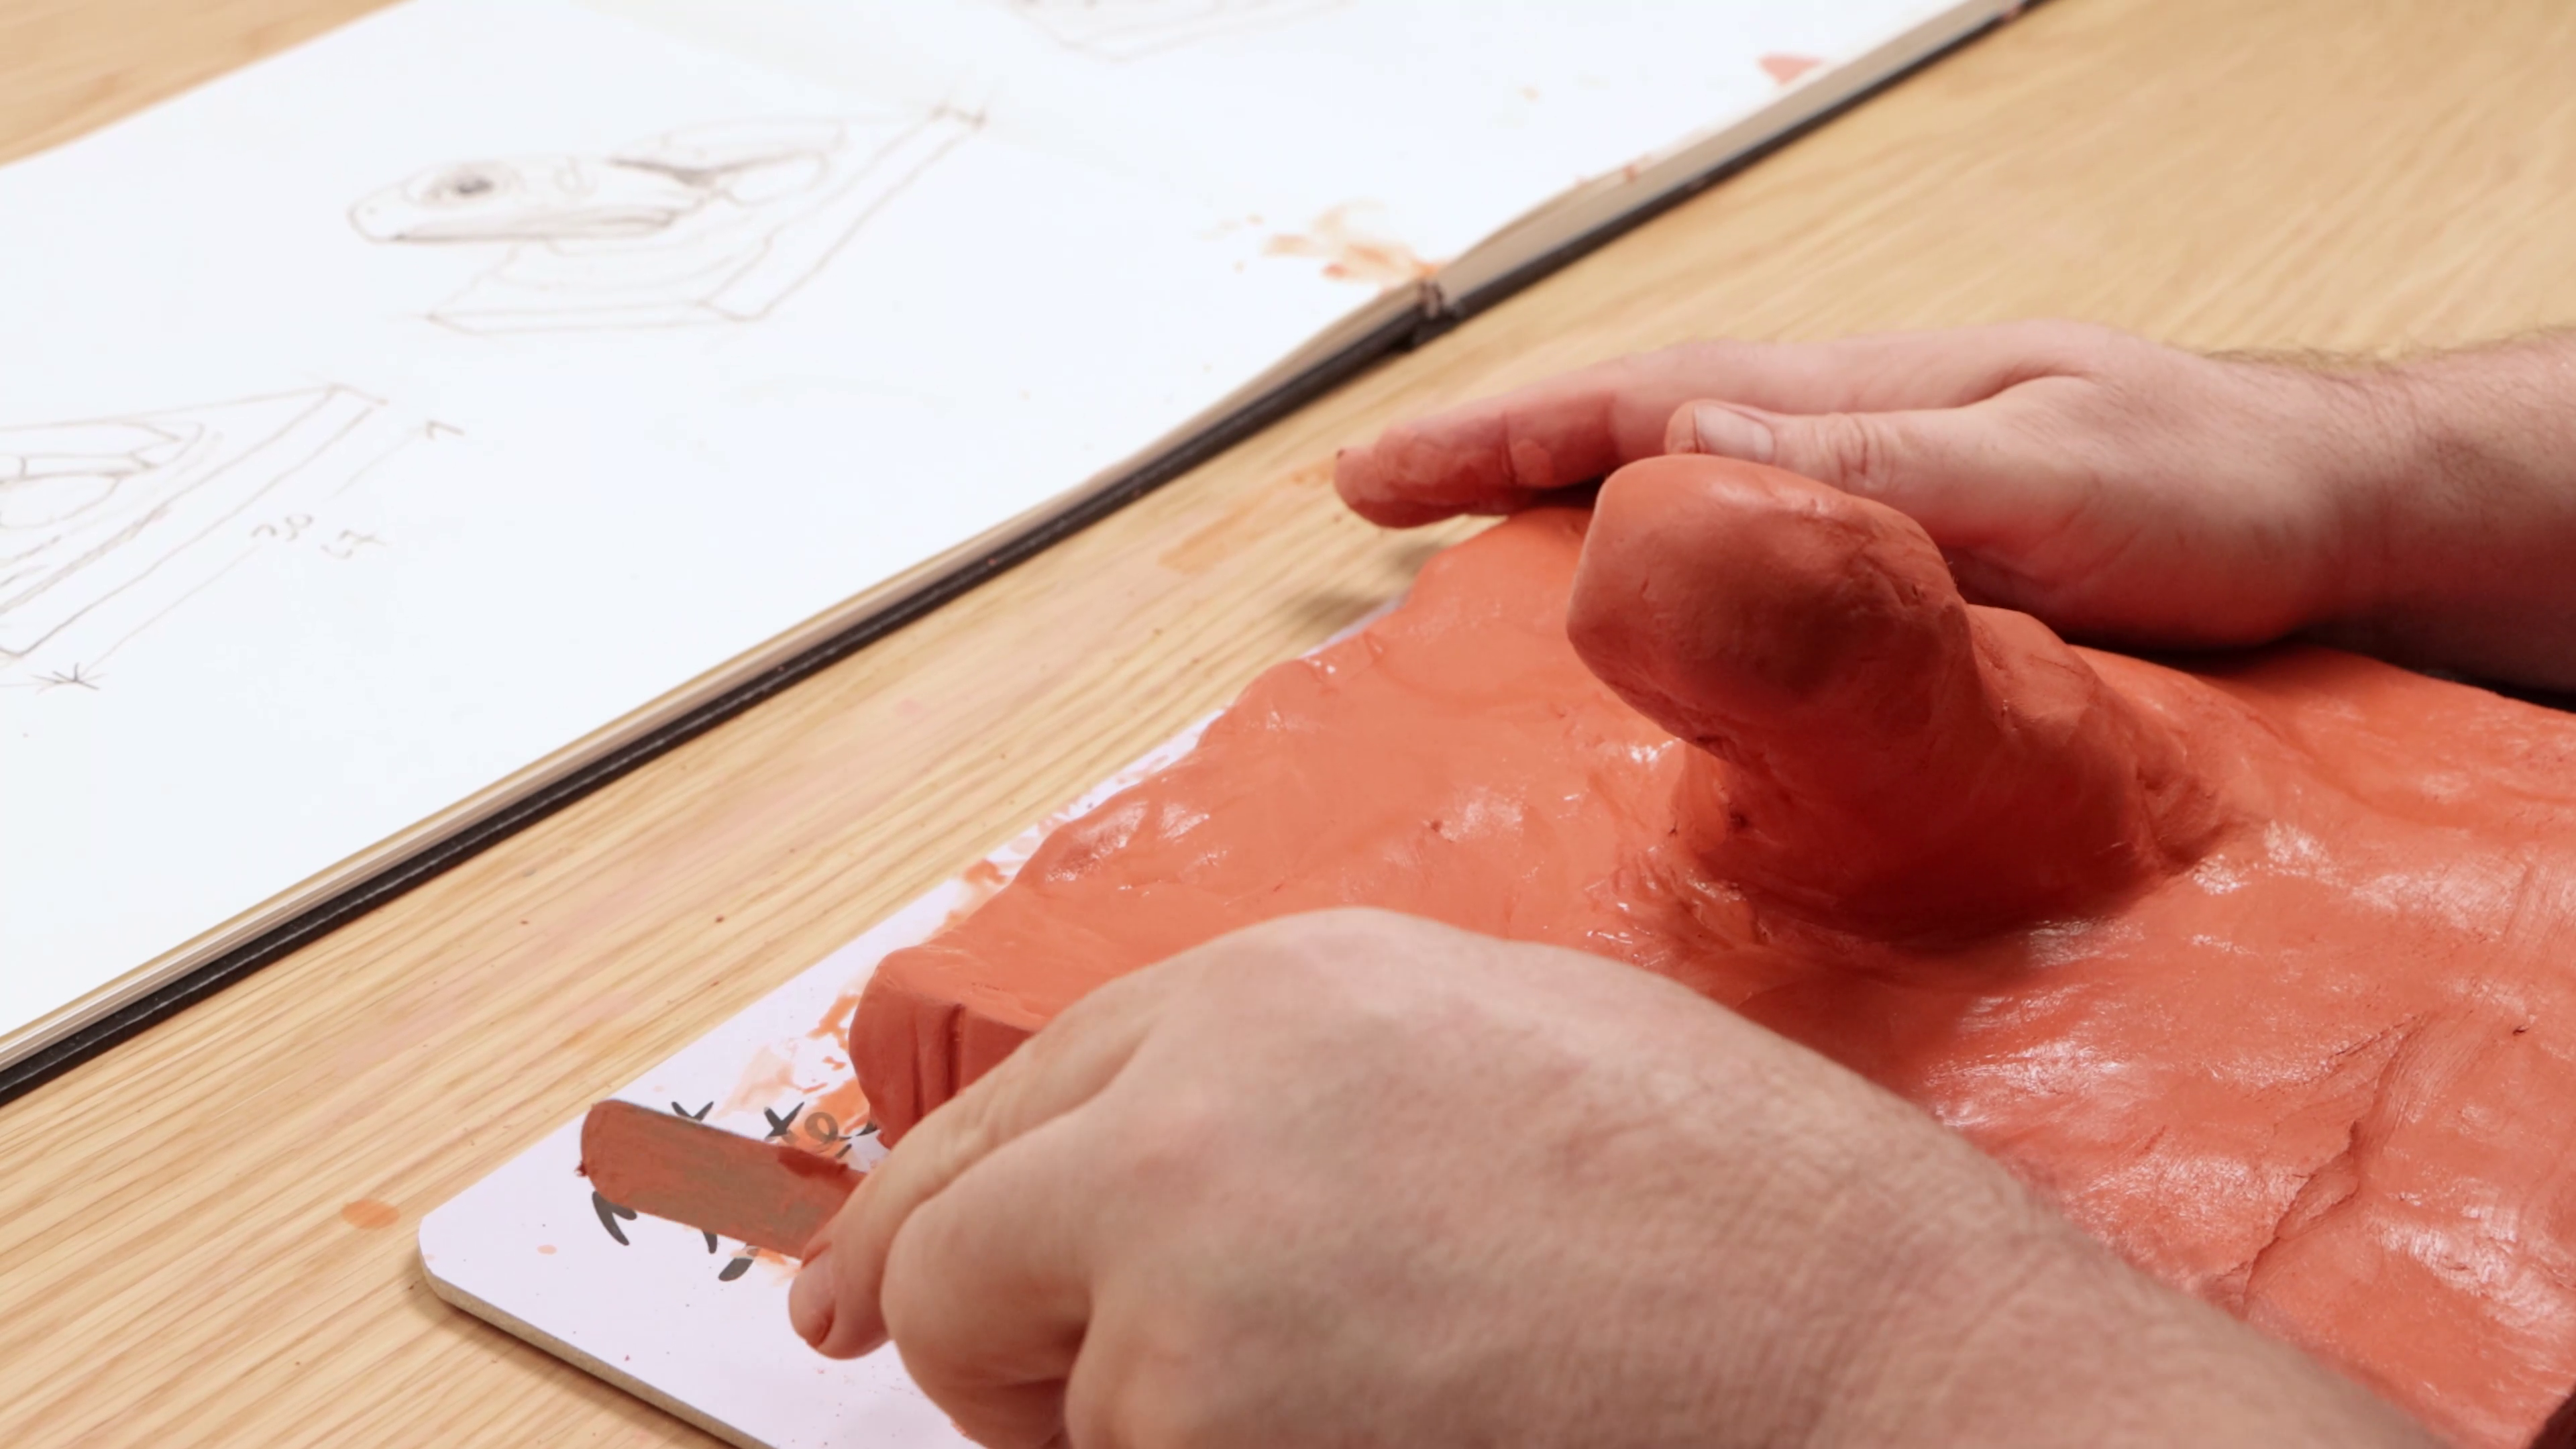
- Sketch your concept for the sculpture, including multiple angles of the turtle
- Build a clay base angled around a support such as a brush handle
- Press slabs of clay into place, smooth the seams, and reinforce with skewers
2. Sculpting water
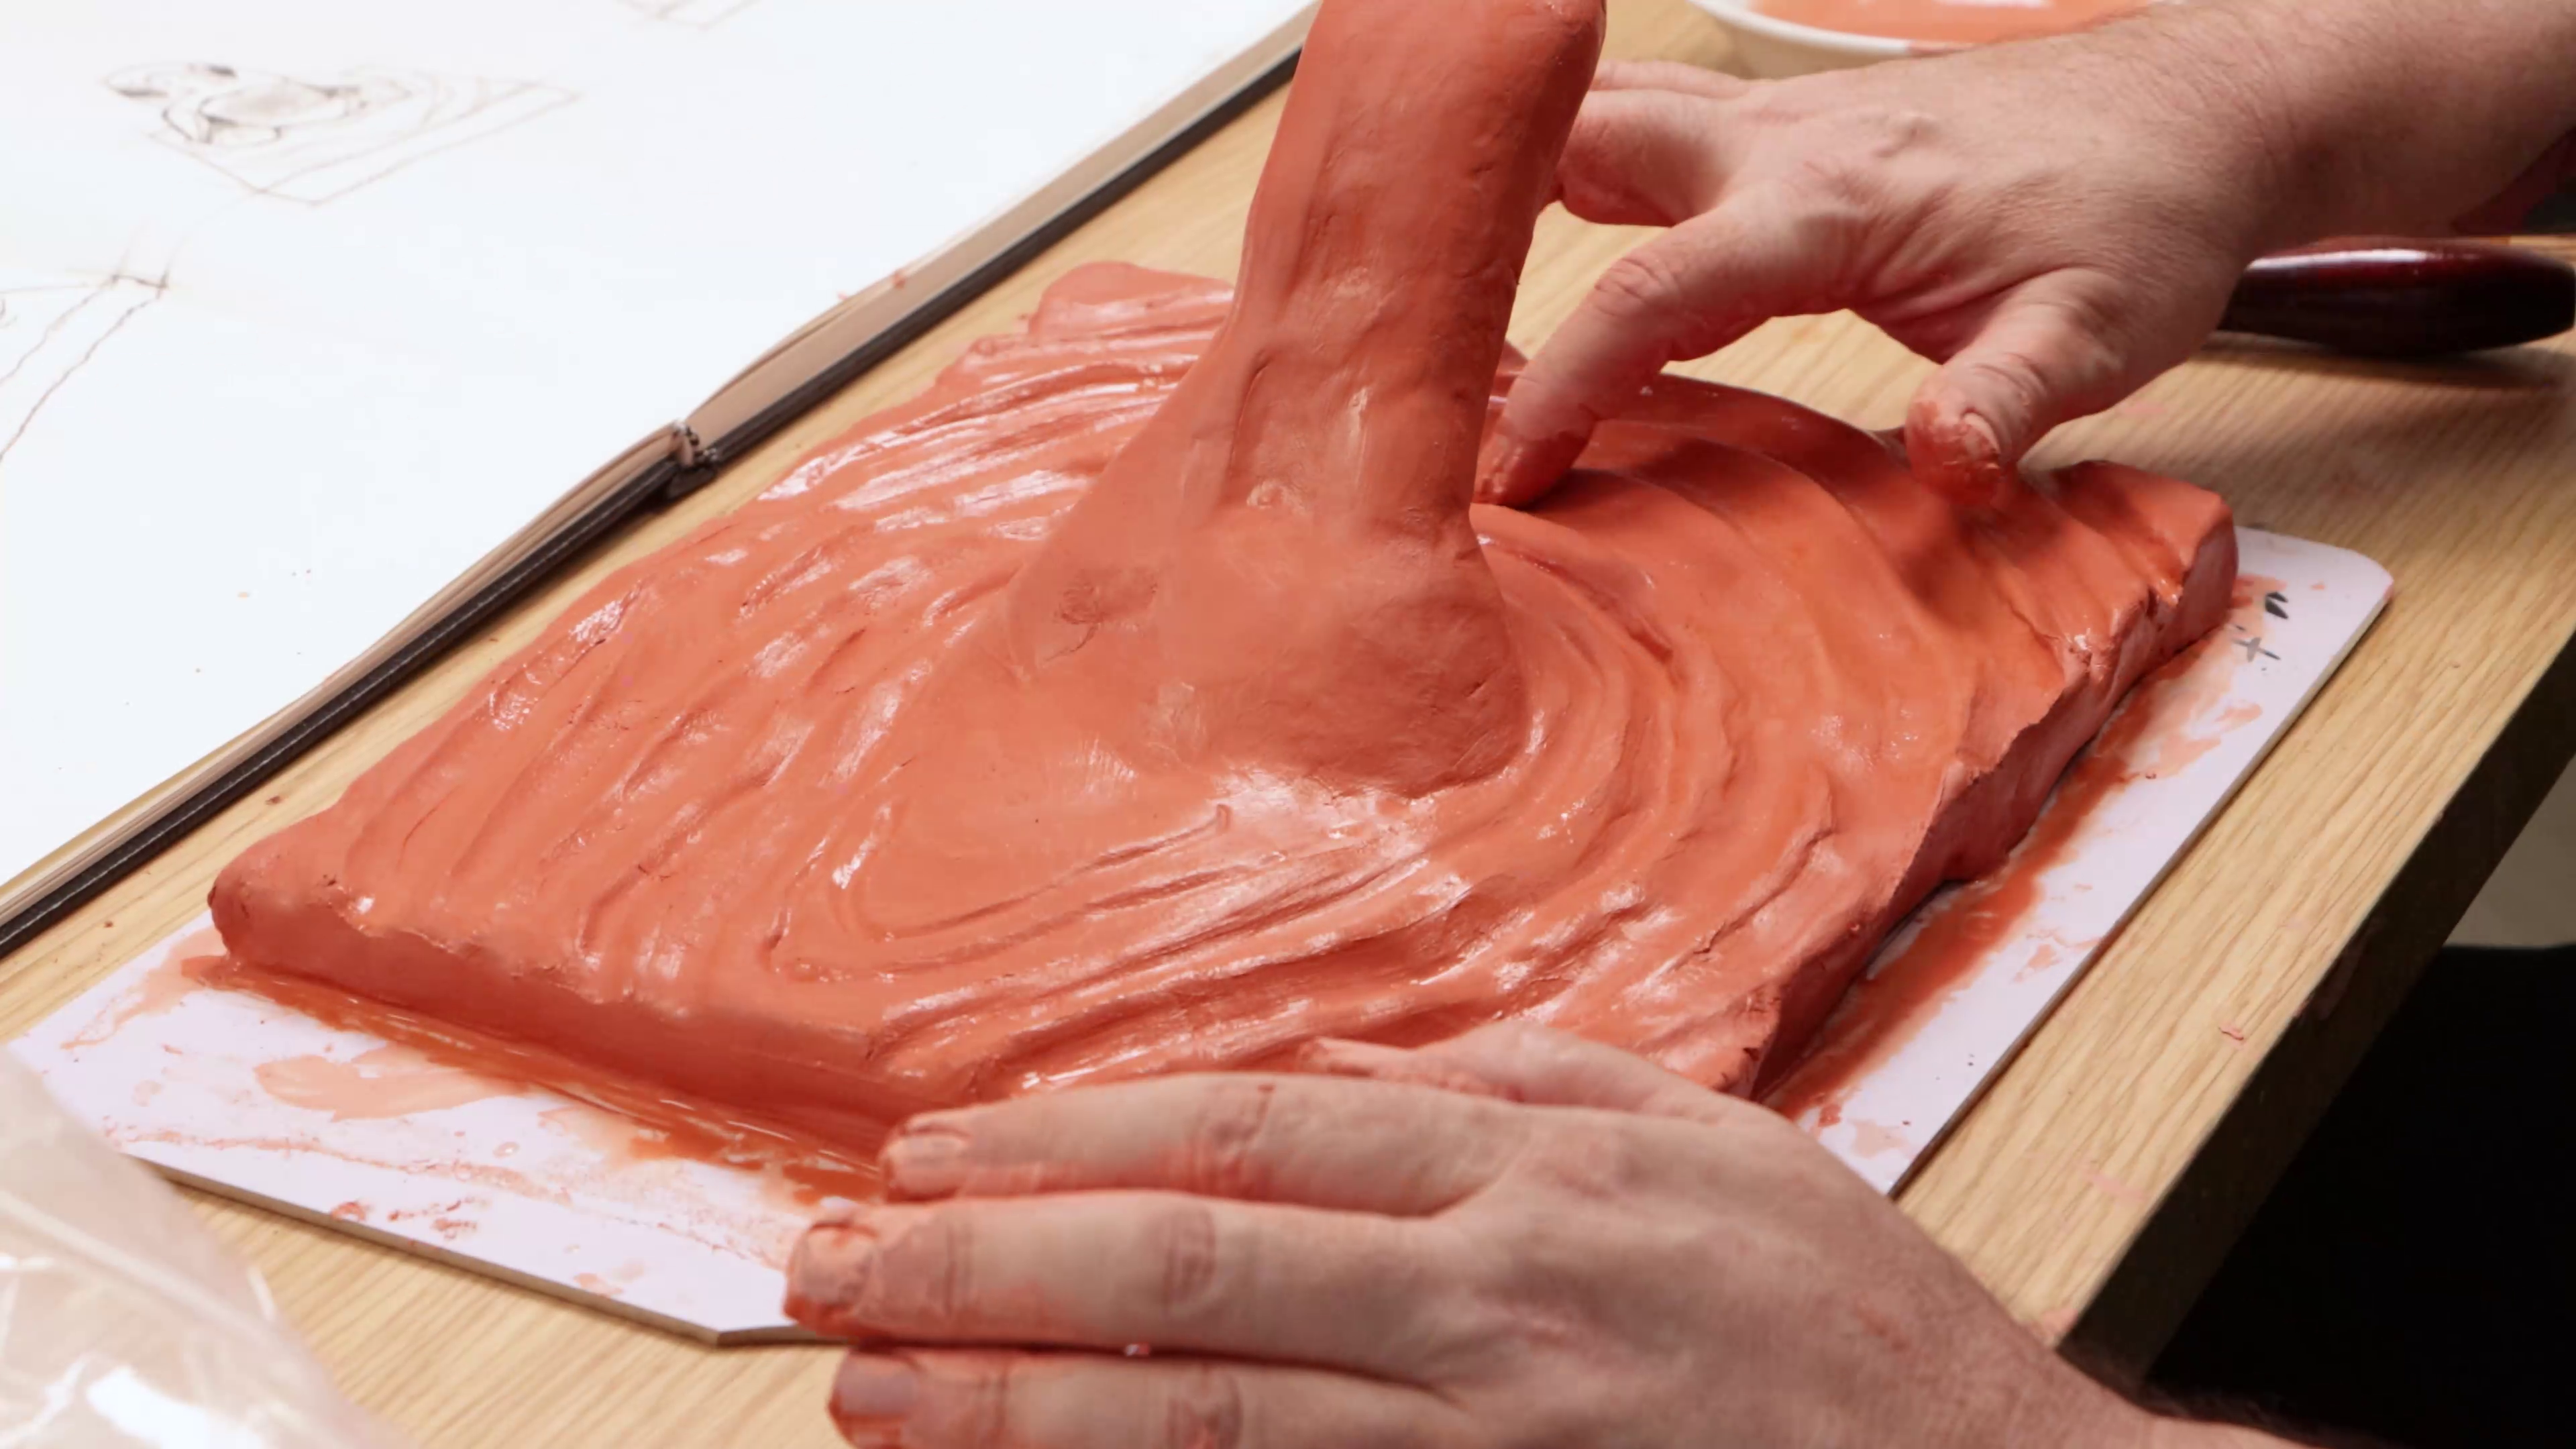
- Use a ribbon loop tool to carve out ripple patterns radiating from the turtle
- Smooth the carved surface with water and a filbert brush
- Let the base dry fully over several days
- Repair any cracks with fresh clay and water
3. Clay turtle head
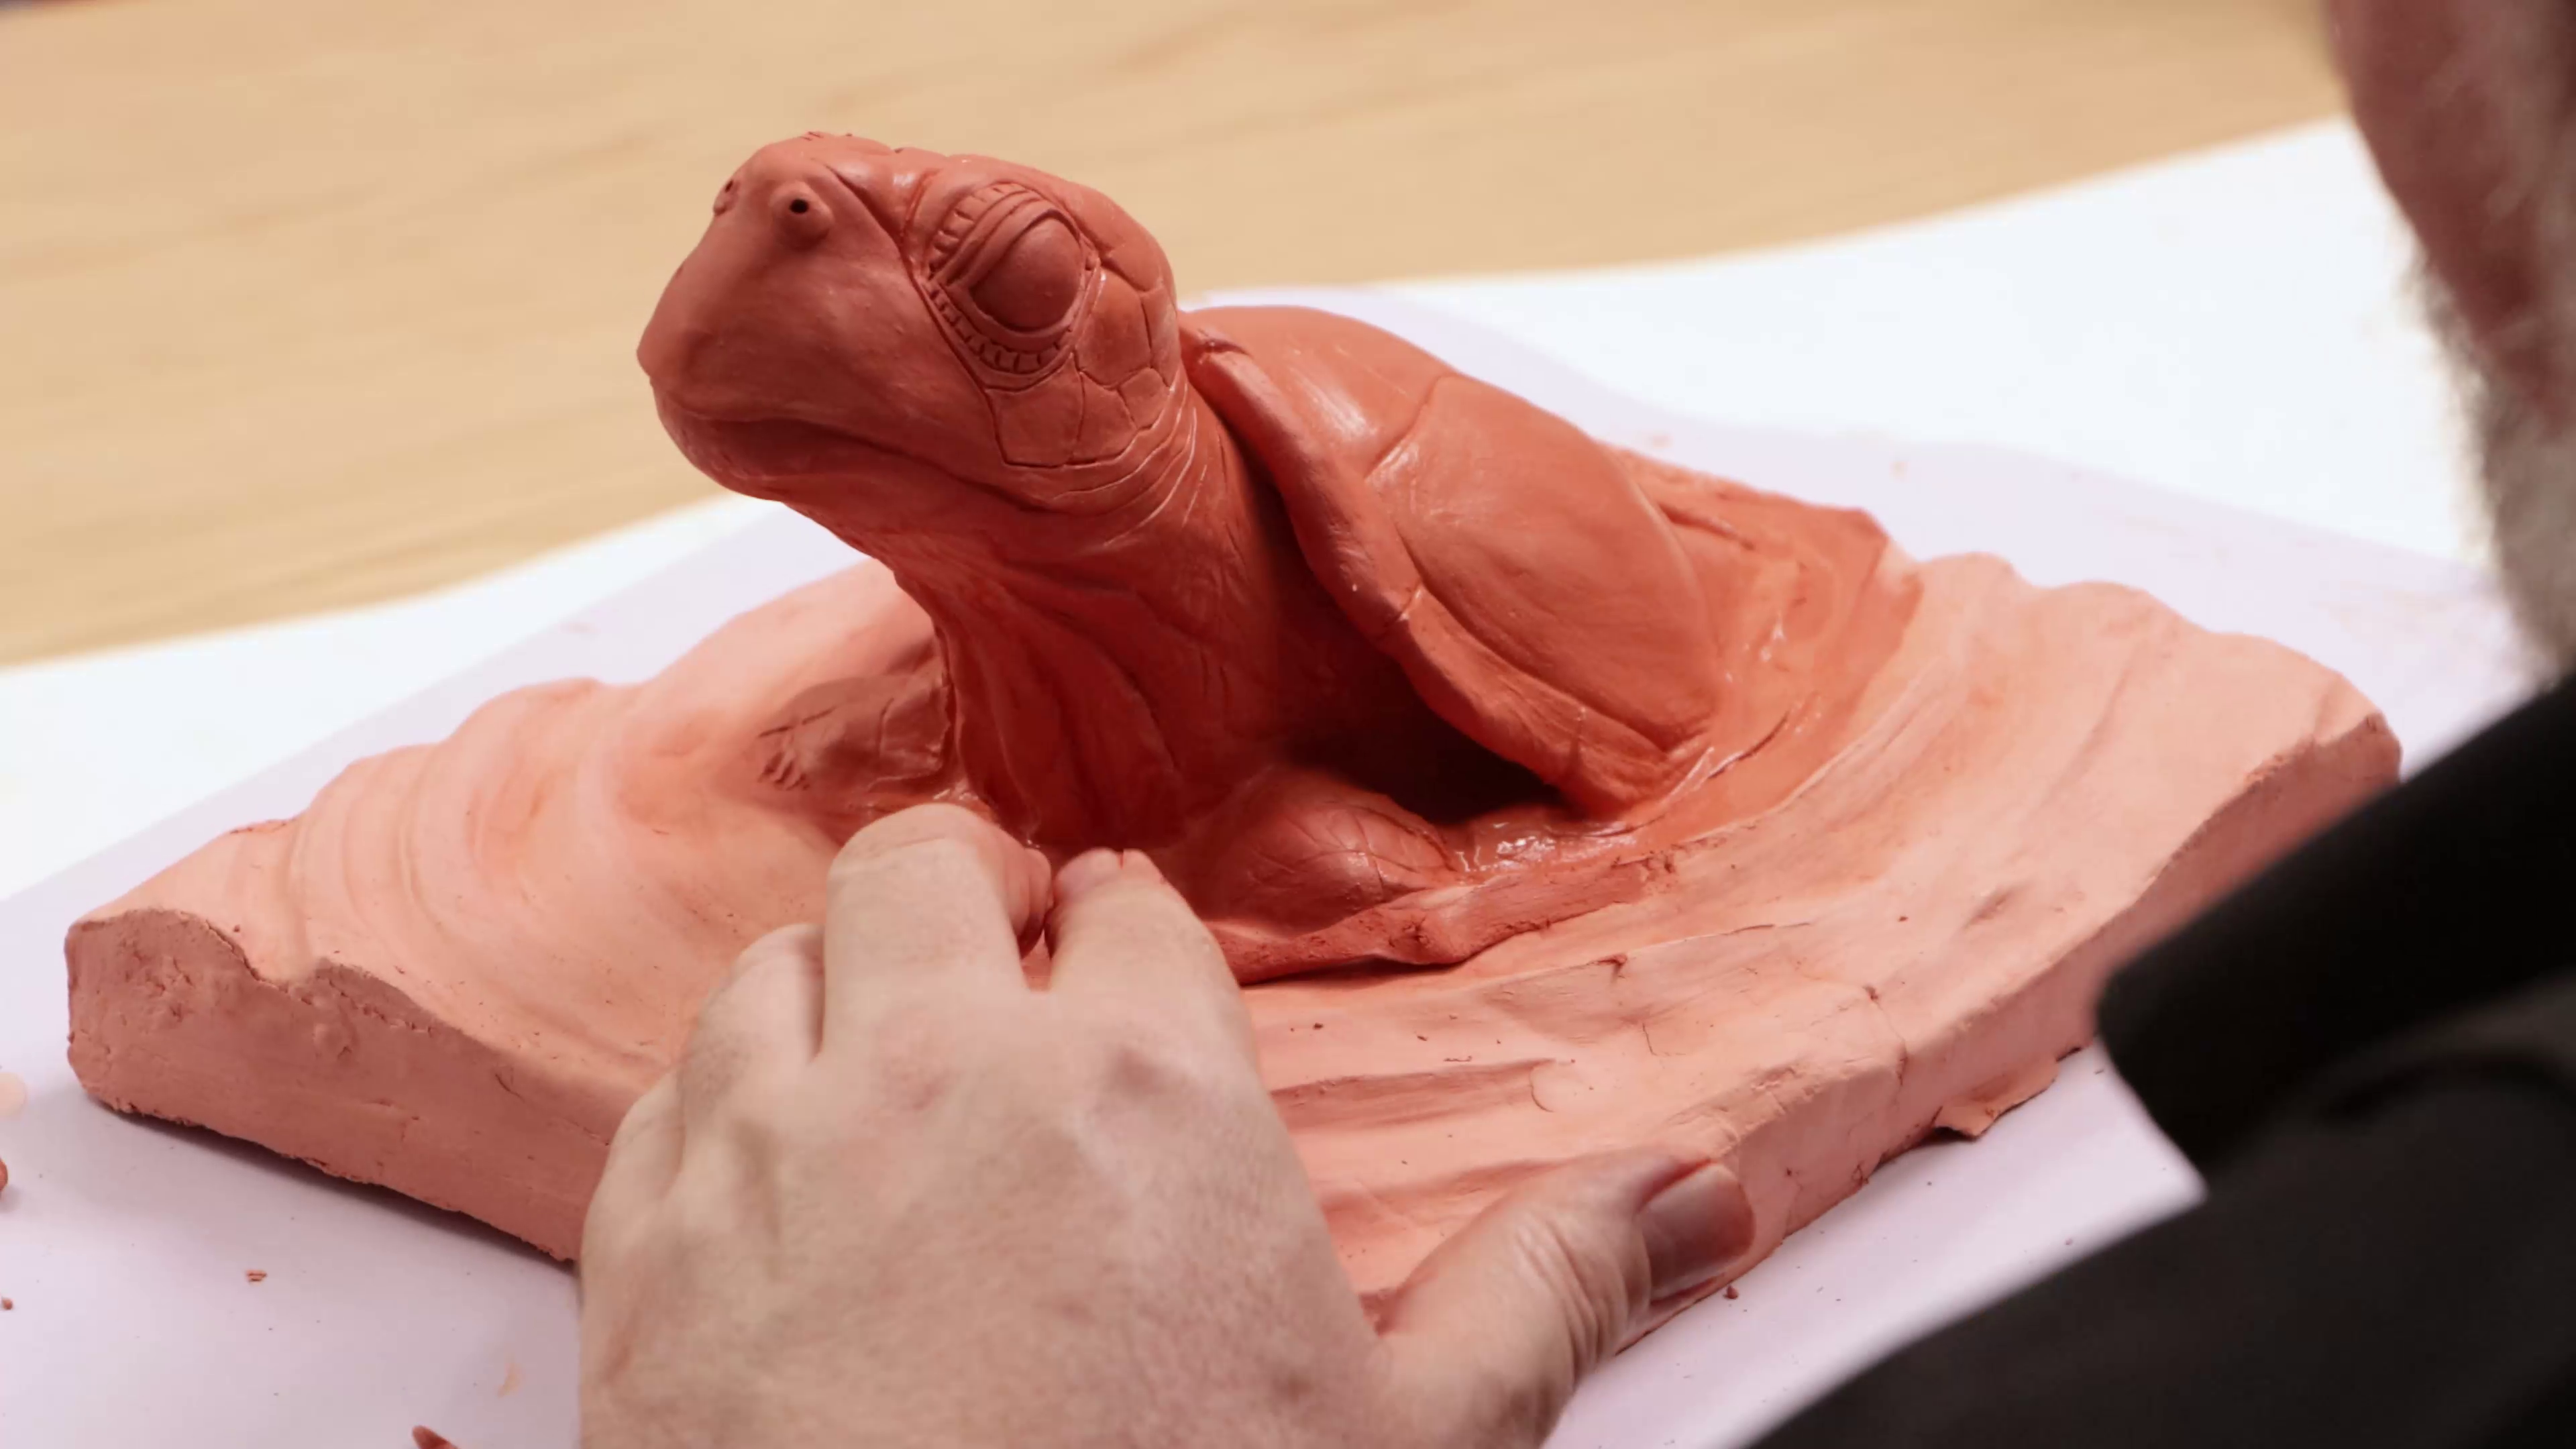
- Shape the turtle’s head by layering and sculpting clay until the proportions feel right
- Form the shell using a rounded slab and build up until the volume feels balanced
- Add facial features such as eyes, nose, and texture using a pin tool and hook tool
- Create shell and skin textures using reference images and detailing tools
- Add a raised ripple around the shell edge for definition
- Let the sculpture dry completely
4. Seal and paint
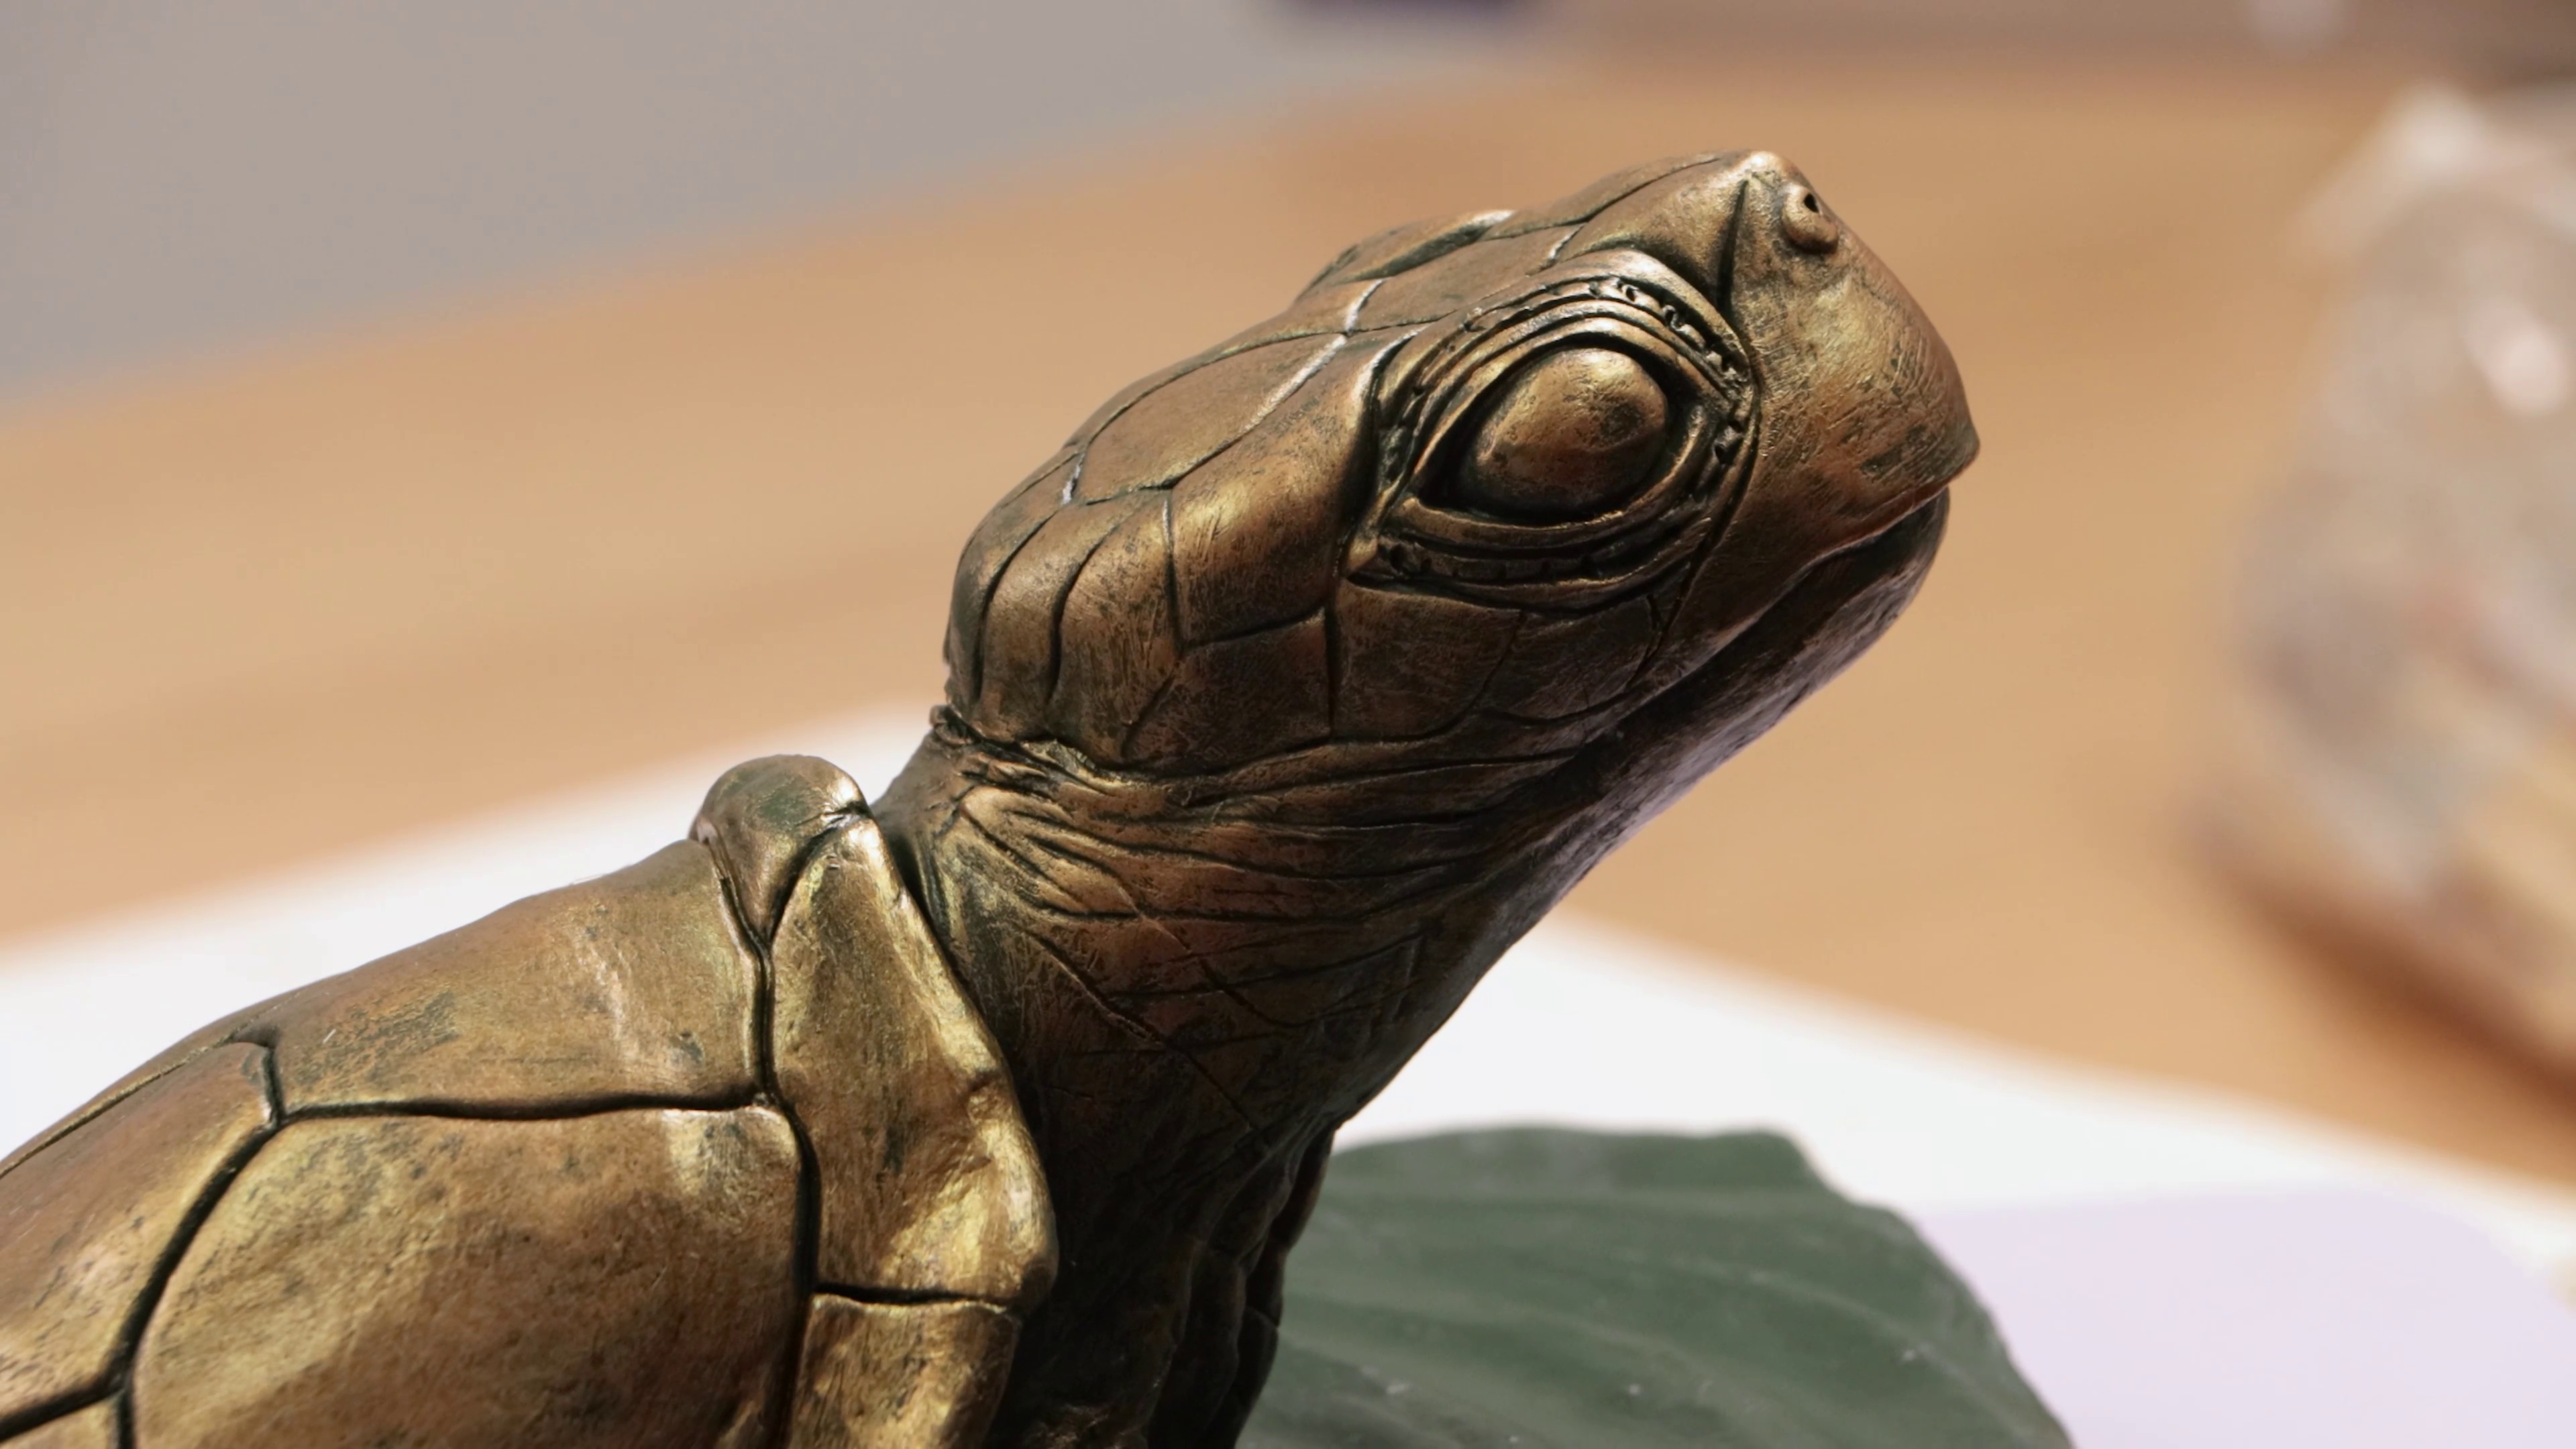
- Seal the surface with a 1:1 mix of craft glue and water and let dry
- Mix a green undercoat using Lamp Black, Hooker’s Green, Chinese White, and Yellow Ochre
- Paint the entire turtle with the green underpainting and let dry
- Mix Gold and Bronze Metallic acrylic paints in equal parts
- Dry brush the metallic mix over the surface to create the faux bronze effect, layering slowly
- Air Hardening Modelling Clay Terracotta
- Clay Modelling Tools
- loop tool
- hook tool
- ribbon loop tool
- Acrylic Colour Paints:
- Lamp Black
- Chinese White
- Hooker’s Green
- Yellow Ochre
- Gold Metallic
- Bronze Metallic
- Filbert Brush
- Craft Glue mixed with water (1:1)
- Sketch paper and pencil for concept sketch
- Water for smoothing
- Skewers (for reinforcement)
You may also like

Peacock drawing in watersoluble oil pastels


How to use ceramic paint on a thrifted plate


