


Tackling a portrait might seem daunting, but it doesn’t have to be. All you need to do is find a subject, pick up your paint brush and give it a go. If you’re just starting out, we’ve put together our top oil painting portrait tips to get you well on your way!
1. Refer back to your subject
Whether you’re painting from a photograph or real life, make sure you regularly look back at your subject. For your first go at a portrait, try painting from an image, rather than life, so that you don’t feel rushed or distracted. You could even try a self-portrait by setting up a mirror–this is a great step for intermediate artists to take before tackling a live portrait.
2. Choose a good photograph
If you’re using a reference photograph, make sure you choose one that has plenty of contrast between light and dark. You can create this yourself by getting your friend to pose and using a lamp or window to create dramatic lighting from one side.
3. Use oil paint for smooth blending
You can choose any medium for your portrait, but oil paints are great for smooth blending. Oils take longer to dry than acrylic paints, giving you more time to work and perfect your colour transitions.
4. Pick your colours carefully
Choosing colours for any artwork can be a tricky job, but using the same colours as the old masters is a great place to start when you’re painting a portrait. In general, artists often use the following colours because they make it easy to create flesh tones:
•Ultramarine
•Titanium White
• Crimson
• Yellow Ochre
• Burnt Sienna
• Burnt Umber
5. Draw your image first
Lightly draw your subject onto your canvas or board before you start painting. If it’s been a while and you don’t want to draw freehand, you can use a projector to trace the image. Once you’re done, seal your drawing with a translucent layer of acrylic paint mixed with clear medium and let it dry (we’d recommend a tertiary tone like Yellow Ochre or Burnt Umber).
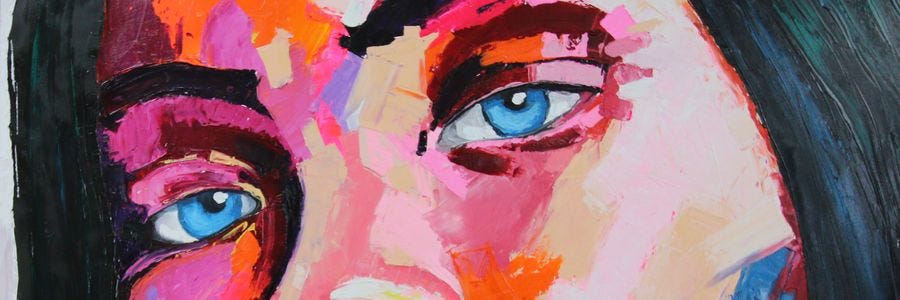
6. Start with the eyes
If you haven’t had a lot of practice painting portraits, start with the eyes first. This will give you a central point that the other features—such as nose, lips and hair—can be arranged around. Remember that the white area of your eye isn’t pure white, so add a touch of Ultramarine and Ochre to make your portrait look more realistic.
7. Paint from dark to light
When you’re using oil paints, you should generally paint from dark to light. This will help you to build depth as you work your way up to the lighter tones. There are a lot of different ways you can create the darker skin tones for the shadows on the face, but we find that Crimson, Yellow Ochre, Burnt Umber, Titanium White and a touch of Ultramarine usually work well.
8. Use mid-tones
Once you’ve painted in your darker tones, you can get started on your mid tones. These will mostly sit on the side of your subject that faces the light source. This mix will be the same as the darker tones, except you’ll leave out the Ultramarine, use less Burnt Umber and add more Titanium White.
9. Create highlights
To add highlights to the face, mix up a peach tone and add small amounts to the lightest areas. Most of the time, this will be on the side that’s facing the light and on features that stand out (such as the nose or parts of the forehead). If you’re not sure, look carefully at your reference image or subject to find the lighter areas.
10. Pay close attention when adding detail
Once your base layers are done, it’s time to start detailing. Look closely at your reference image or subject to see what you need to add in. Usually, you’ll work on defining the eyes and creases around the mouth, on the cheeks and chin.
11. Build up the hair
Think about hair as a single mass (rather than individual strands). Like we mentioned earlier; start with the darker tones and layer up to the lighter areas. Try to keep your strokes as fluid as possible to create a natural look. You can do this by using a flat brush and holding it gently on the side. Once you’ve laid the ground work, add in the highlights using a fine brush to bring it all together.
12. Create a simple background
For your first couple of portraits, create a fairly simple background to make your portrait the star of the show. Once you’ve had some practice, you might like to include some objects that relate to the sitter and tell the audience a little bit about who they are.


