


Whether you’re looking to take a dive into watercolours for the first time, or you’re looking to make a splash and have a play, brush up on your skills with these 21 watercolour techniques.
1. Wet wash
For this watercolour technique, be sure to use watercolour paper. This is because the paper will need to absorb a lot of moisture to create the effect. A wet wash is where the paper is wet and the brush is slightly dry. Dip your brush in water and cover the surface of the paper, then dip into the paint and apply lines of colour on top of your wet area.
2. Gradient wash
The gradient wash works best when painted upright so grab an easel or mount your work and paint light to dark to create a gradient effect. Start by using broad, horizontal brush strokes and move down the paper. Start with a fully loaded brush and as you work down, dip your brush into water to dilute the colour. Then brush slightly overtaking the last stroke for a blend. As you are adding more and more water, the last stroke will be mainly water and less paint.
3. Dry brush
To dry brush with watercolours, apply a wet wash, then grab a dry brush and firmly press the brush to the paper. This watercolour technique will remove the moisture and some of the pigment from the paint, lifting the colour and leaving parts of the paper exposed underneath. This can create stunning trees and shrub-like effects.
4. Dry wash
Keep the paper dry for this technique, then add some water to the paint before dipping in. You can control the intensity of the colour with how much water is used. This can also help if you're looking to add more flow to your watercolour works, give it a go yourself!
5. Underpainting
Underpainting can also be applied to oil painting techniques, but when it comes to watercolour, add in various shades of transparent washes to establish the tone. Using a soft brush, lightly paint with a cool tone shade such as a lilac, blue or green to balance out a warm tone. Let this dry completely before adding the next layer.
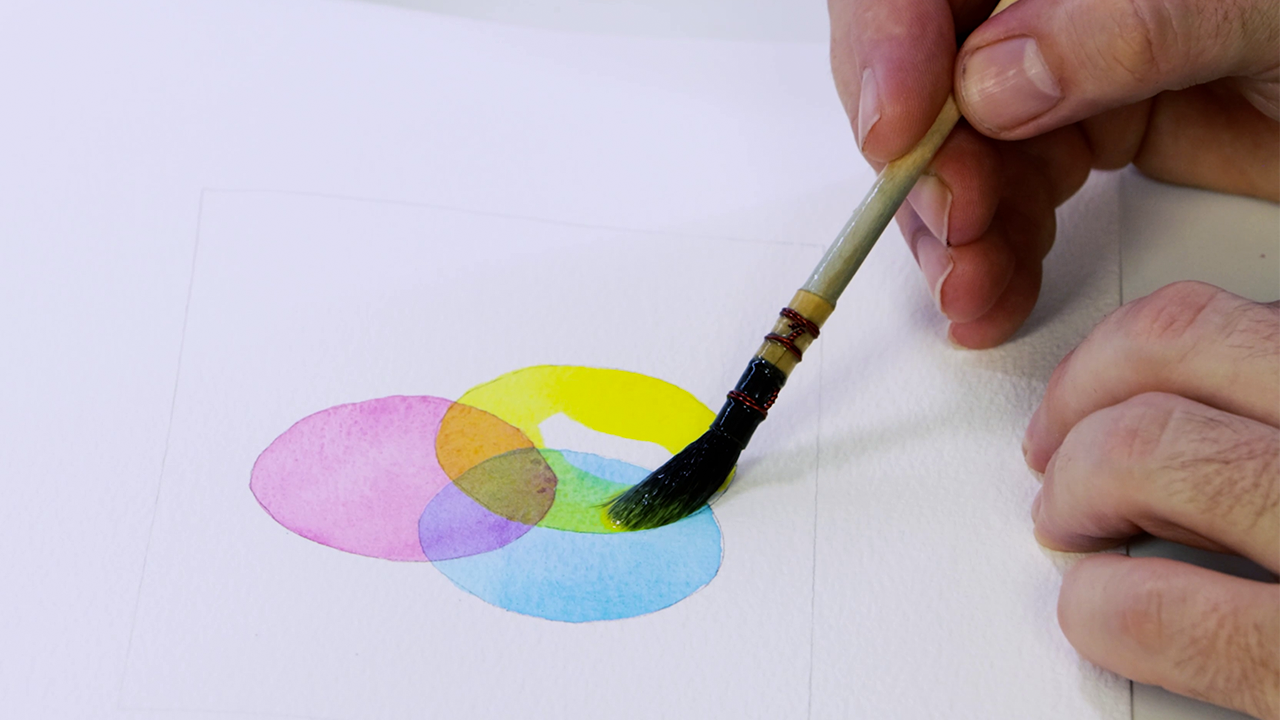
6. Wet on wet
When it comes to blending watercolours there are two ways to do this, wet on wet and wet on dry. For wet on wet, firstly add water to your paper then add your colour. Apply more water to the surface before going in with another colour, these colours will then meld together to form a blend.
Because of the wet surface, this technique will allow the colours to blend naturally, but you might also find using your brush to gently work the colours around to blend together, will work wonders too.
7. Wet on dry
For wet on dry, you will be applying paint straight to dry paper. The best part about this watercolour technique, is that because the paper is dry, you won’t have to wait long between the layers. Firstly, start by adding paint to the paper and gradually add more and more paint. The colours will then bleed into one another and form a blend.
8. Blocking
To protect certain areas from absorbing colour and keeping whites white, apply a masking fluid. Check you have a dry surface before applying the fluid to the paper with an old nylon brush – masking fluid will clog brush hairs so it’s best to use an old brush. You will also need to wait for the fluid to dry before you paint, or it may tamper with your pigments. Paint your areas and then remove the masking fluid with an adhesive eraser, this will protect the area that has been covered and keep your whites white.
9. Watercolour blooms
Watercolour blooms are where wet paint has hit a slightly dry area of the paper creating a cloud-like bloom shape. You can use this easy watercolour technique to blend watercolours together. Firstly, apply a primary colour and let it dry slightly before applying another primary colour in a wet wash. The colours will then blend together to create a bloom.
10. Glazing
When it comes to glazing with watercolours, start by adding a line of colour in one direction. Once this has dried, paint over this in the opposite direction, such as vertically then horizontally, the colours will then overlap. This glazing technique is great for creating depth and shadows to your watercolour masterpieces.
11. Spray bottle
A fun way to splash some water around, this easy watercolour technique looks like spray paint and will add bursts of colour to your works. Begin by mixing some watercolour paint with water and place into a spray bottle. Give it a good shake to combine, then spray onto the paper, this technique can be a fun way to experiment and try something new.
12. Splatter
A splatter technique can be used to create stunning sand or pebble details to your watercolour artworks. Using an old brush or even a toothbrush, dip the brush’s bristles into your colour of choice, then flick the brush hairs using your fingers, this will cause the paint to splatter onto the paper at random.
13. Feathering
If you find your pigments are becoming too strong, feather them out using a clean, wet brush.
In fact, all you need for this watercolour technique is a clean, wet brush. Go in with a clean, wet brush over solid colours to diffuse strong colours, create a gradient or smooth out a harsh line.
14. Paper towel
This is an easy watercolour method to remove colour, use this technique to create clouds or help create highlights. To begin, create a wet wash, then grab a piece of paper towel/ kitchen roll and dab off the excess paint and moisture. Paper towel can absorb water and paint quickly, so it’s best to work with smaller pieces, than risk ruining a beautiful blue wash.
15. Sponge painting
Bring your trees and leaves to life by using a sponge watercolour technique. Forget brushes, try cutting a sponge into a small leaf or triangle shape then apply colour to the sponge and press down onto wet or dry paper. Experiment using damp or barely damp sponges and try these techniques for yourself. You can also use this technique to lift colour from paper, like the paper towel technique, but instead, using a dry sponge to absorb moisture.
16. Adding texture with salt
Similar to the fabric paint technique, you can use salt to create unique effects with your watercolours. Paint a wet wash onto wet paper then sprinkle salt over your masterpiece. For this to work, you will need rock salt rather than table salt, because you will want to try different sized grains for a range of textures. Once dry, shake the salt to remove.
17. Plastic and Paper
You’ll want a lot of water for this one, go in with a wet-on-wet wash, then grab plastic wrap, a tissue or aluminium foil. Begin tearing and scrunching the material up, then leave the material to dry over the top of your watercolours. The water will pool where the material meets the paper and create a textured-look once dry.
18. Rubbing alcohol
Again, you’ll want to use a fair amount of moisture for this watercolour technique. Begin with a wet on wet or a wet wash, using multiple colours. Then using a cotton bud stick or a brush, apply some rubbing alcohol to the paint surface. The rubbing alcohol will separate the colours, leaving interesting cells and splotches.
19. Pushing puddles
To create a streak free wash or glaze, try your hand at pushing watercolour puddles. The key to this technique is to create a small puddle, then using a loaded brush, push the puddle around the paper. Be sure to keep the puddle moving and don’t go back into the areas you’ve painted until it has dried completely. Pushing watercolour puddles is great for adding colour to delicate areas like leaves and petals.
20. Colour Drips
Watercolour drip painting can add a nice fade effect to your subjects or be used for decorative backgrounds. Depending on the amount of drips you want to create, start with the wet on wet technique using either a brush or a pipette of water, then add colour and lift your paper or surface. Gravity will create the drips in your watercolour drip painting, so if you want to create more drips, add more water or tilt the paper for drips in other directions.
21. Wax resist
For this technique, grab some dry paper and begin drawing with a crayon, then add a wash of colour over the top. The water will resist the wax and you'll be left with a funky design. Experiment with zig zags, circles, swirls, squares, whatever your heart desires.
Try these techniques for yourself and create a Lofi painting with watercolour or follow along and create these three simple watercolour fruits.


