






Meet air dry clay artist Anna Dziarko (@creanna.craft), an Italy-based maker whose clay creations include clay bookmarks, jewellery holders, and miniature houses shaped with everyday tools like cookie cutters and LEGO bricks. After years of putting creative hobbies aside, she returned to sculpting for a little time to herself. Now she shares a range of her DIY air dry clay ideas for others to follow along. We chatted with Anna about finding ideas in everyday objects, learning through mistakes, and making things simply for the enjoyment of it.

1. How did your creative journey begin, and what first drew you to working with clay?
My creative journey began in childhood. I always loved drawing, painting, and sculpting with polymer clay. Later, I attended an art school, where sculpture was by far my favourite class. As I grew older, though, creativity gradually took a back seat. I was focused on doing what I thought I was supposed to do as an adult: finding a job, building a family, and taking care of everyday responsibilities. When I became a mother, there seemed to be even less room for the things I used to enjoy just for myself. Creating felt like something I would get back to someday, when life was a little less busy. A few years ago, I finally found my way back to clay. It felt like reconnecting with a part of myself that had always been there, just waiting for a little space. What started as a childhood passion became a way to slow down, enjoy the moment, and make something simply because I wanted to.

Pumpkin coaster creation by Anna Dziarko
2. Your projects turn everyday objects into something personal, like clay bookmarks and jewellery holders. Where do those ideas usually start?
I'd be lying if I said Pinterest and other creators on social media weren't a source of inspiration! I think it's wonderful to see how differently people approach similar materials and ideas. For me, the important thing is to take that inspiration and make something of your own rather than simply copy what someone else has done. A lot of my ideas also come from everyday life. I love making personalised gifts for family and friends, or creating something for my home that I can't find in any shop. Sometimes I have a very specific design in mind, down to the shape, colours, and tiniest details, and nothing on the market quite matches it. That's when clay comes in. I don't have to settle for something that's almost what I imagined. I can make it myself, which is probably one of the things I enjoy most about working with this material.

Starfish trinket dish by Anna Dziarko
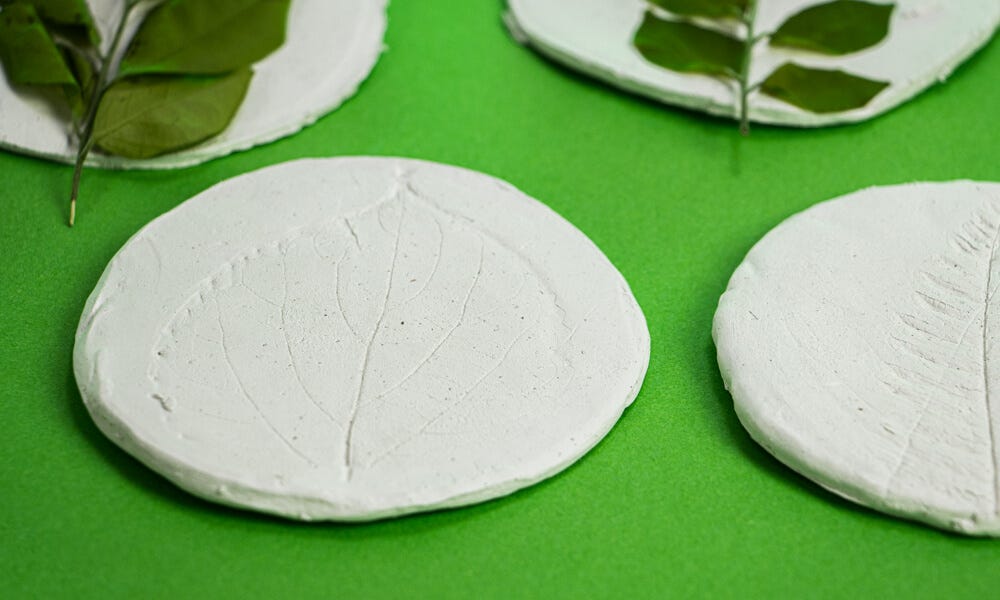
3. You use leaves, cookie cutters, and other everyday items in your tutorials. What’s the most unexpected thing you’ve used as a clay tool?
My son's LEGO bricks! One day, while we were playing together, I suddenly realised they would make perfect little stamps for creating windows and doors on miniature clay houses. I love those moments when you look at an ordinary object and suddenly see a completely different use for it. You don't always need a collection of specialised tools to make something interesting. Sometimes the best ideas come from simply looking around and asking, "What if I tried this?"

Flower bowl by Anna Dziarko
4. Can you talk us through your process, from your first idea to the finishing touches?
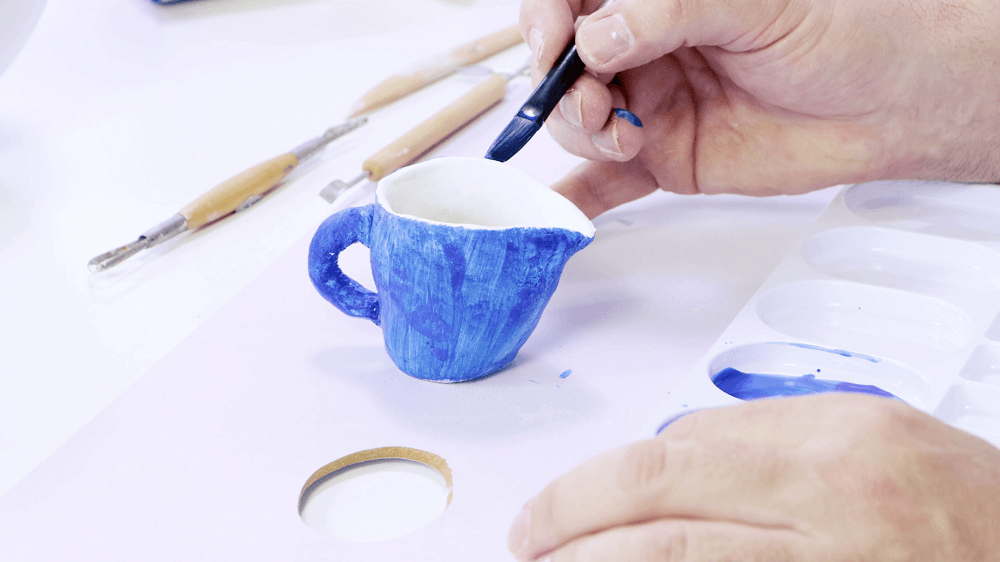
I'm quite a planner when it comes to creating. I usually have a clear picture of the finished piece in my mind, but I also think through the practical details before I begin. If I'm making a three-dimensional object, for example, I need to work out how to support it while it dries and how to minimise the risk of warping or cracking. Since I turn many of my projects into tutorials, I also think about how to make the process clear and easy for someone else to follow. Once the shaping is done, patience takes over. I let the clay dry completely, which can take several days depending on the project. Then I sand the surface carefully. This step might not be the most exciting part to film, but it makes a huge difference. Paint tends to highlight every little bump, so a smooth surface is worth the extra effort. Painting is my favourite stage because that's when the piece really comes to life. I often test colours before settling on a palette. Finally, I choose a finish that suits the design, from a matte or satin varnish to UV resin for a glossy effect.

Botanical key holder by Anna Dziarko
5. You combine clay with techniques like decoupage. What do you enjoy about experimenting with different materials?
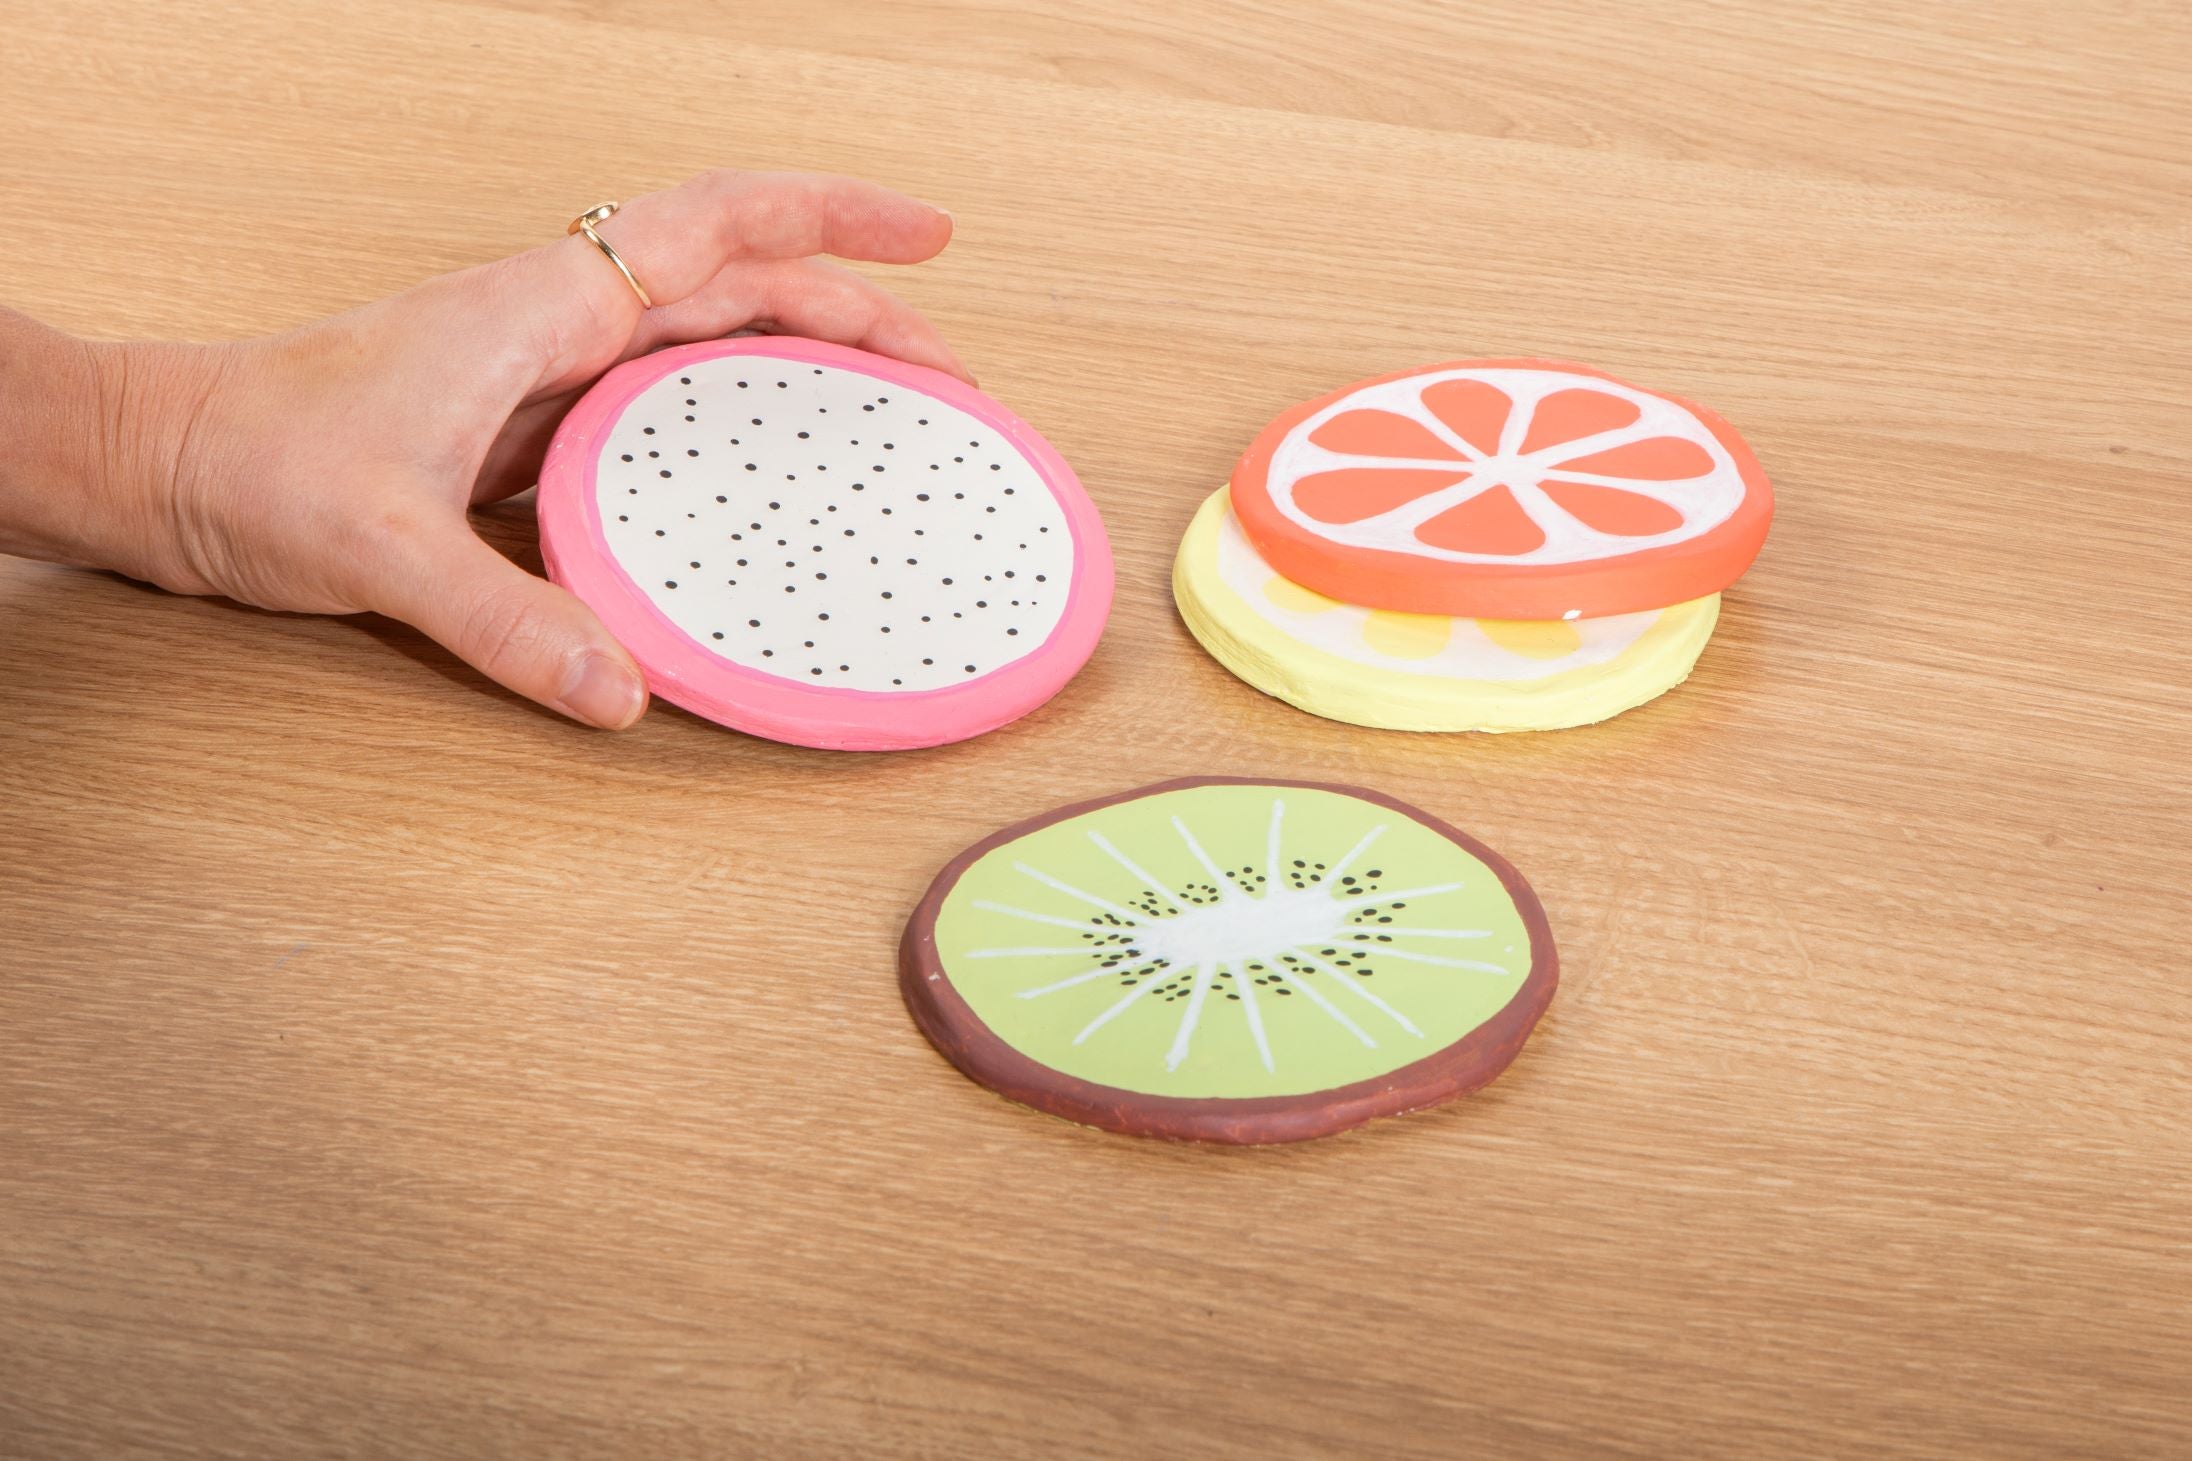
I love how versatile air dry clay is and how many different techniques you can combine with it. You can decorate it with beads, use decoupage, add details with acrylic paints or markers, apply gold leaf, or even create decorative pieces to arrange into wall art on canvas. There are so many possibilities, and I feel like I've only scratched the surface. Decoupage is particularly interesting to me because it's a traditional technique that younger generations may not be very familiar with. When I use it in my projects, people often ask me what kind of paper I'm using or how I've created a particular effect. I love that air dry clay can introduce people to a technique they might not otherwise discover. In a way, it's a chance to give a traditional craft a new audience.

Boat-shaped napkin holder by Anna Dziarko
6. What’s one thing you wish you’d known before making your first air dry clay piece?
I wish I'd known just how important the drying process is. When I first started, many of my projects failed at this stage. Air dry clay shrinks as it loses moisture, so if you build a piece around a rigid object, like a jar or a bowl, it can crack as it shrinks around it. My advice to beginners is to be patient, support your pieces properly, and remember to remove any moulds or supports before the clay hardens completely. Drying might not be the most exciting part of the process, but getting it right makes a huge difference.

Air dry clay bats by Anna Dziarko
7. Which project would you recommend to someone trying clay for the first time, and why?
I'd recommend starting with something simple and relatively flat, such as a bookmark or a small trinket dish. These projects are a great way to get familiar with air dry clay without worrying about complicated structures or supports. Clay takes a little practice to understand, especially when it comes to shaping and drying. I'd rather see a beginner start small, enjoy the process, and gain confidence than take on something too ambitious and feel discouraged. Your first piece doesn't have to be perfect. It's all about learning as you go and discovering how much you can create with this material.

Pansy trinket dish by Anna Dziarko
8. Has a project ever turned out differently from what you imagined, but become a favourite?
Absolutely! I once made a sculptural tree with a wire armature inside to support its shape. I was really proud of it, and I had originally designed it as a jewellery holder. Then I posted it on social media, and... it completely flopped! Perhaps all that white made it a little too subtle for the feed. But the story didn't end there. My son decided the tree belonged to him and started sticking real autumn leaves onto its branches. He declared it his autumn tree, and now he's already planning to turn it into a Christmas decoration for the holidays. So, while the algorithm wasn't particularly impressed, my son had other plans! It's now become a seasonal decoration that we can change together, and that has made it much more special to me than I originally imagined.

Flower bouquet by Anna Dziarko
9. Your videos encourage people to slow down and make something. What does that time mean to you?
Returning to clay was a way of reconnecting with a creative part of myself that I had neglected for years. When I'm working with clay, I can focus on something tangible, experiment, make mistakes, and try again. When we are children, playing and creating come naturally. But as adults, weighed down by endless responsibilities, we often forget how to do things purely for fun, simply for the joy of the process. I truly believe that making time for creative play isn't just a luxury. It's an important part of our mental well-being and balance. Sharing my work online has made this even more meaningful. I love seeing people try my tutorials and discover that they can create something themselves, even if they've never considered themselves artistic. That feeling of slowing down and creating just for the joy of it is what I want to share with others.
10. Describe your ideal afternoon of crafting. What are you making, what’s playing, and what snack is within reach?
My ideal crafting afternoon has one very important requirement: the house to myself, no interruptions, and my phone on silent! I'd have a huge mug of coffee or tea within reach, a new clay project on the table, and either a good podcast or some calm acoustic music playing in the background. I like having enough time to experiment, change my mind, and get completely absorbed in what I'm doing. As for snacks, anything simple will do. Although, knowing me, I'll probably get so involved in the project that my coffee goes cold before I remember to drink it. A quiet house, a bit of clay, and nowhere else I need to be. That's my kind of afternoon.
Take a closer look at Anna’s work in our gallery or follow @creanna.craft for a whole load of no bake clay projects you can try yourself. A bookmark for your current read or a little dish for your rings could be your first project.
Pick up some clay and use what you have around the house to shape, stamp, and decorate it. Share your finished piece with #montmarteart or tag @montmarteart on Instagram or Facebook.
For more artist stories and projects, sign up to our newsletter, Creative Connection in our web footer.


