


How to draw a phoenix
Phoenix outline

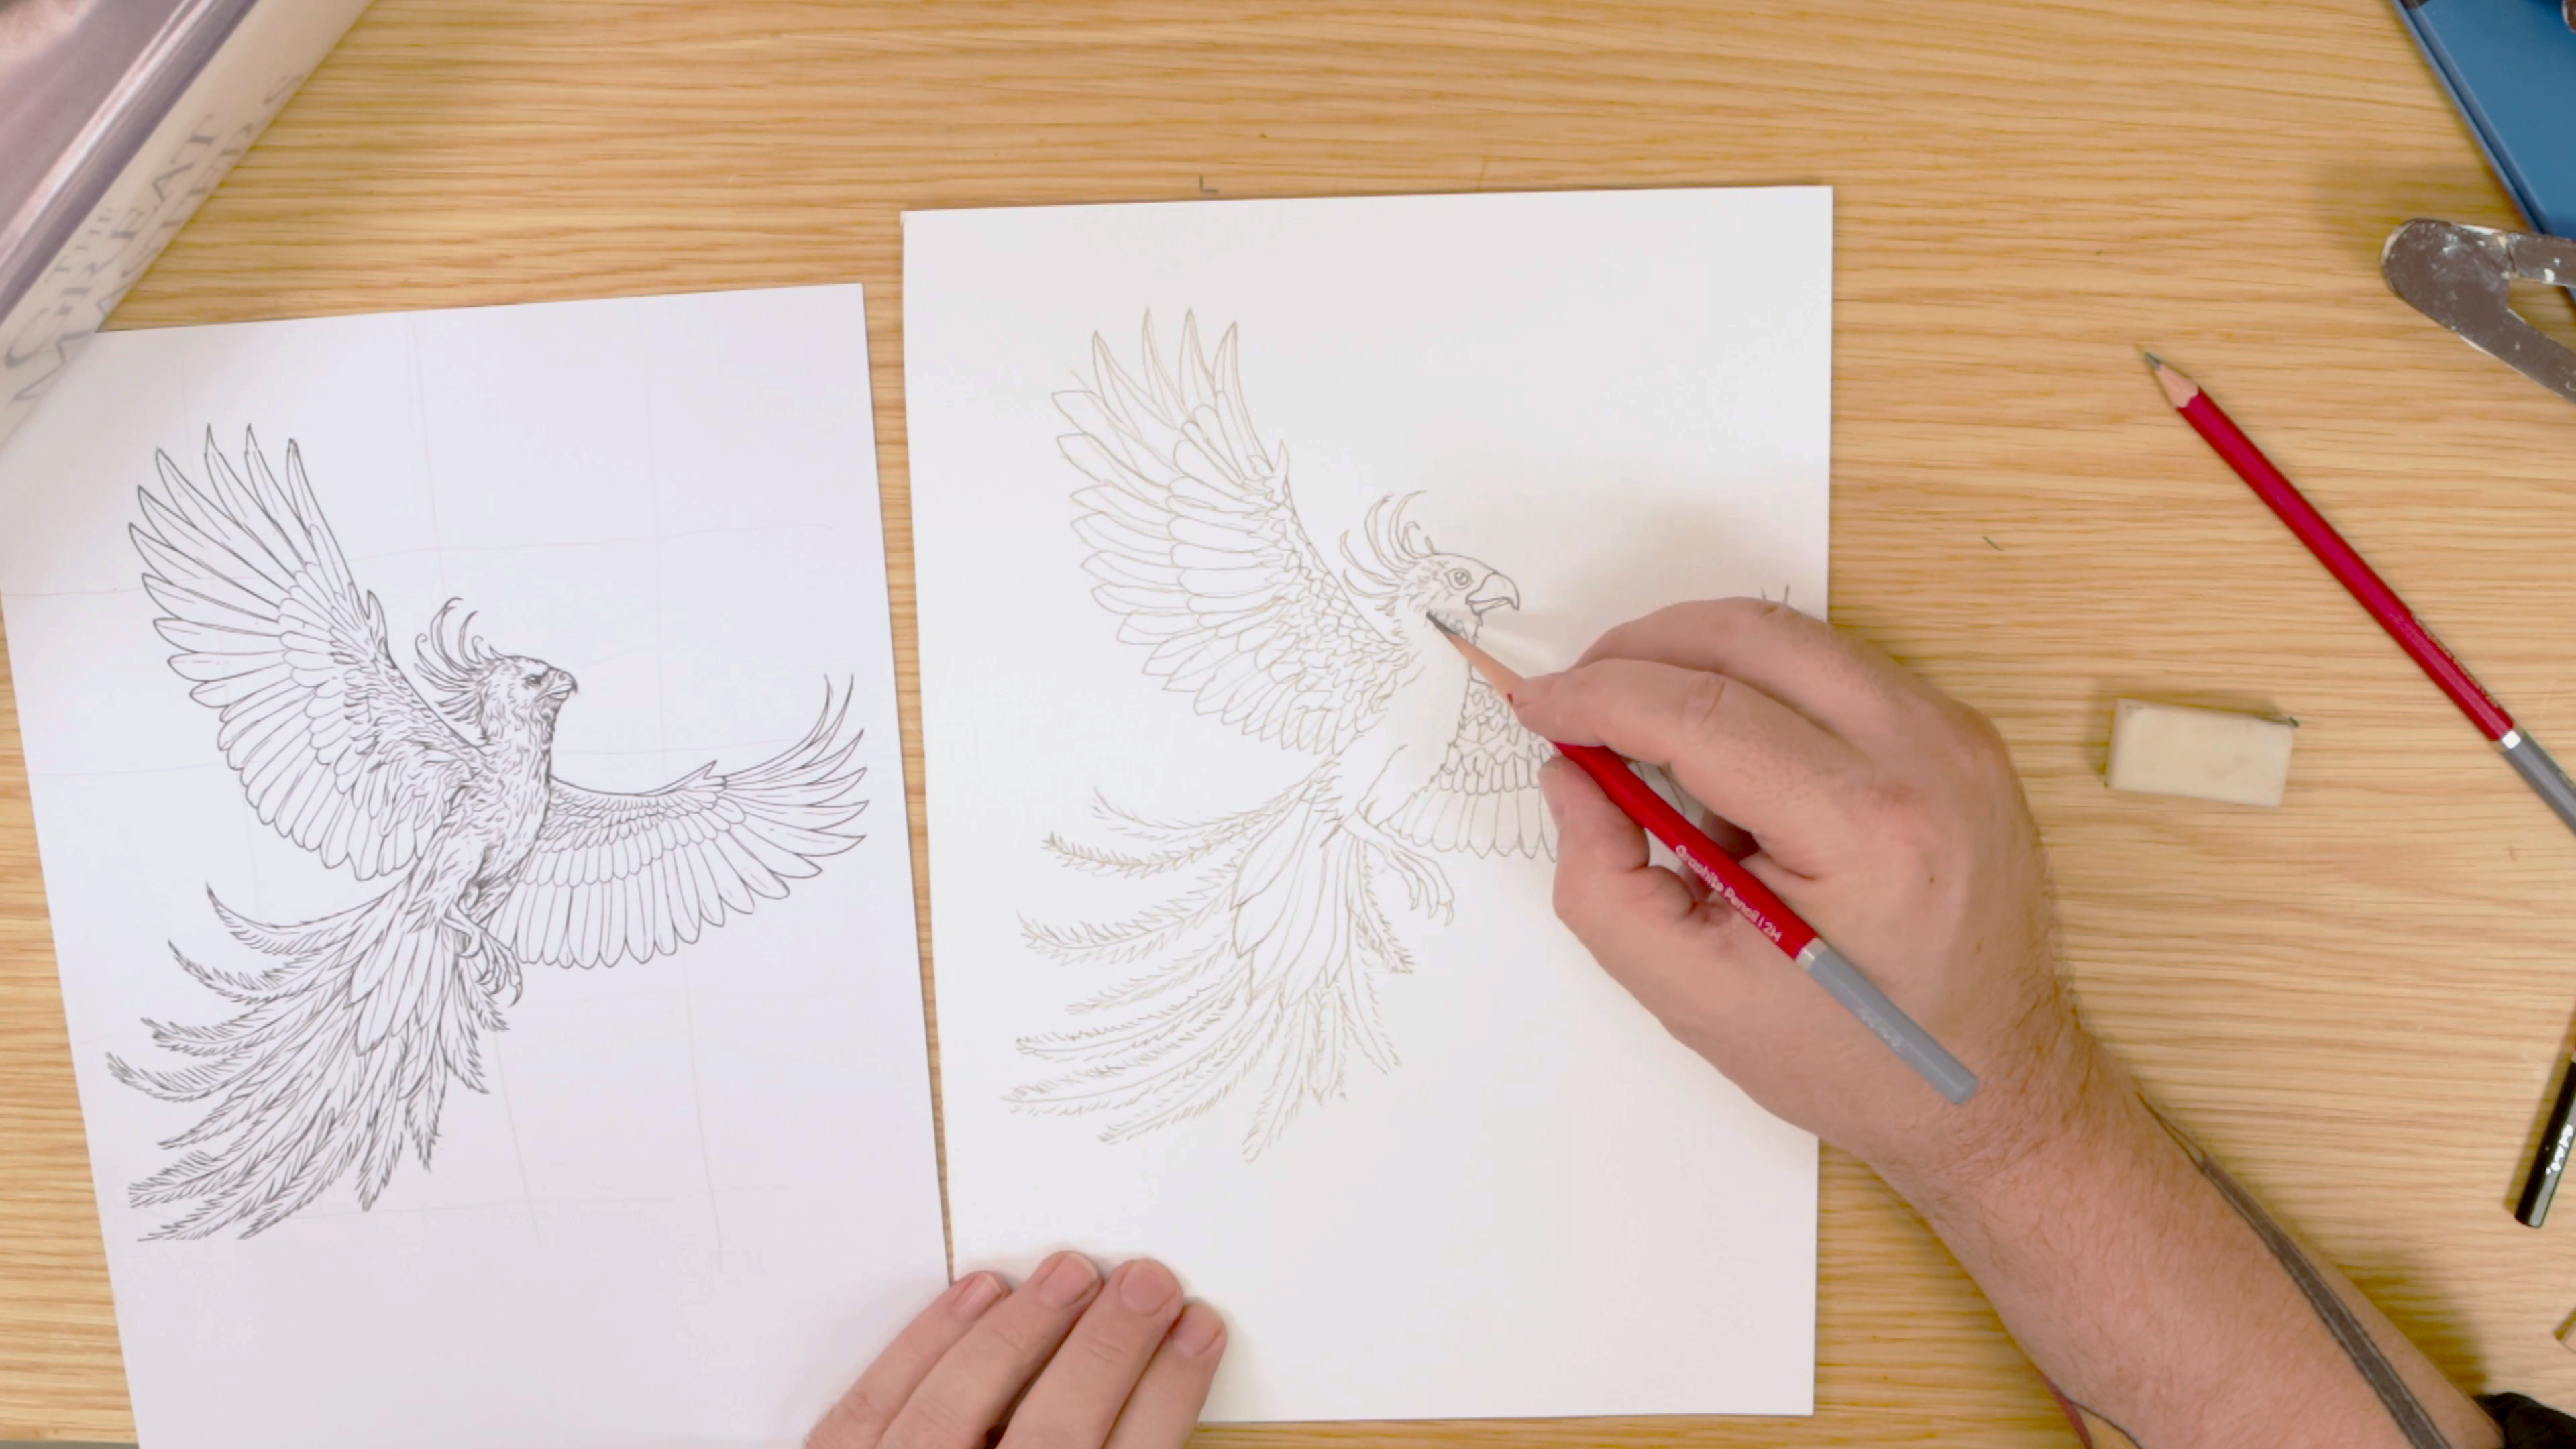
- Print the outline on our project page as to trace as a guide, freehand, or design your own
- Start with the head and beak
- Add a crest
- Sketch the legs, feet, and talons
- Build out the tail feathers
- Draw the wings in a rough semi-circle shape
- Curl the feather tips to follow the wing arc
Drawing feathers
- Divide the feathers into 3 sections: down, coverts, and flight feathers
- Keep your lines light and easy to adjust
- Refine the overall shape until it feels balanced
Ink outline
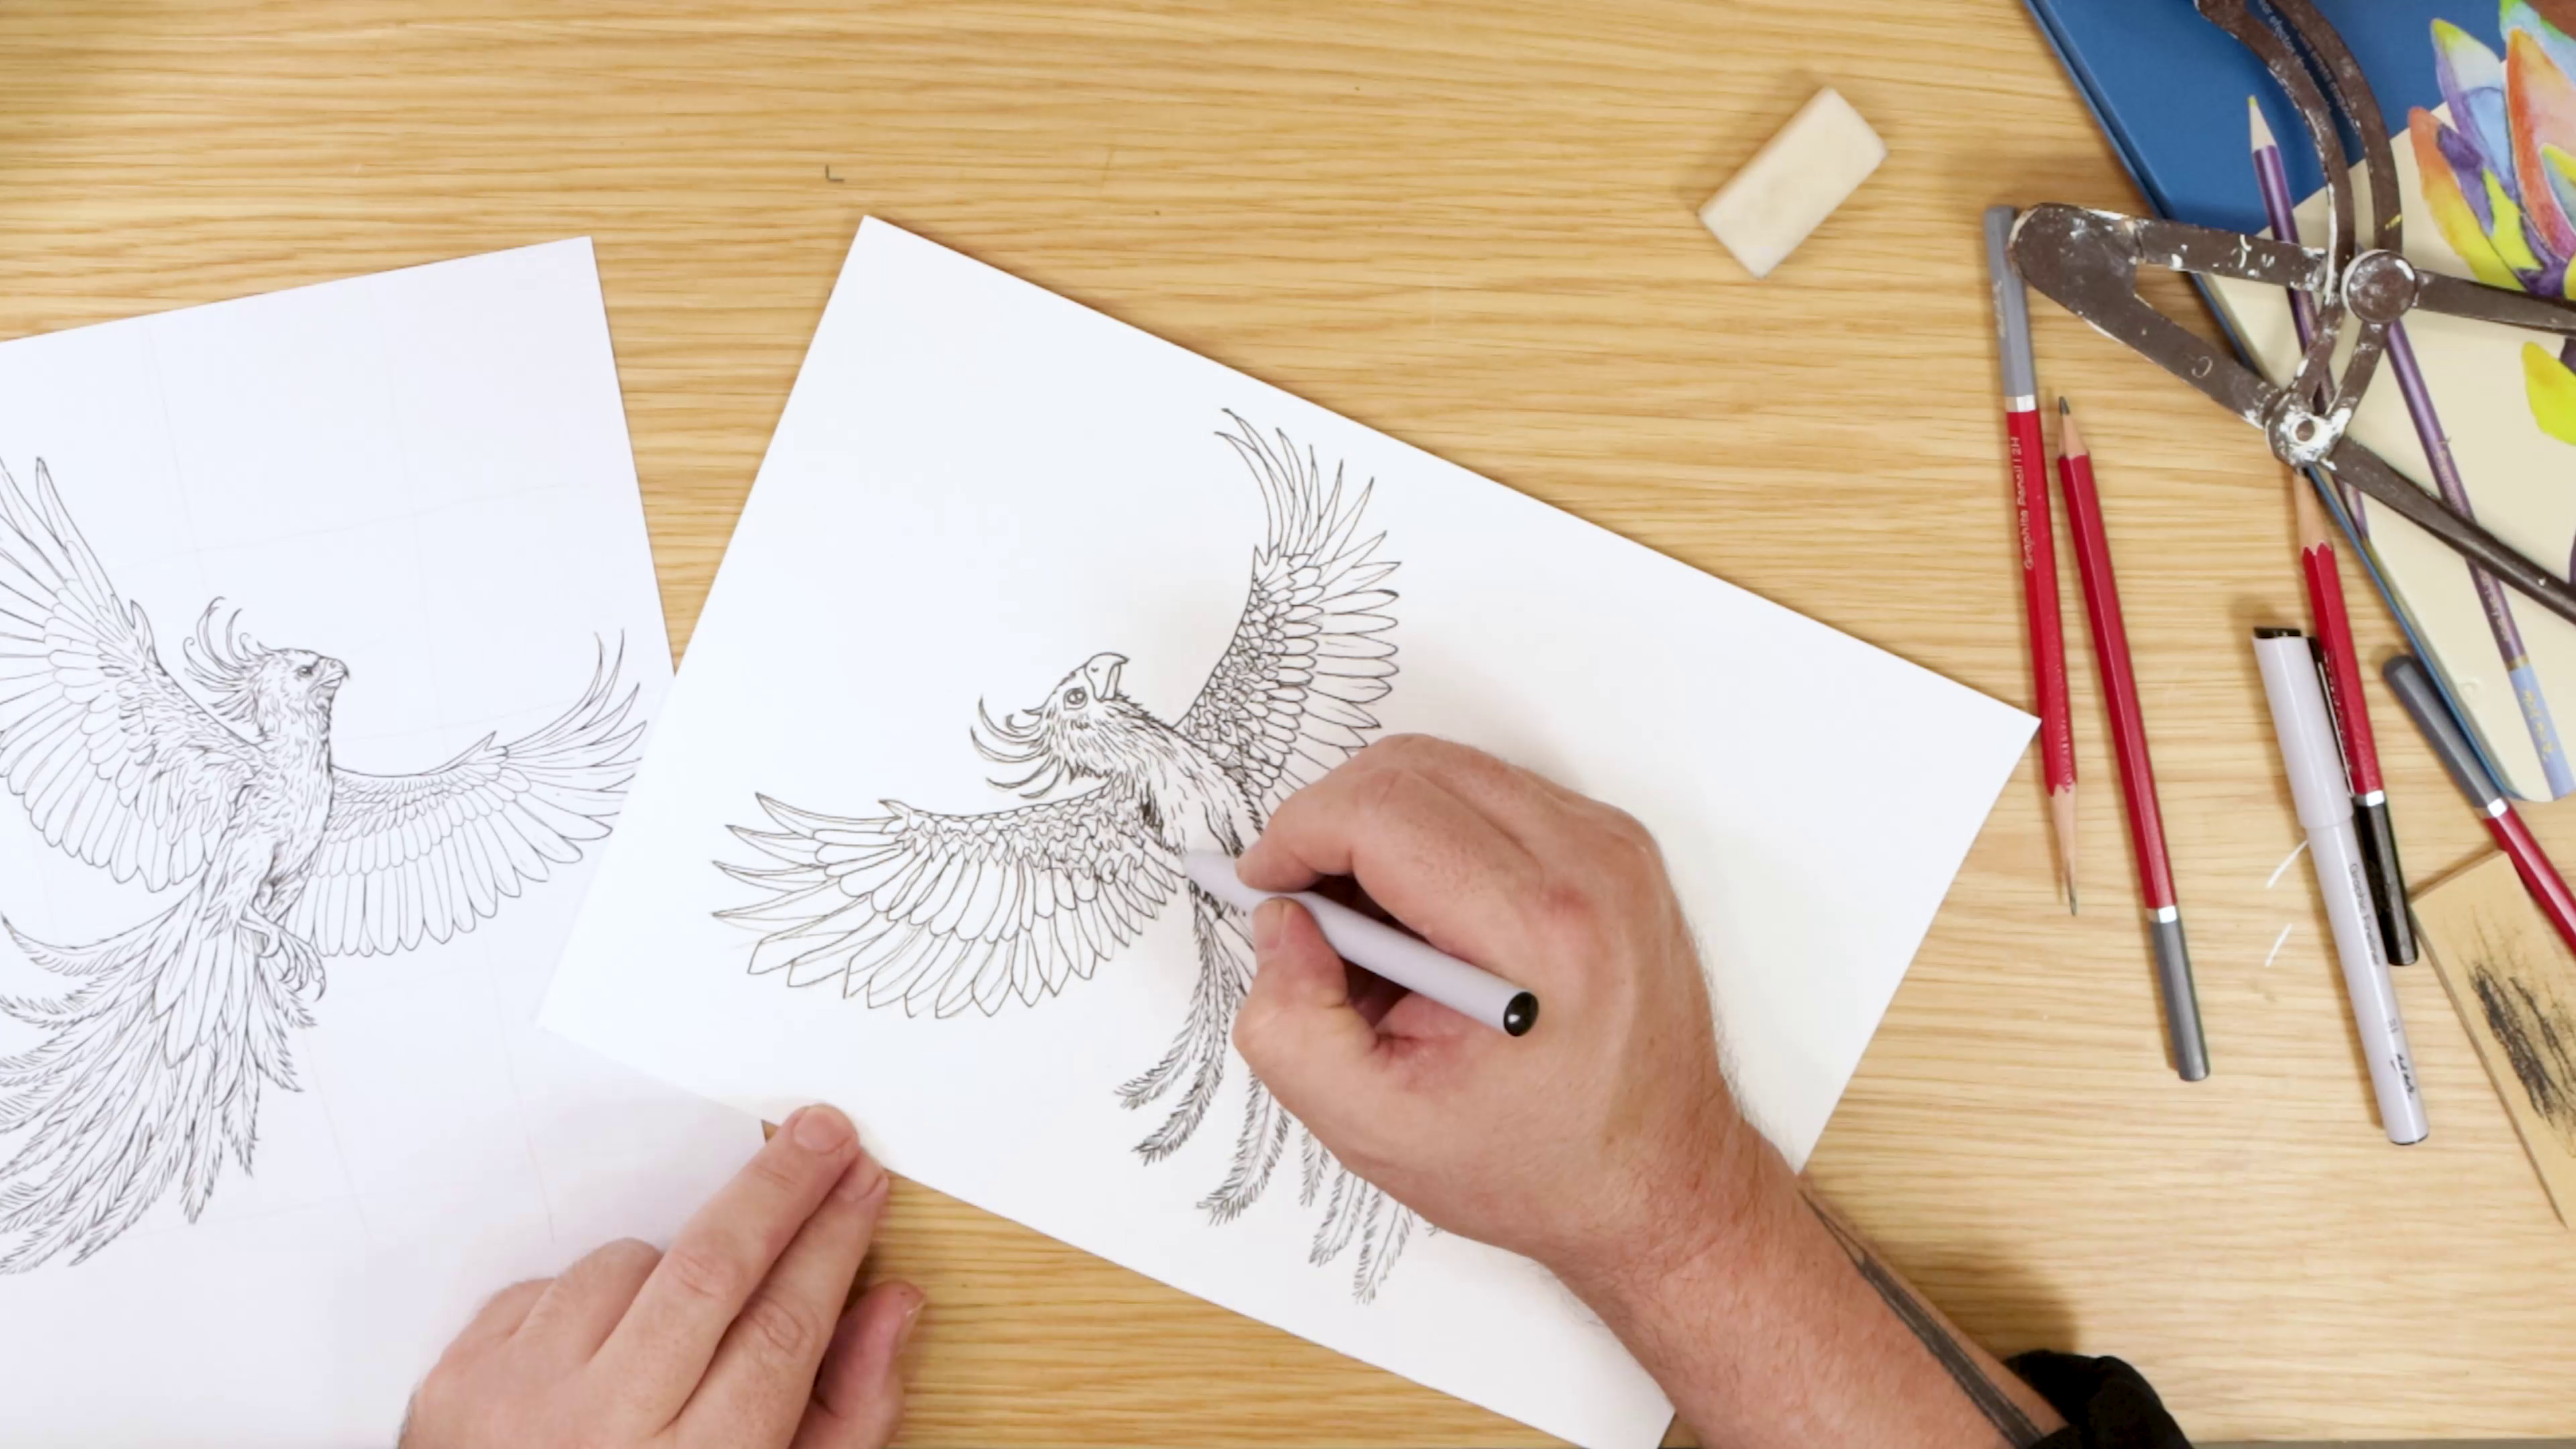
- Go over your sketch with a graphic fineliner
- Let the ink dry fully
- Erase the pencil underneath to keep colours clean
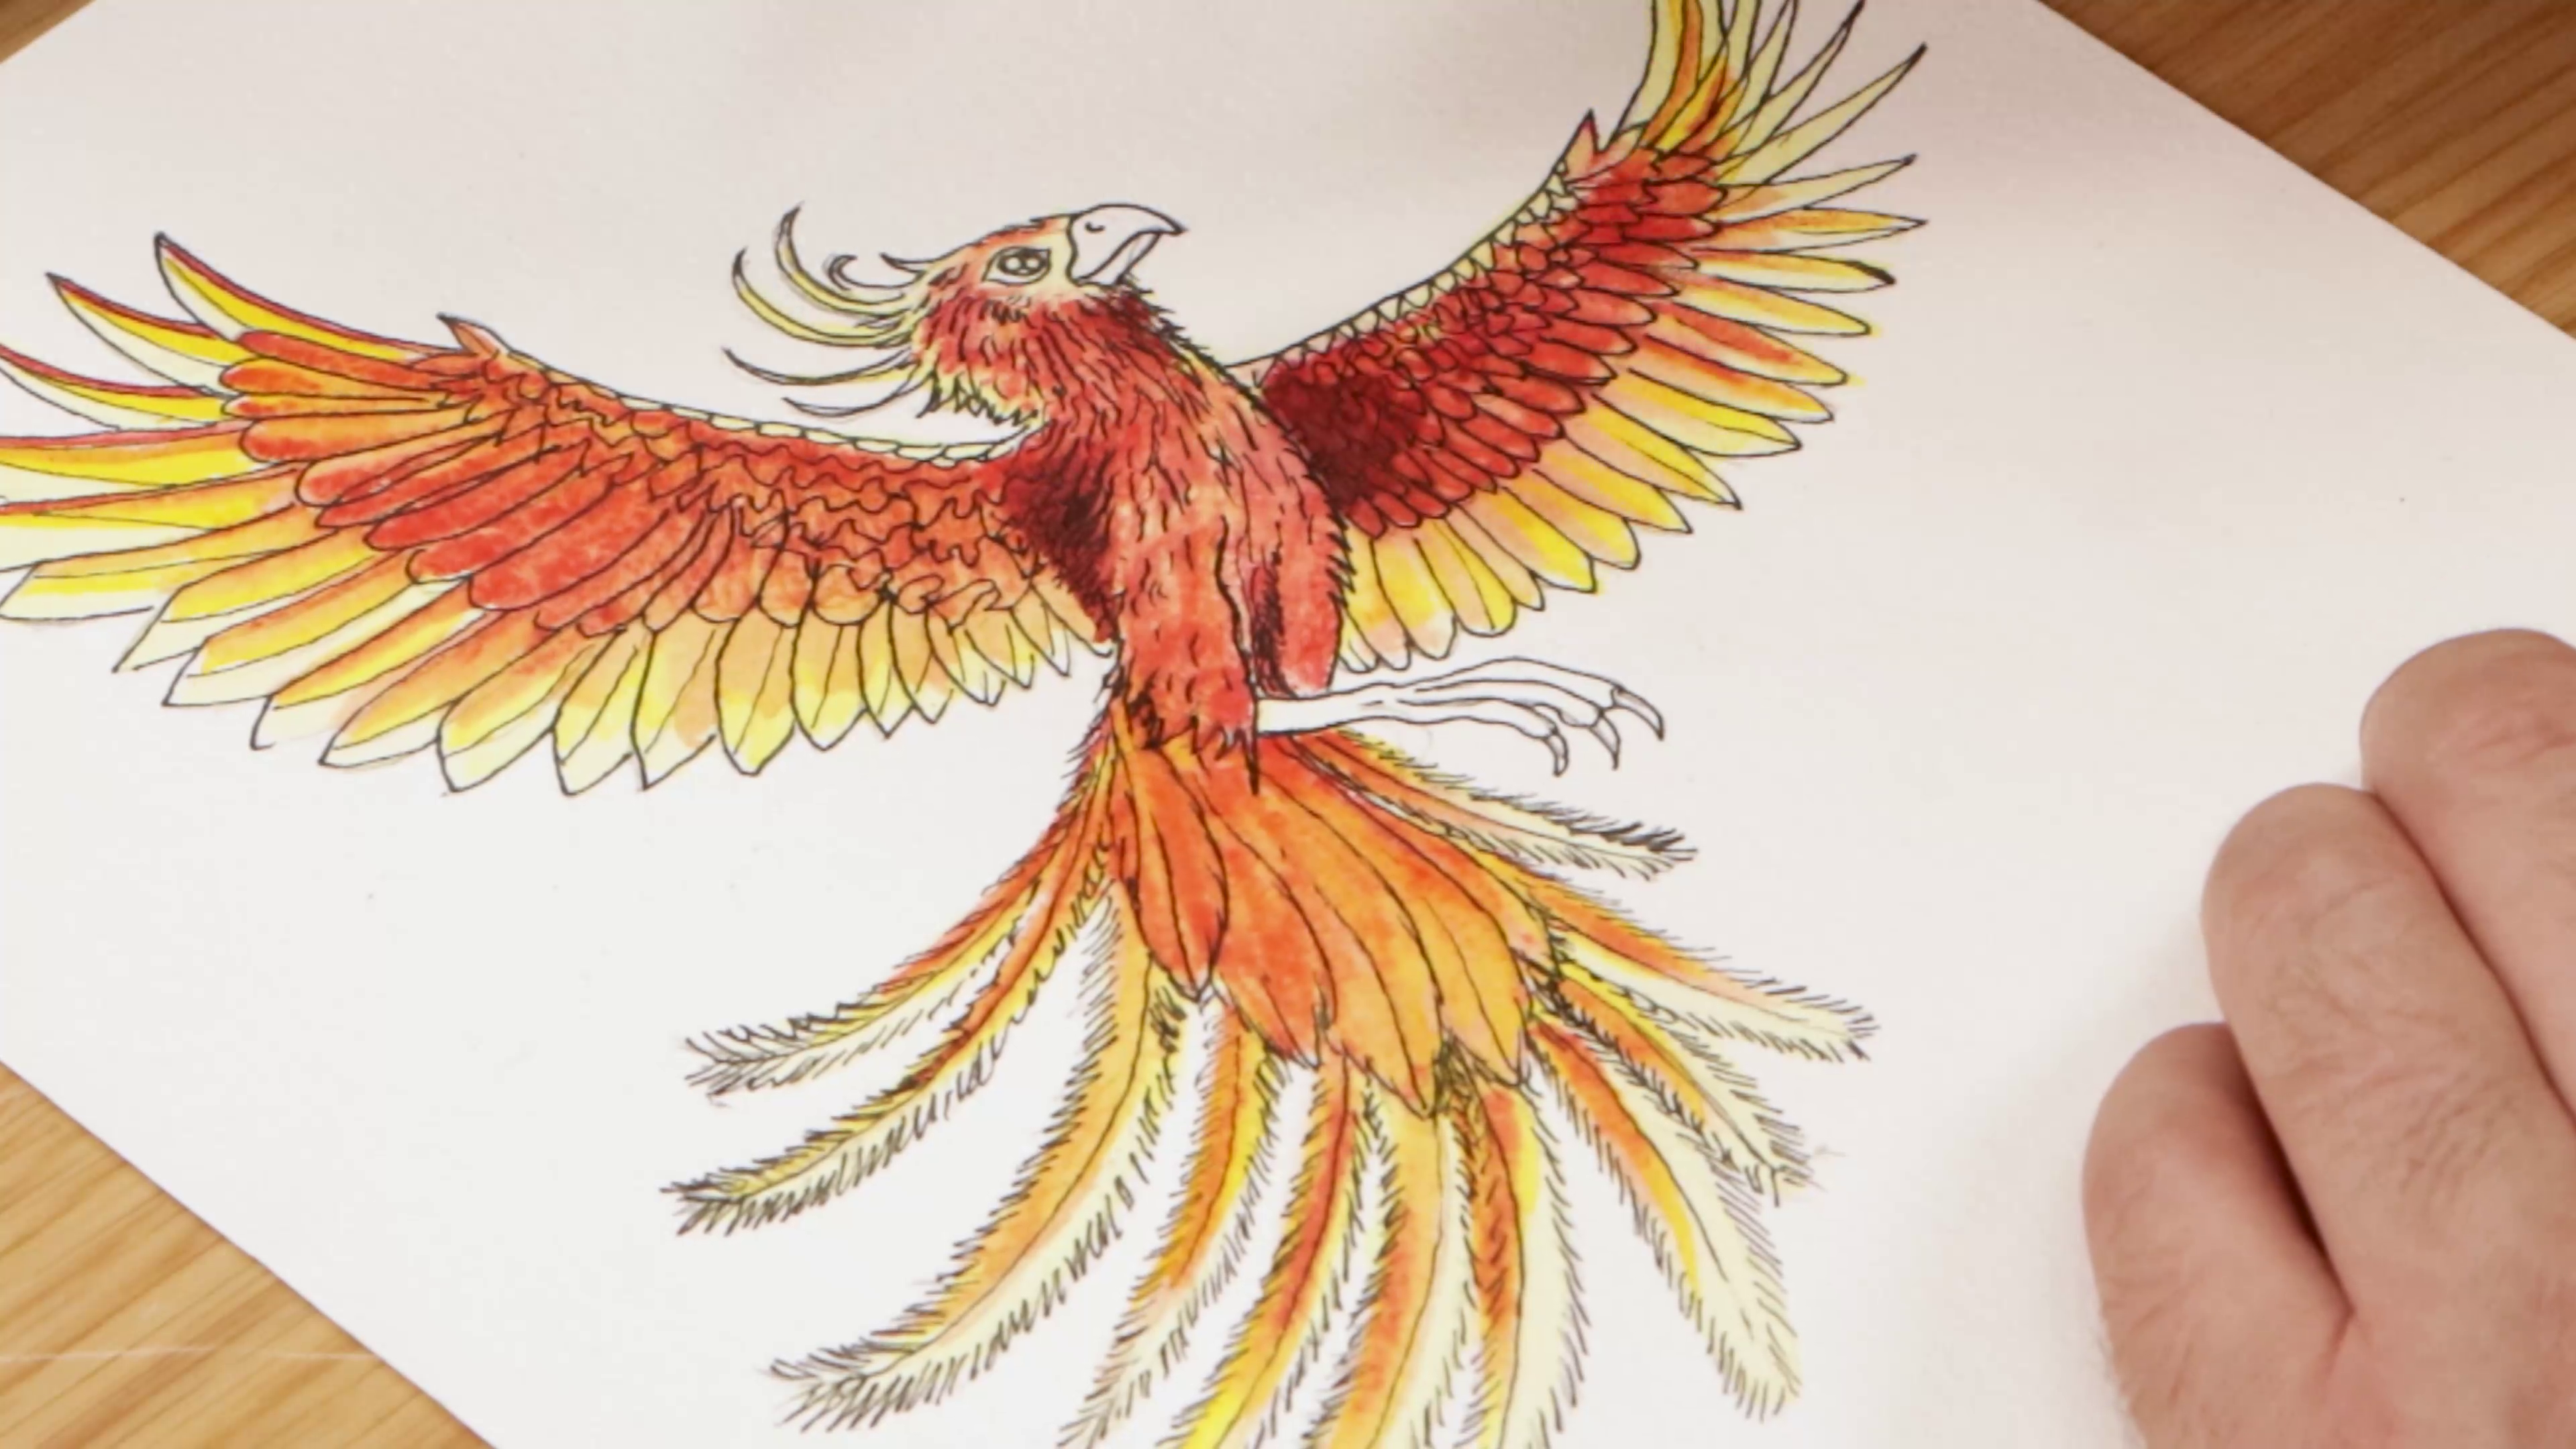
Watercolour wash
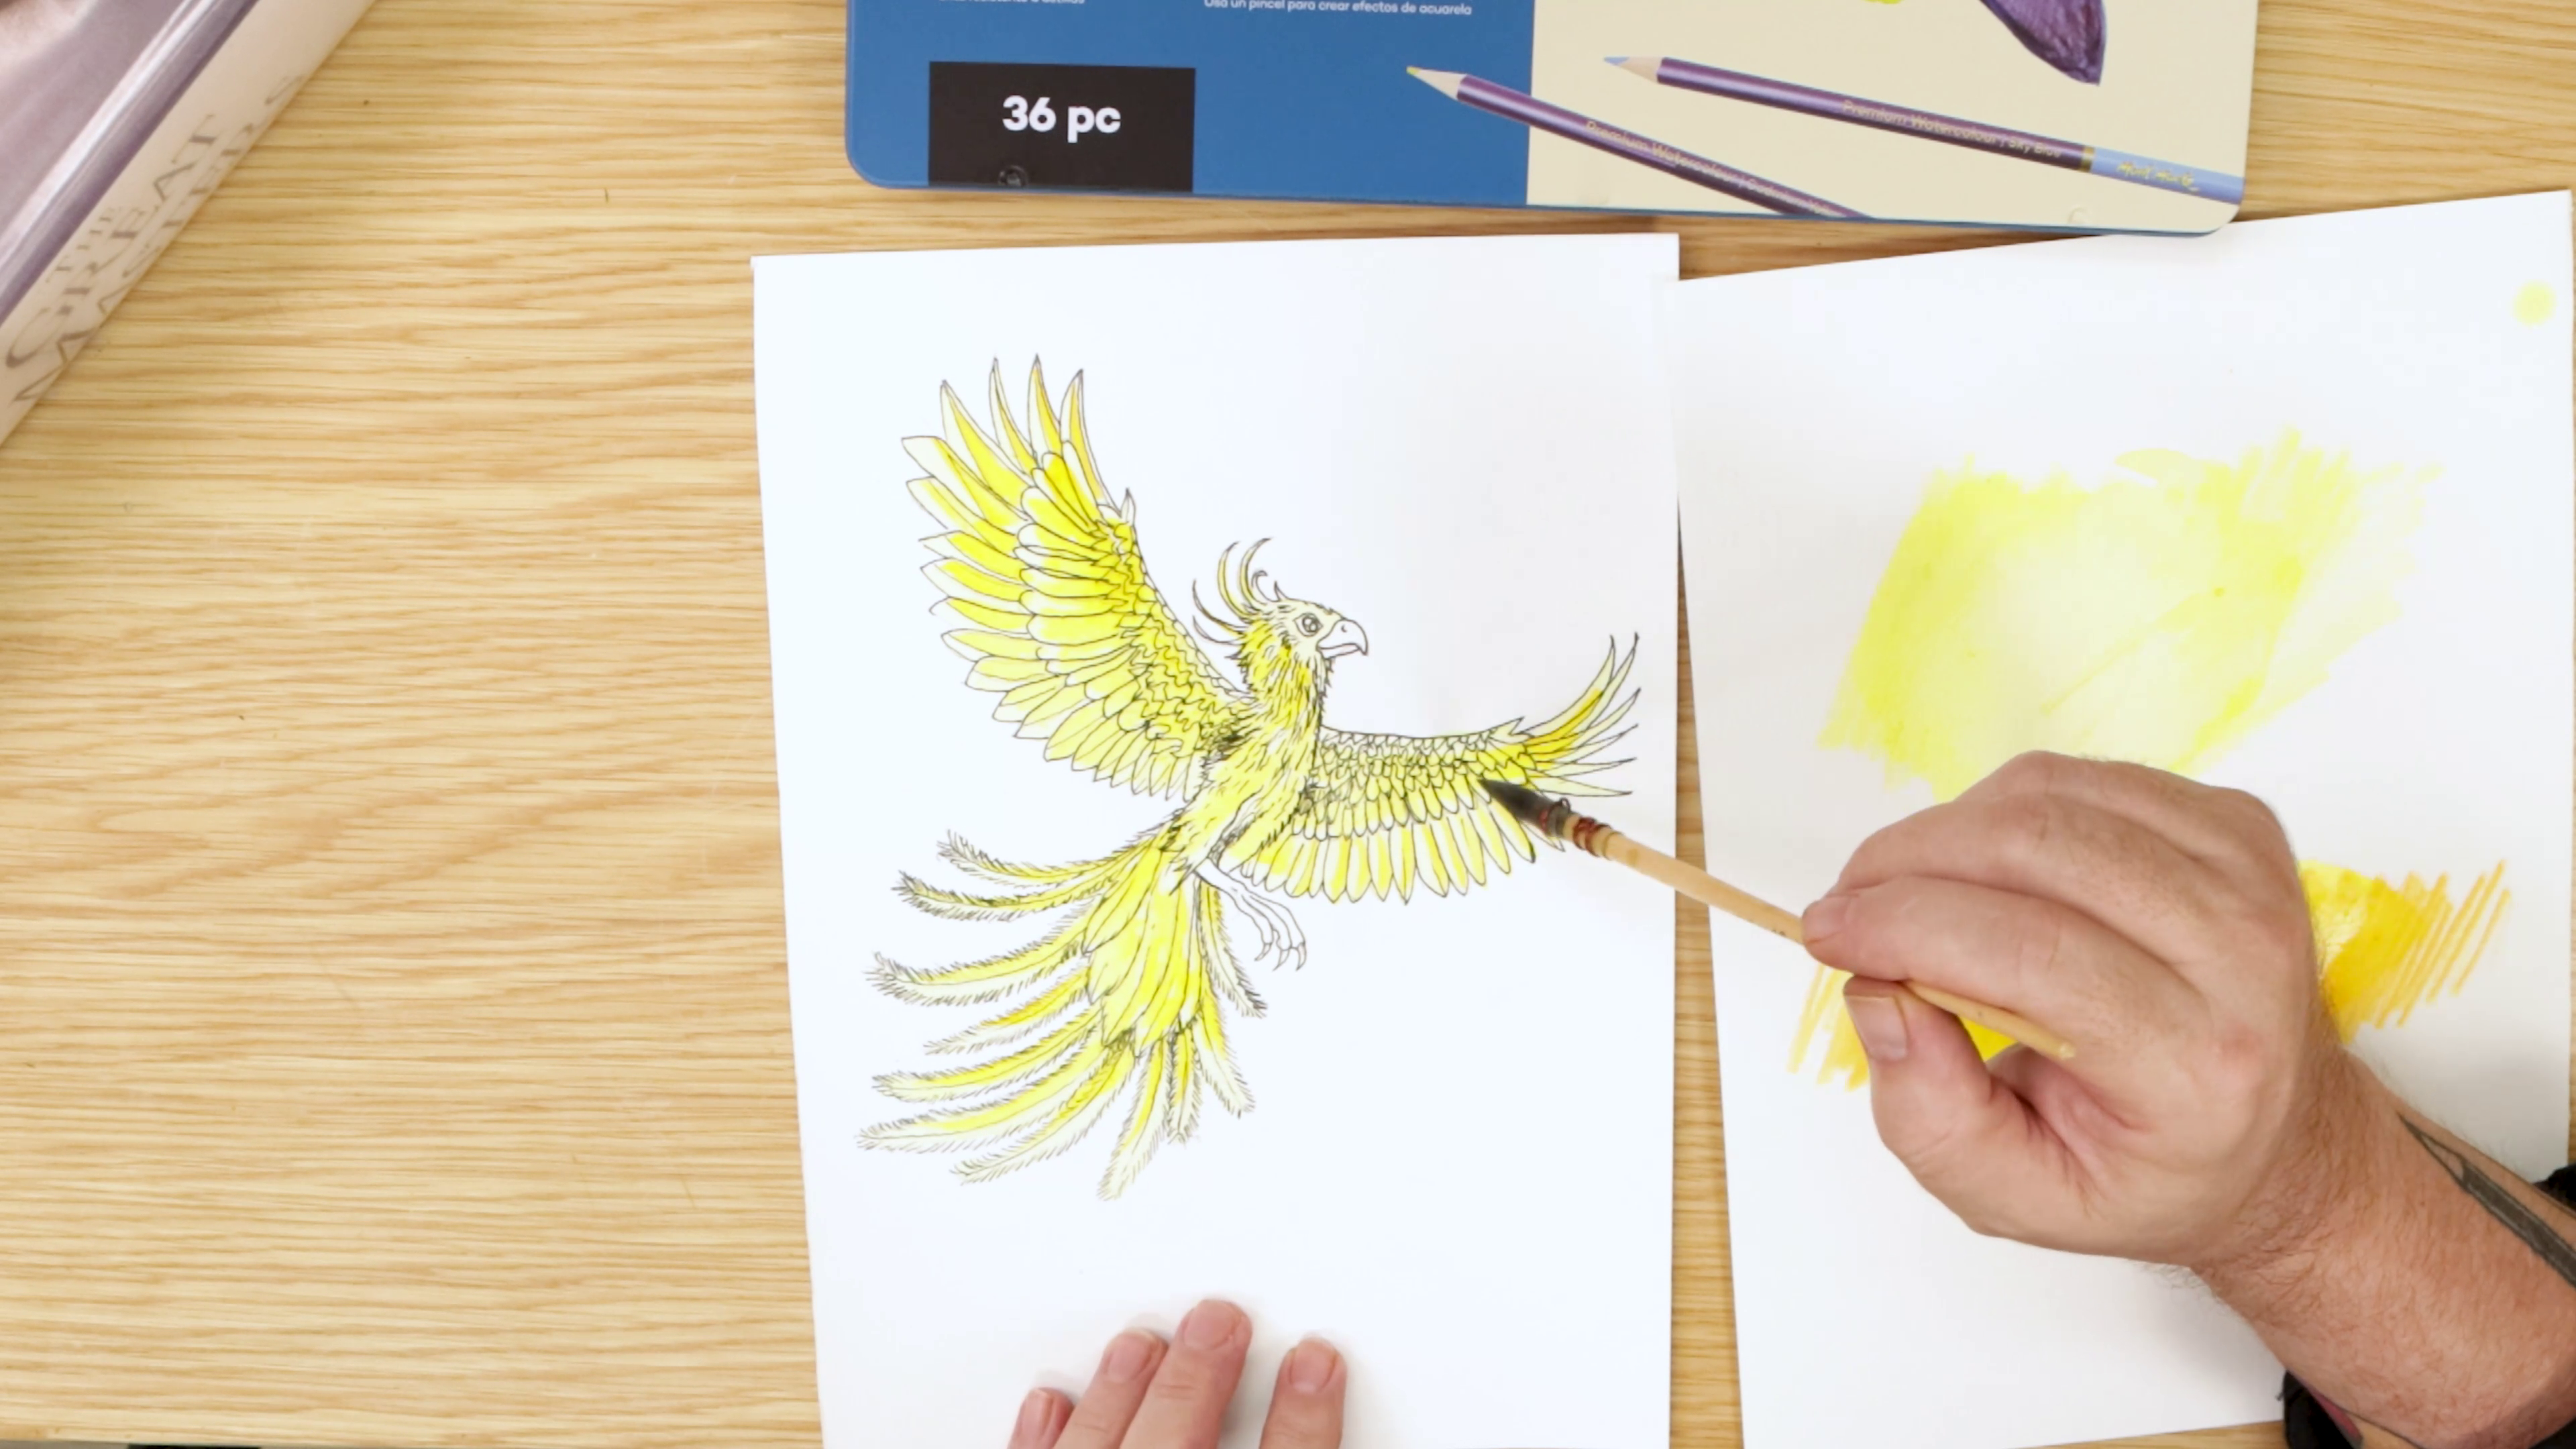
- Create a swatch of lemon yellow on a spare piece of paper
- Activate it with a damp brush
- Apply a light wash over the entire phoenix
- Allow this layer to dry completely
- Apply yellow deep to the head, body, and parts of the wings
- Leave the tips and leading edges lighter to boost contrast
- Work while the surface is slightly damp for smoother blending
Red colouring
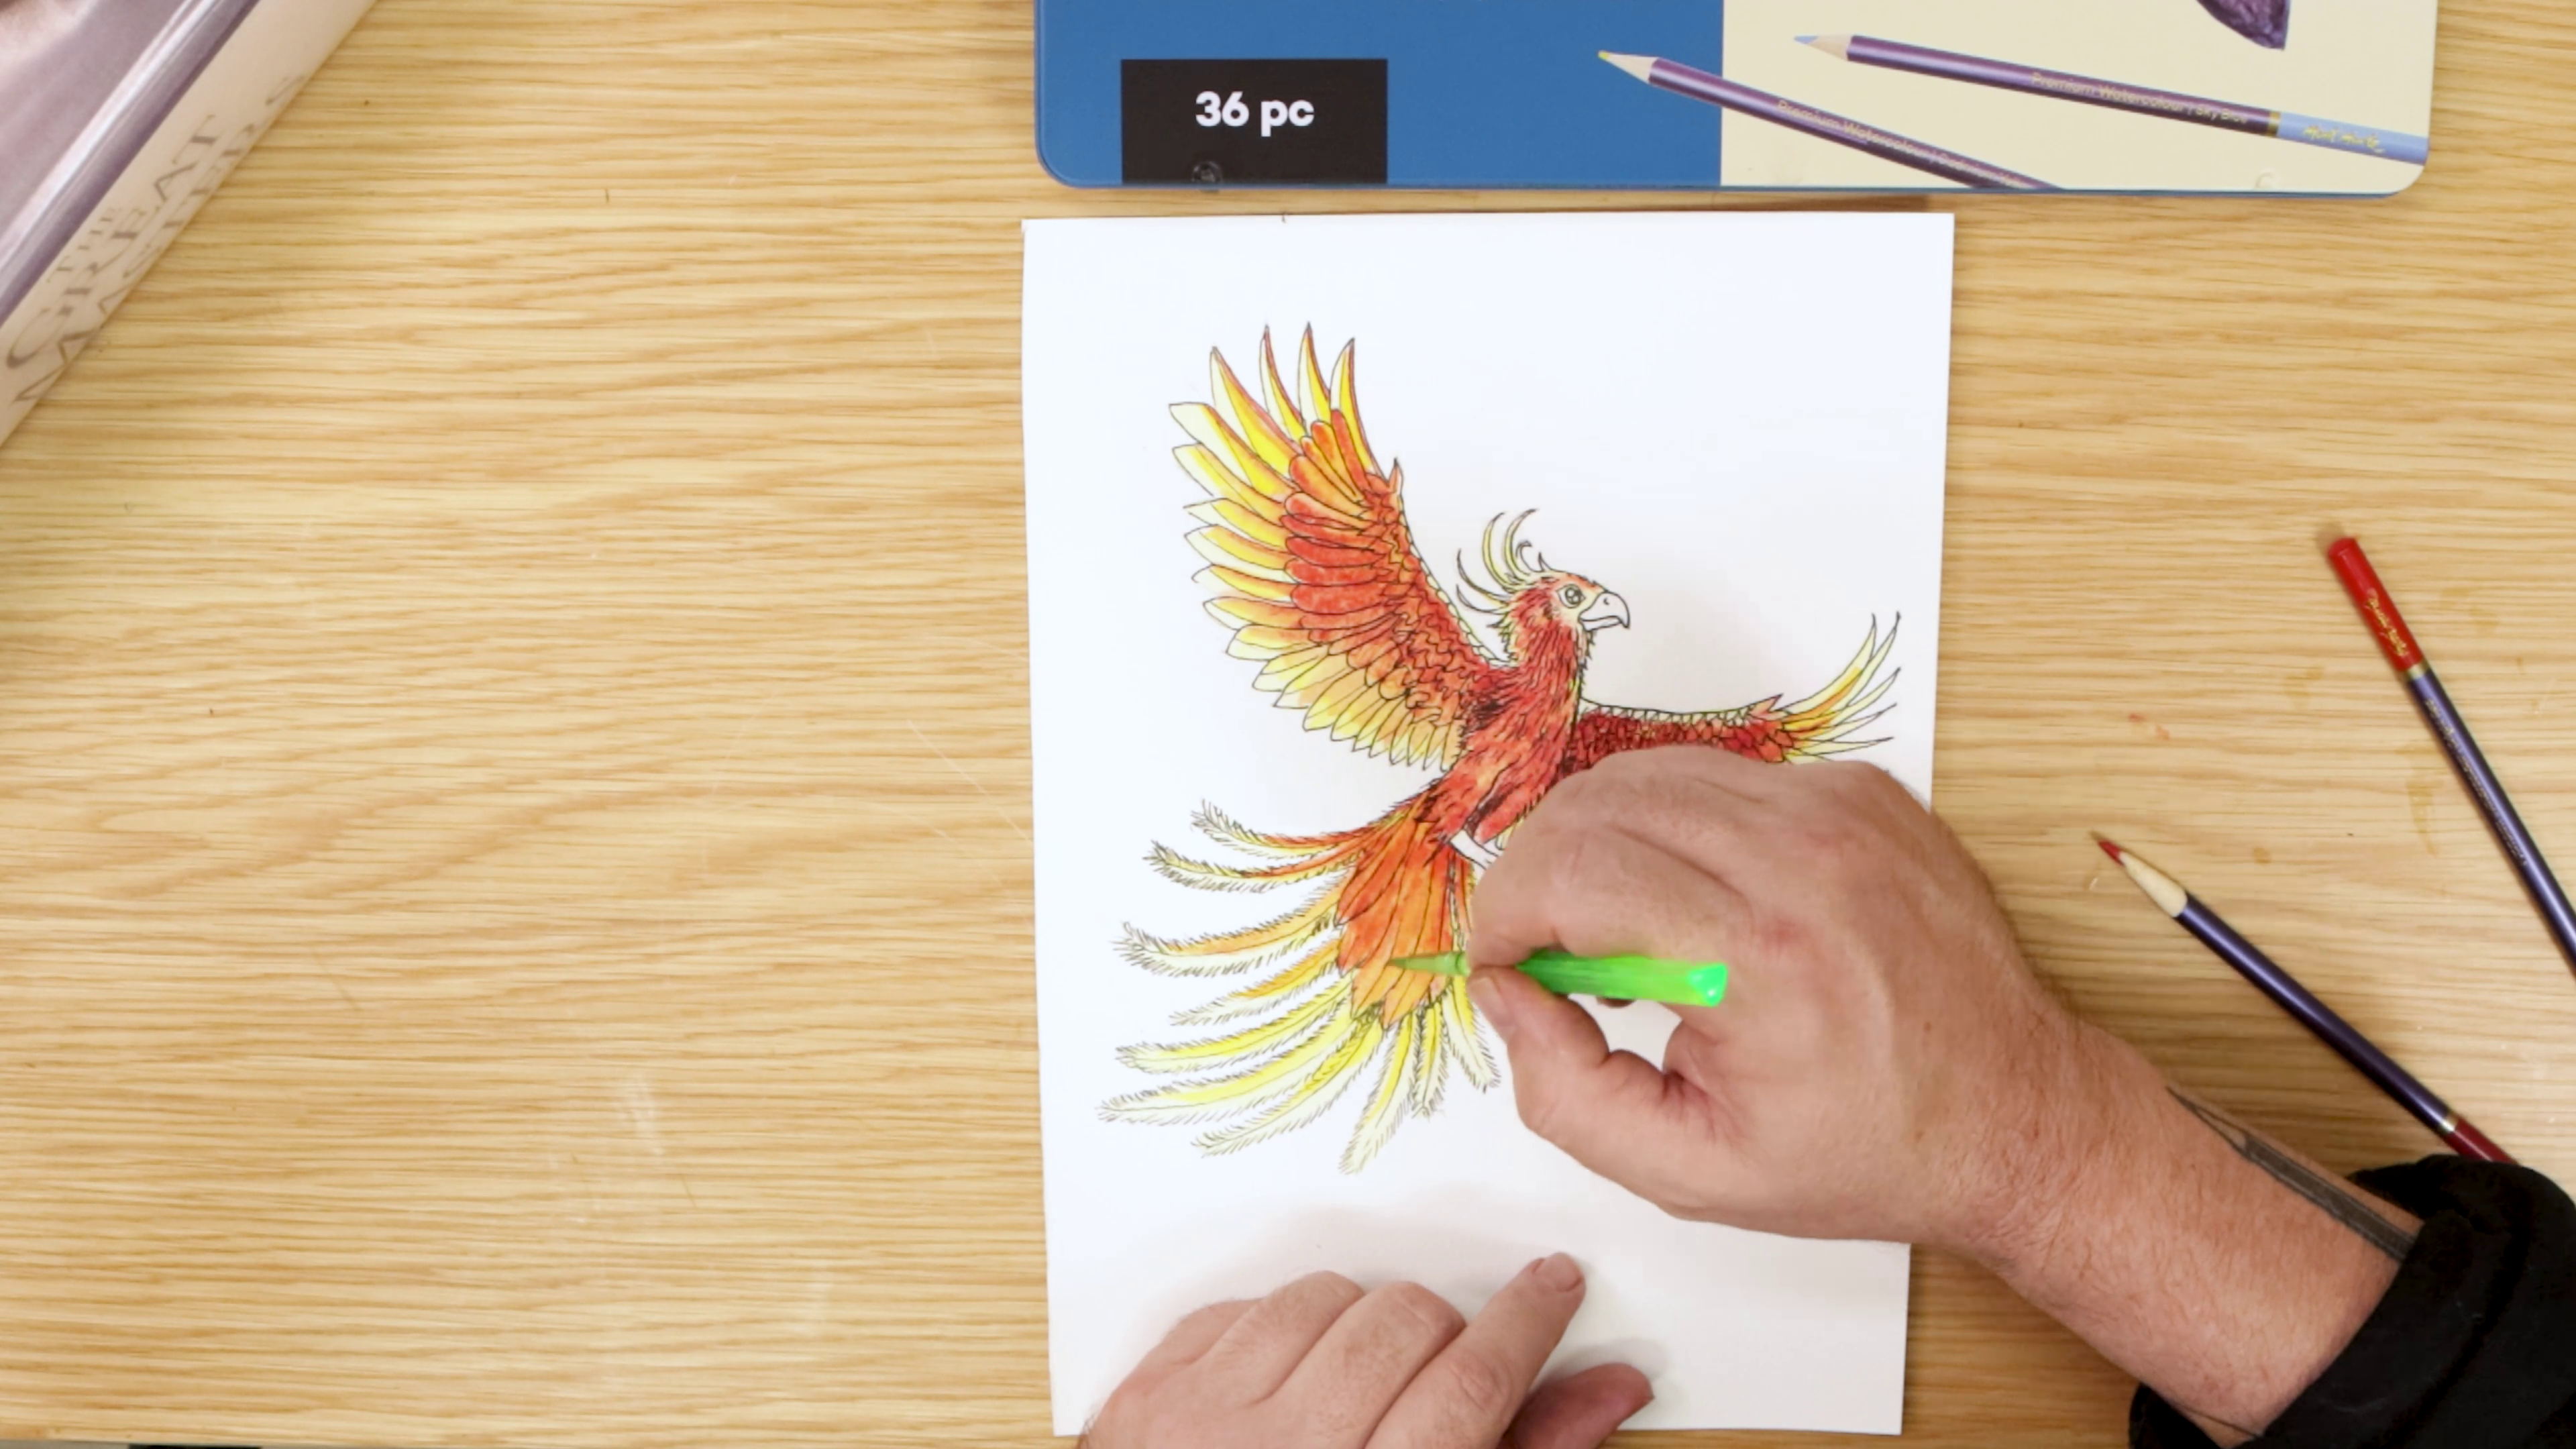
- Apply coral red pencil directly onto damp areas
- Focus on the head, wings, and body
- Leave the crest slightly lighter
- Use a damp brush to soften the coral red, gently pulling colour into the tail feathers
- Blend lightly to keep transitions smooth
Layering colours
- Add darker tones where the wings meet the body
- Blend the colour outward to create dimension
- Build up layers gradually rather than all at once for better control
Phoenix face
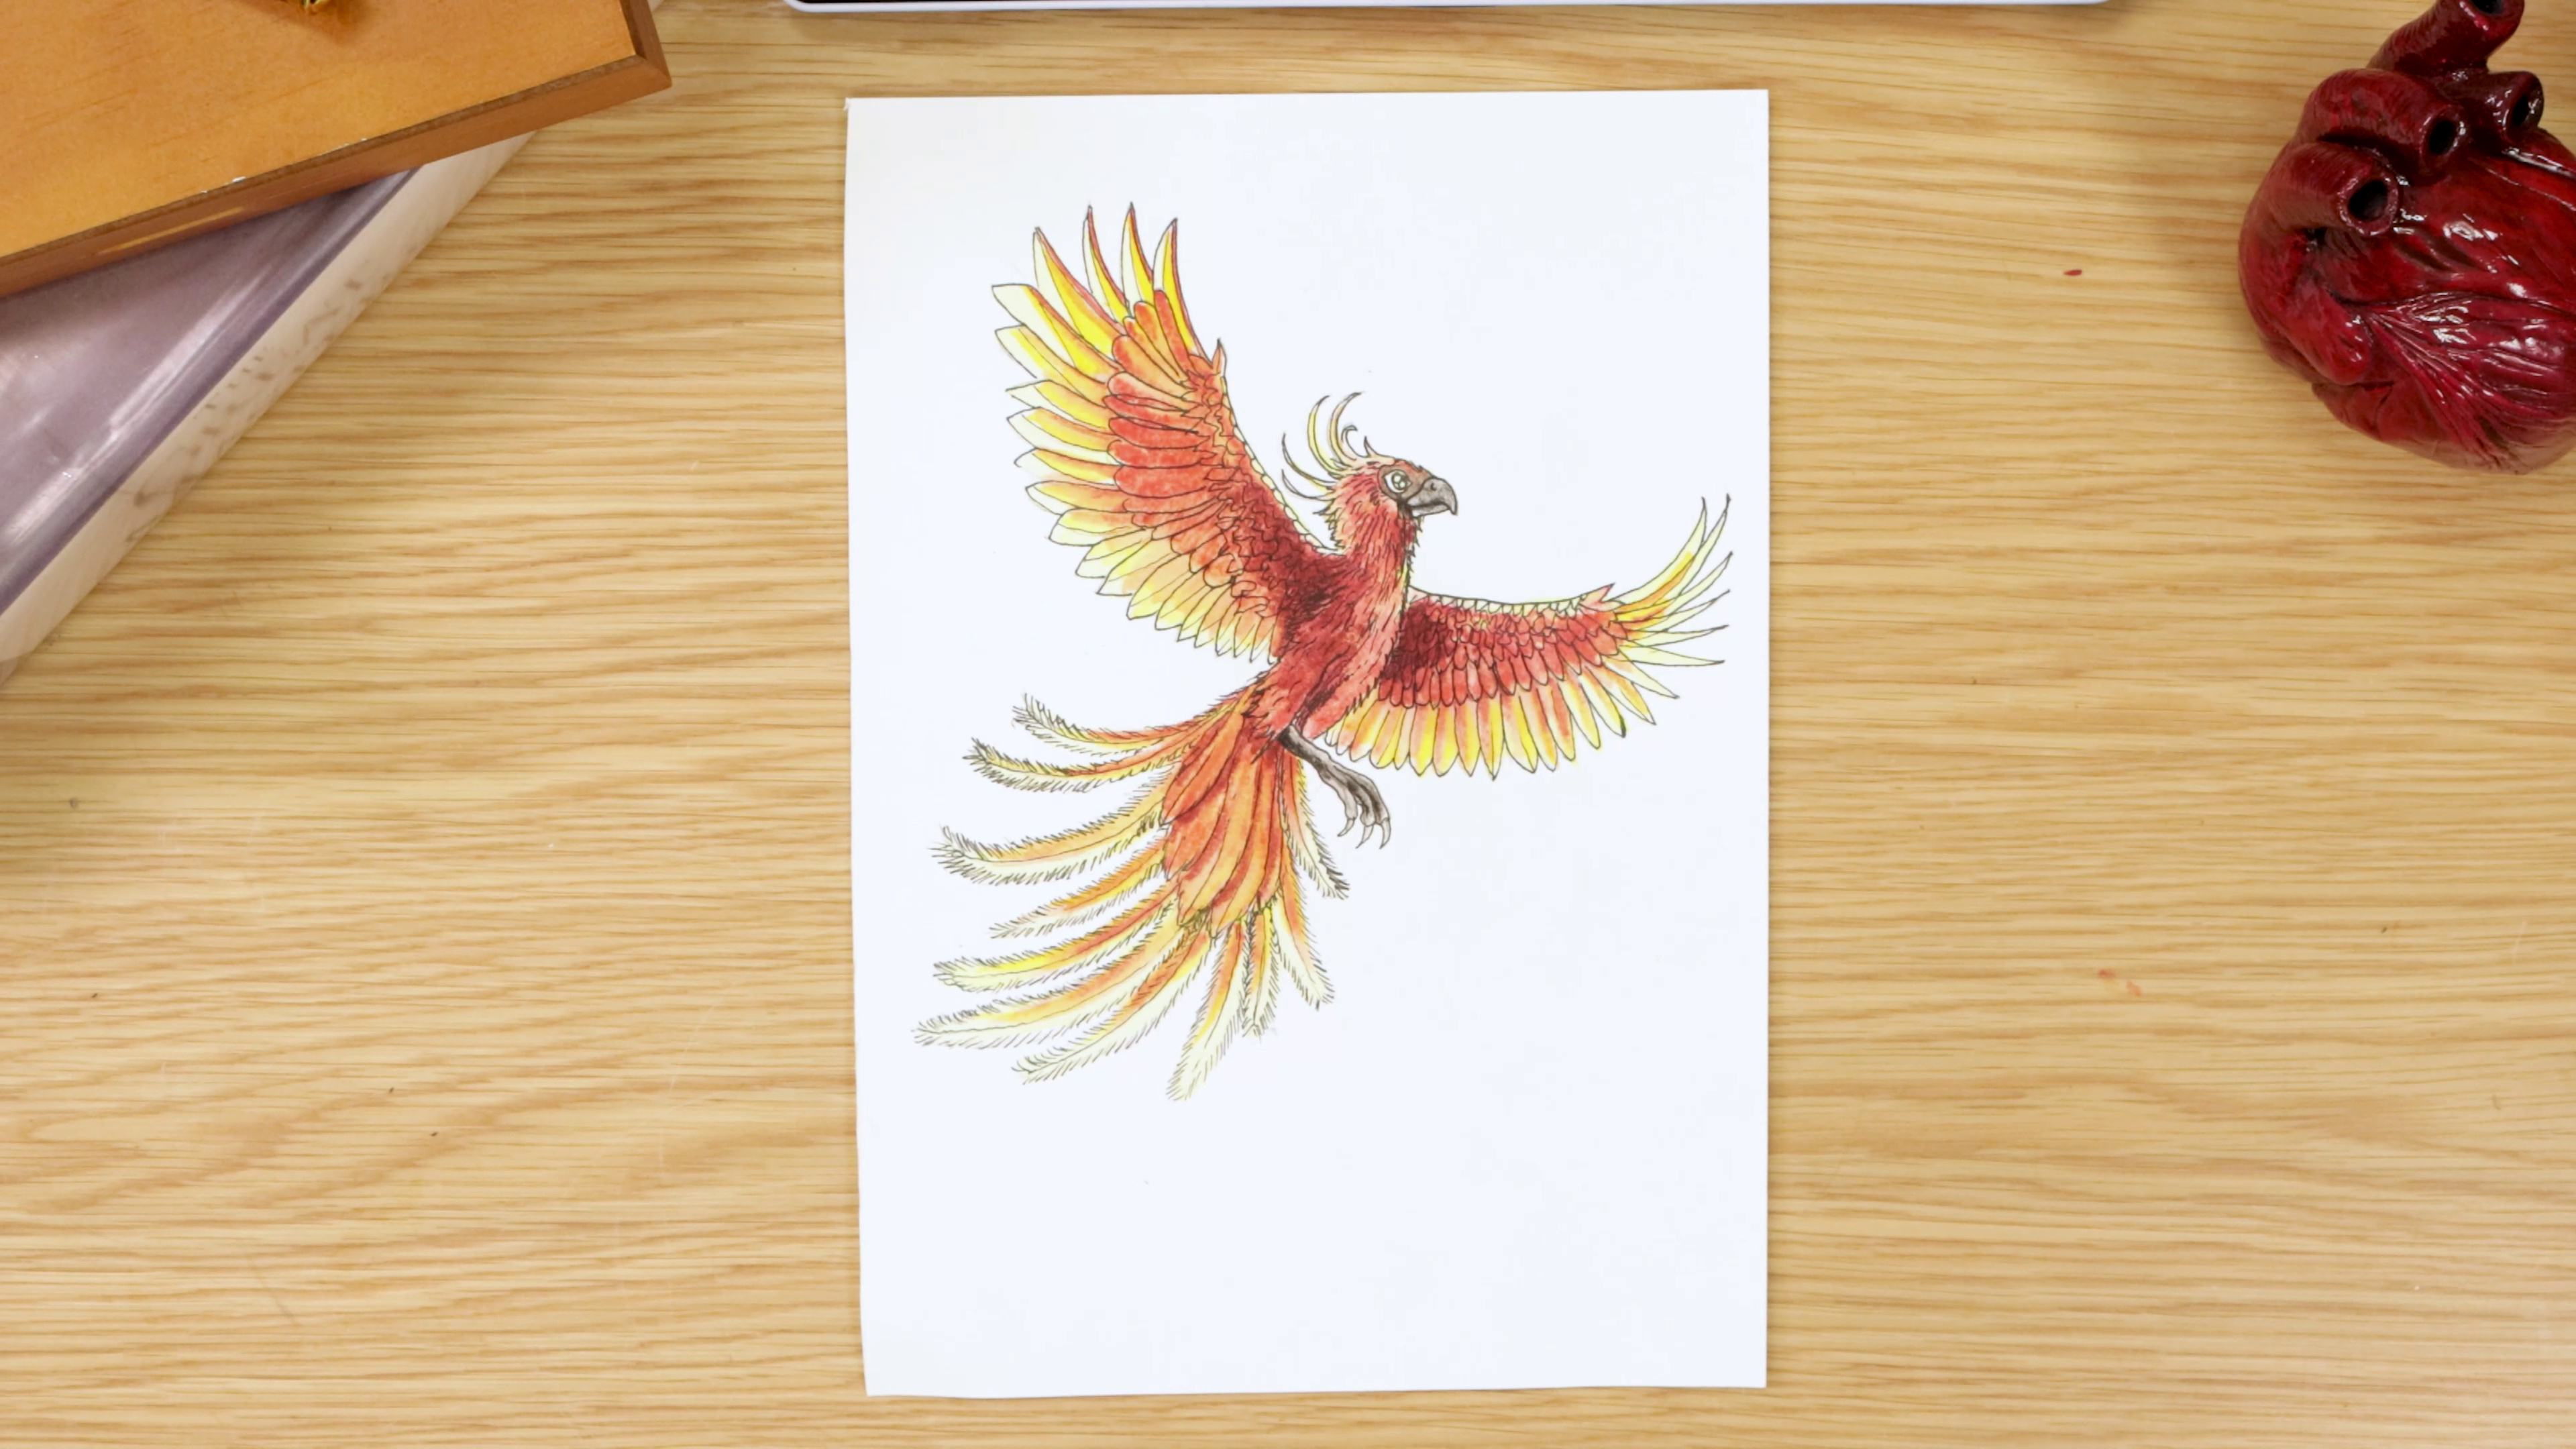
- Colour the beak and feet with black watercolour pencil
- Add water to soften it into a deep grey tone
- Watercolour Pencils
- Graphic Fineliners (0.5 recommended)
- Watercolour Paper Pad (300gsm)
- Watercolour brushes (including a large wash brush)
- Pencil
- Eraser
- Spare paper (for swatching)
- Paper towel
- Water
You may also like

Peacock drawing in watersoluble oil pastels


How to use ceramic paint on a thrifted plate


