


Make a ladybug painted pot with ceramic paints
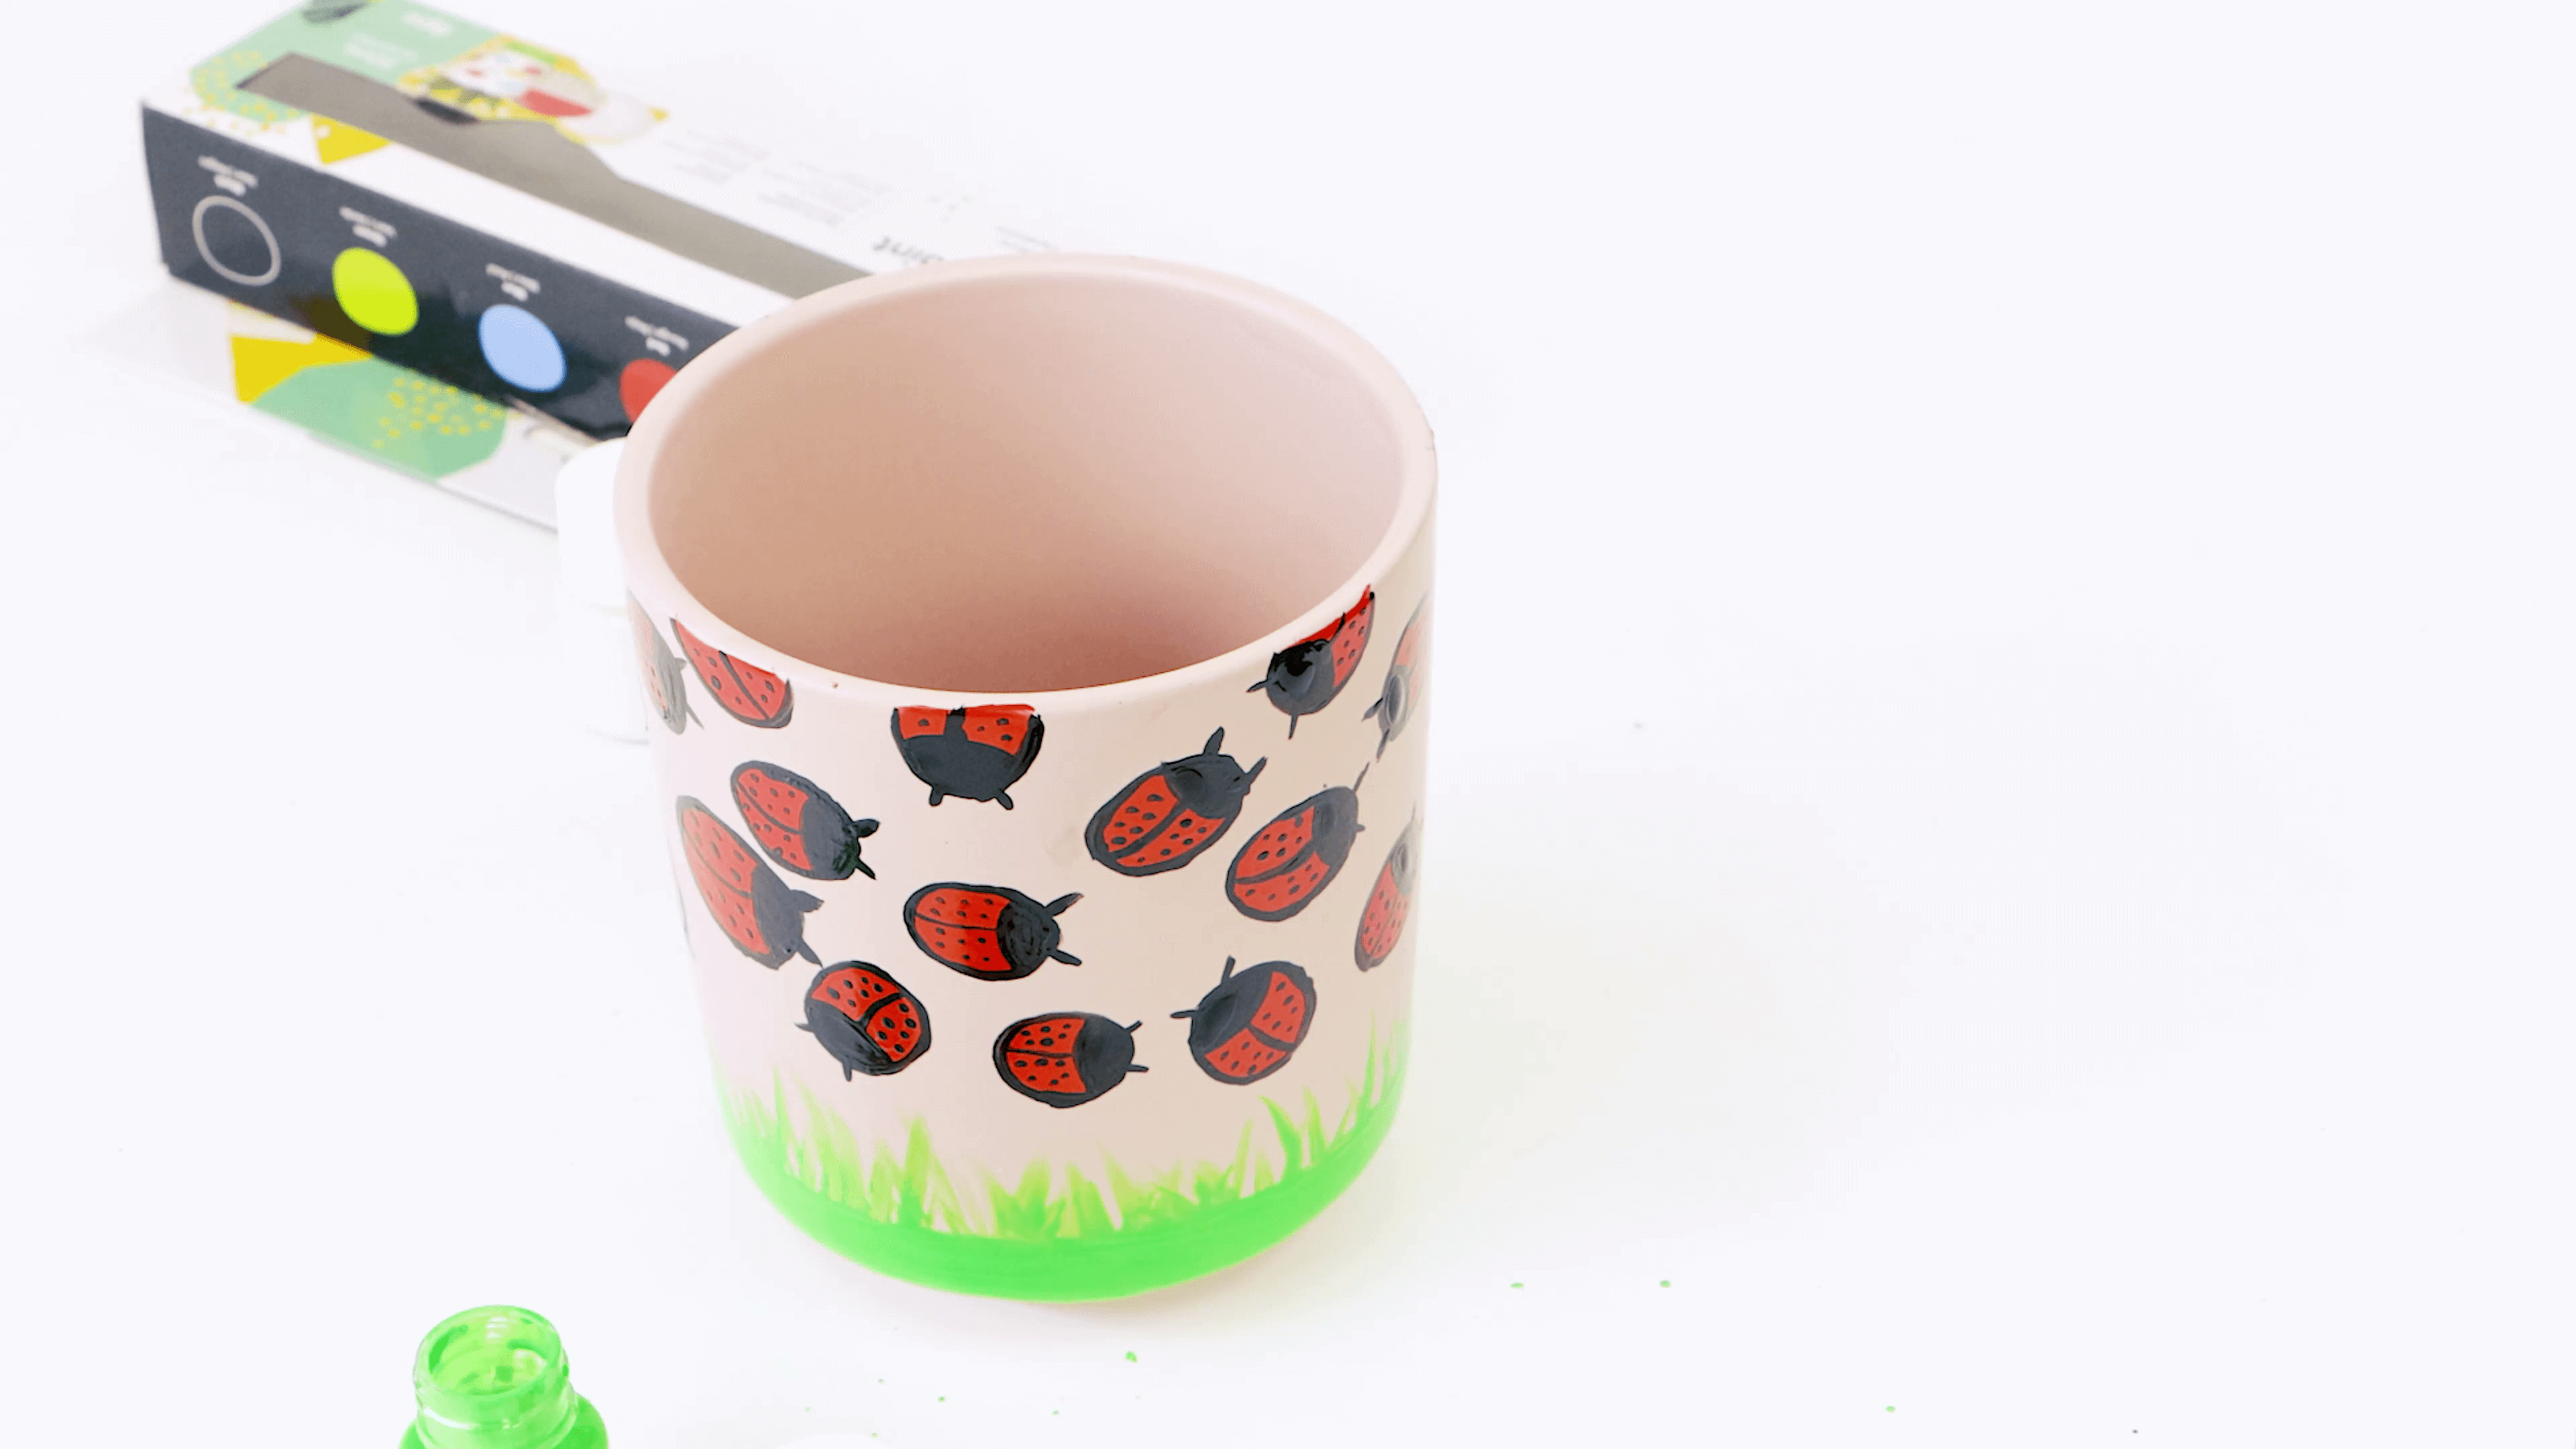
Let your creativity fly with this cute ceramic paint pot project. In this video, we’re showing you how to make your own ladybug painted pot using ceramic paints to add a little bit of creativity to your garden, plant family or balcony.
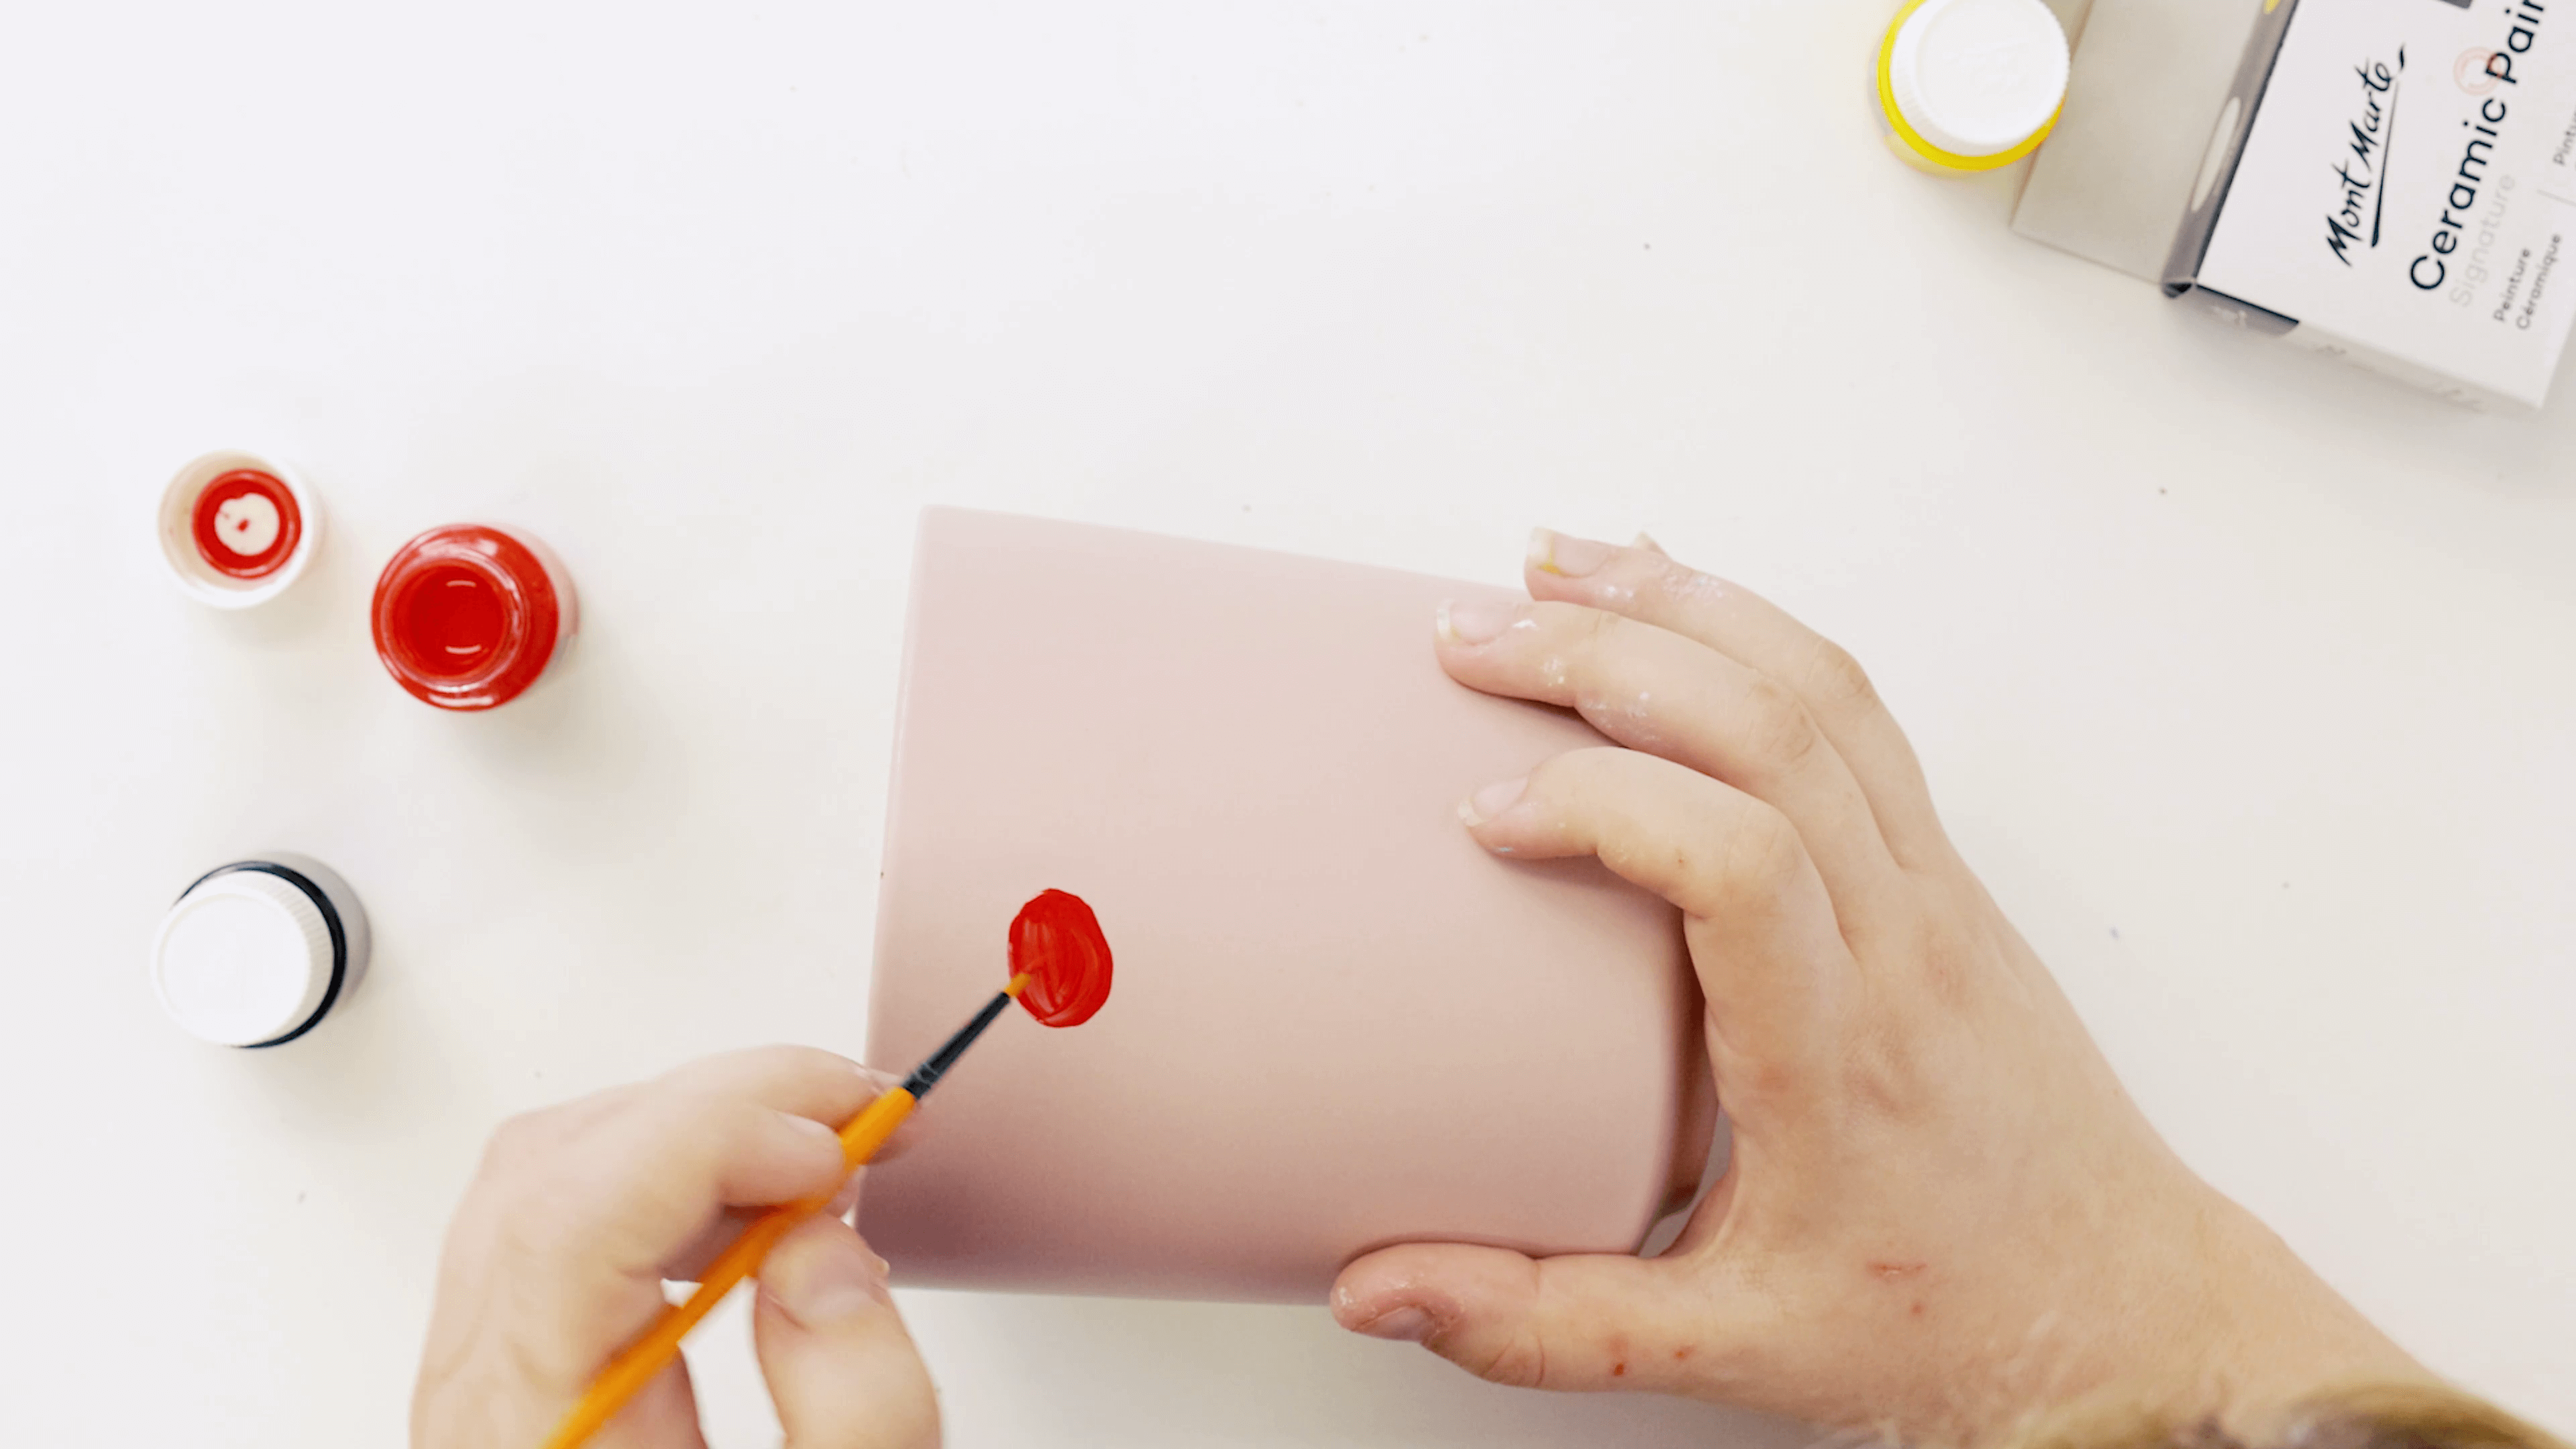
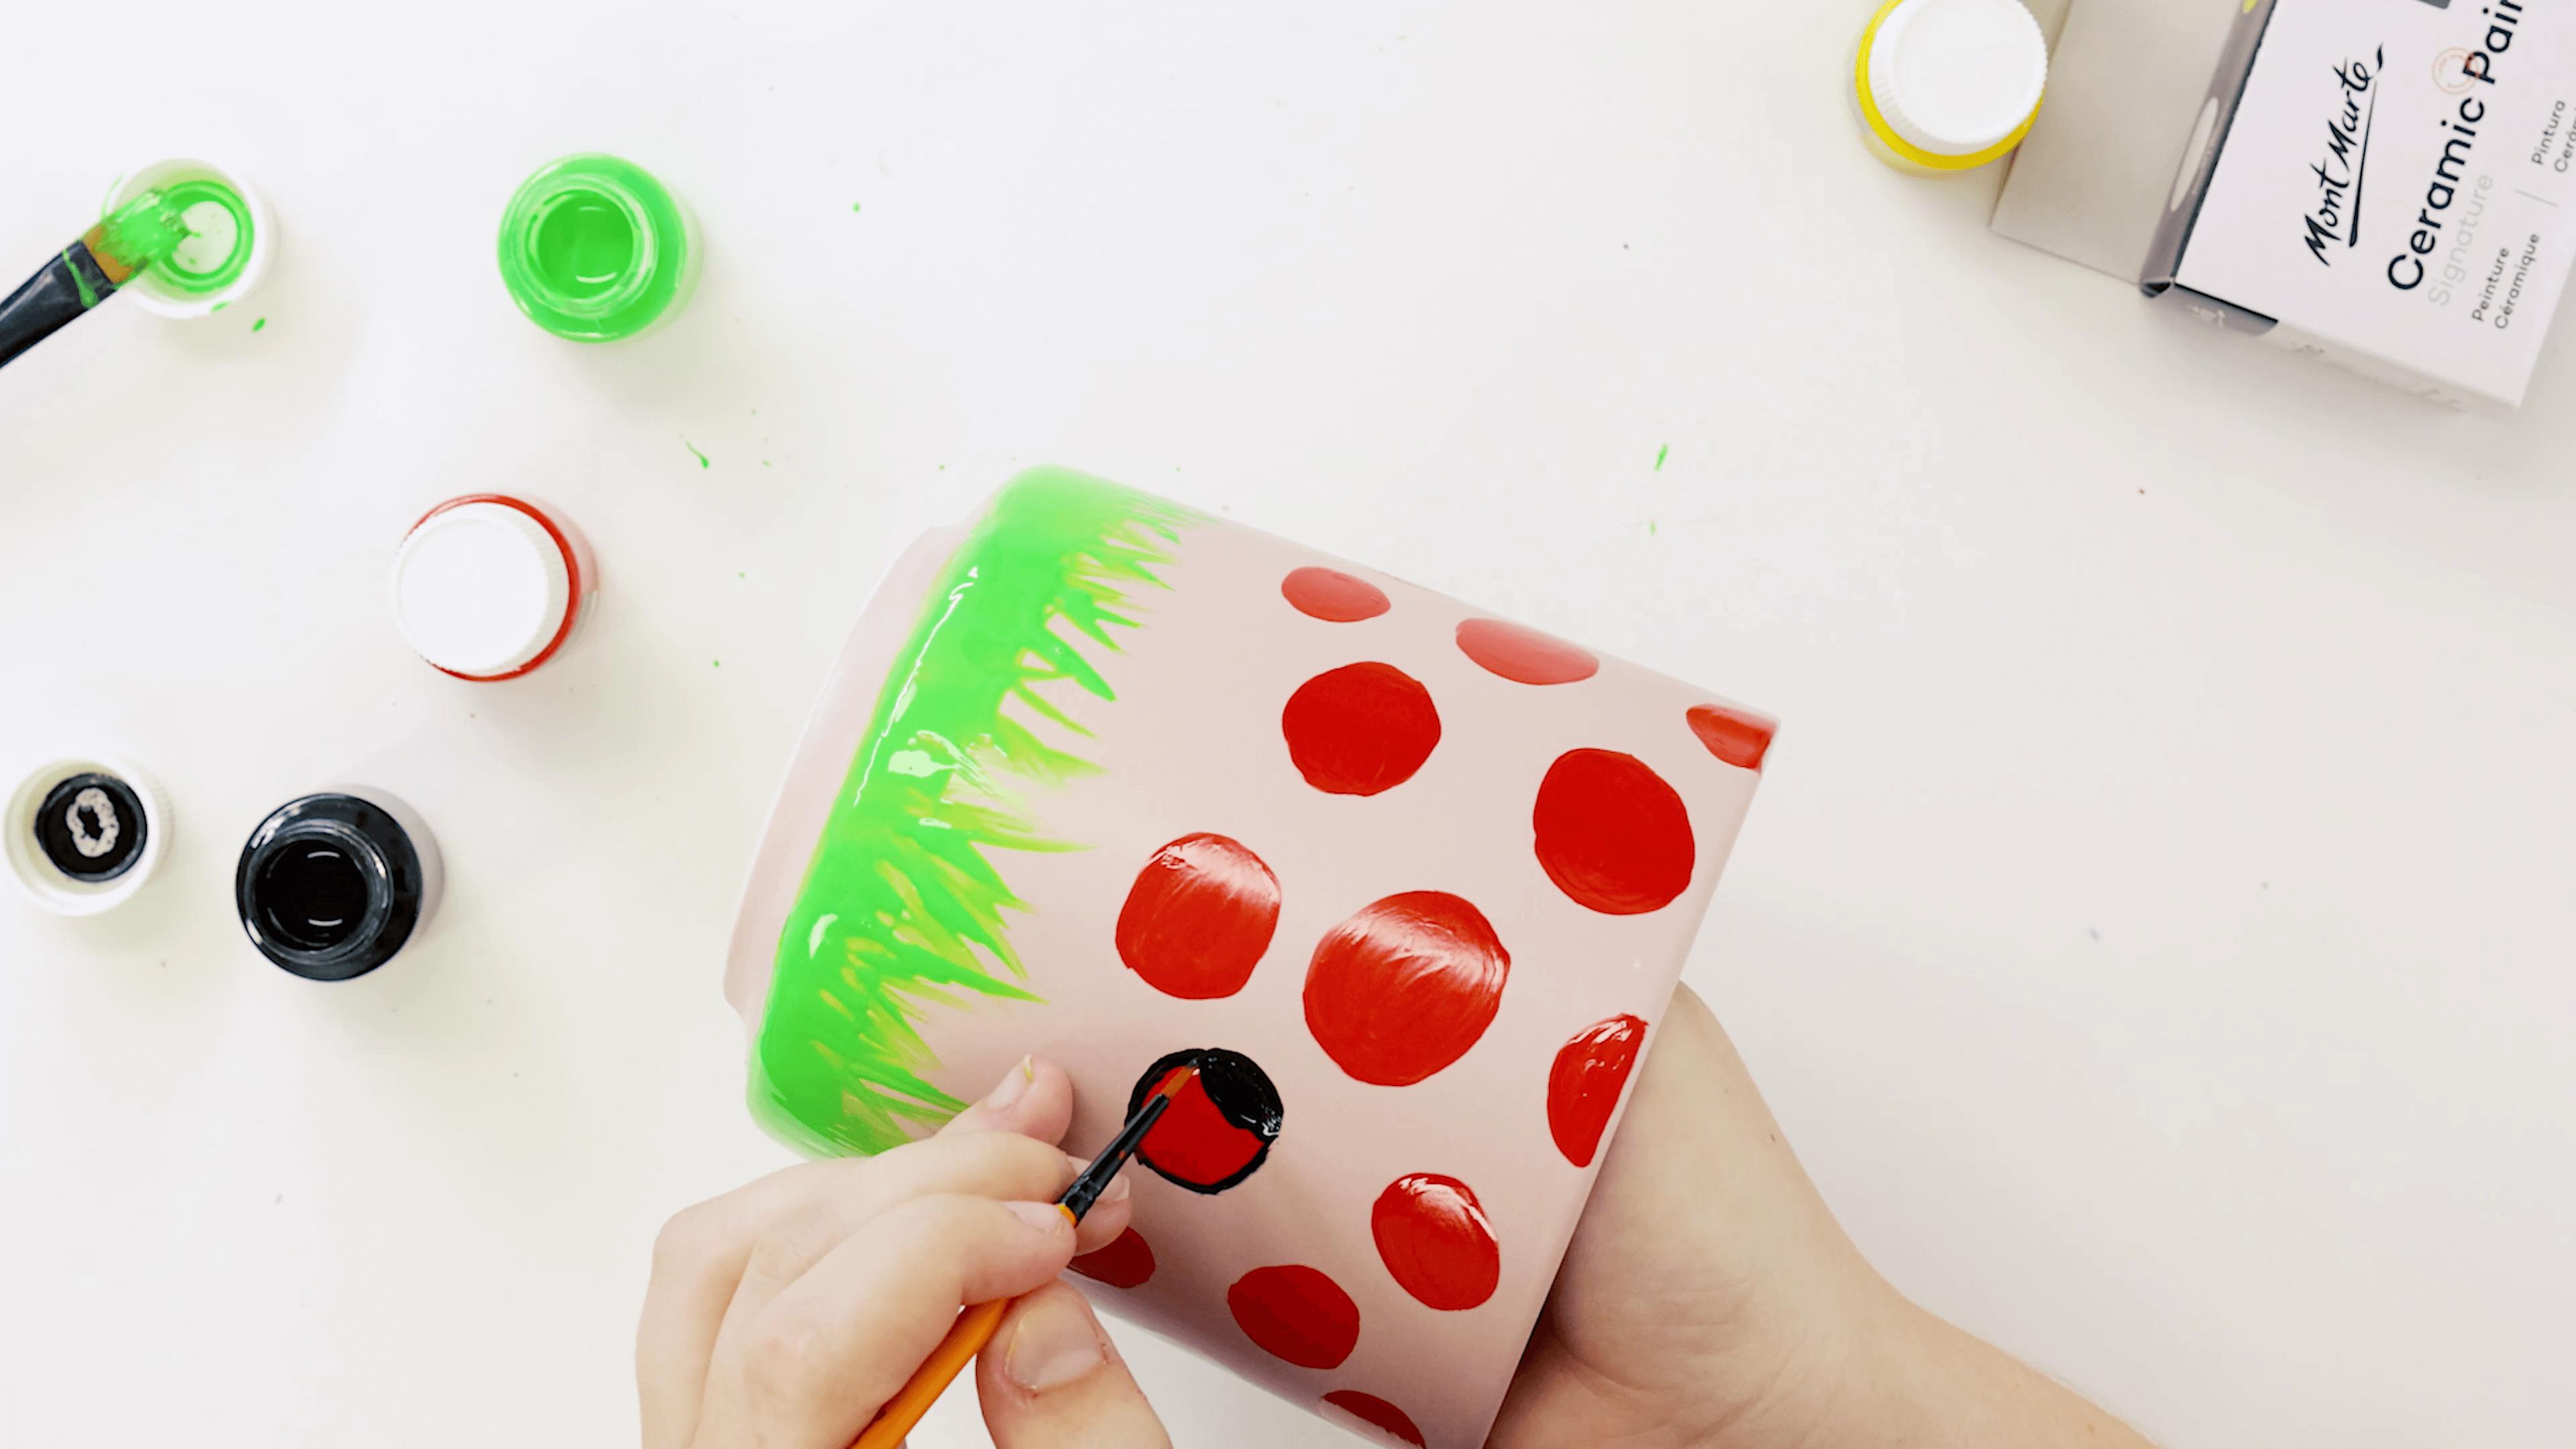
To start, grab a ceramic pot and dip into some red ceramic paint with a small flat brush.
Begin painting a circular shape for the body and fill the shape with colour.
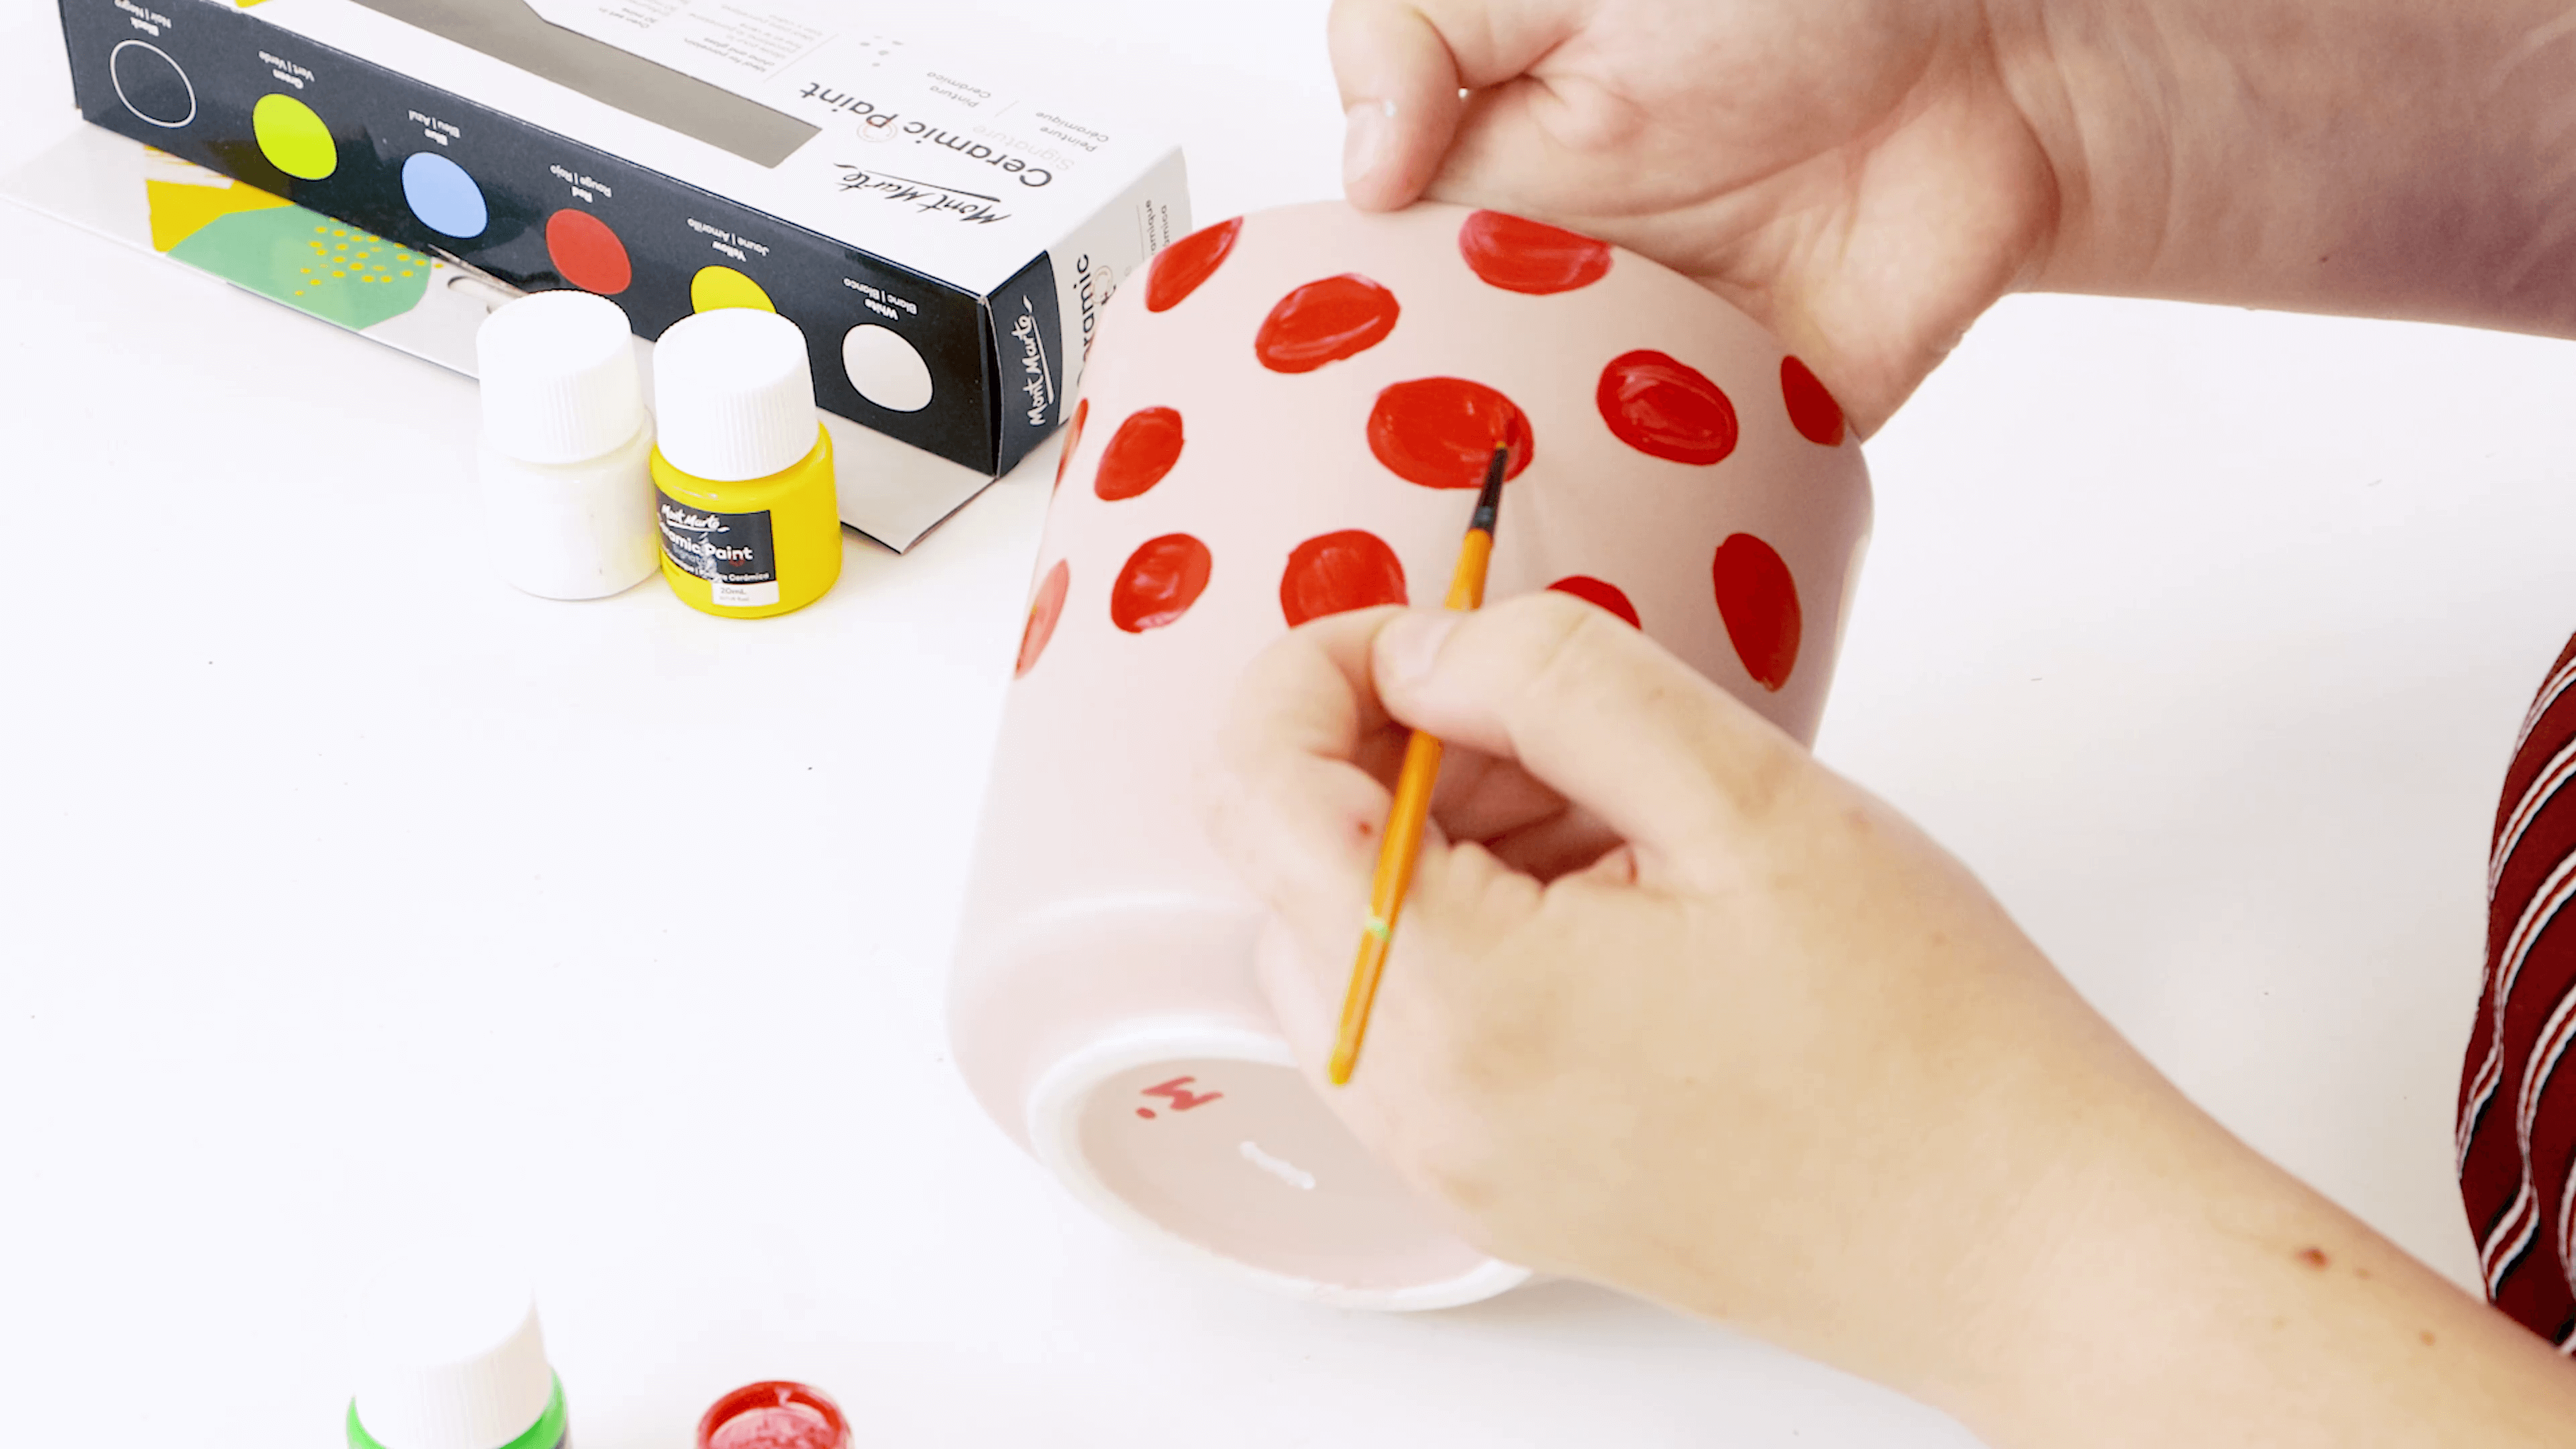
Work your way around the pot with this shape, leaving room for grass at the bottom.
Keep your hand inside the pot and rotate the pot as you work, this will keep both your work and your hands clean.

Apply a second coat for a smoother finish and stronger colour.
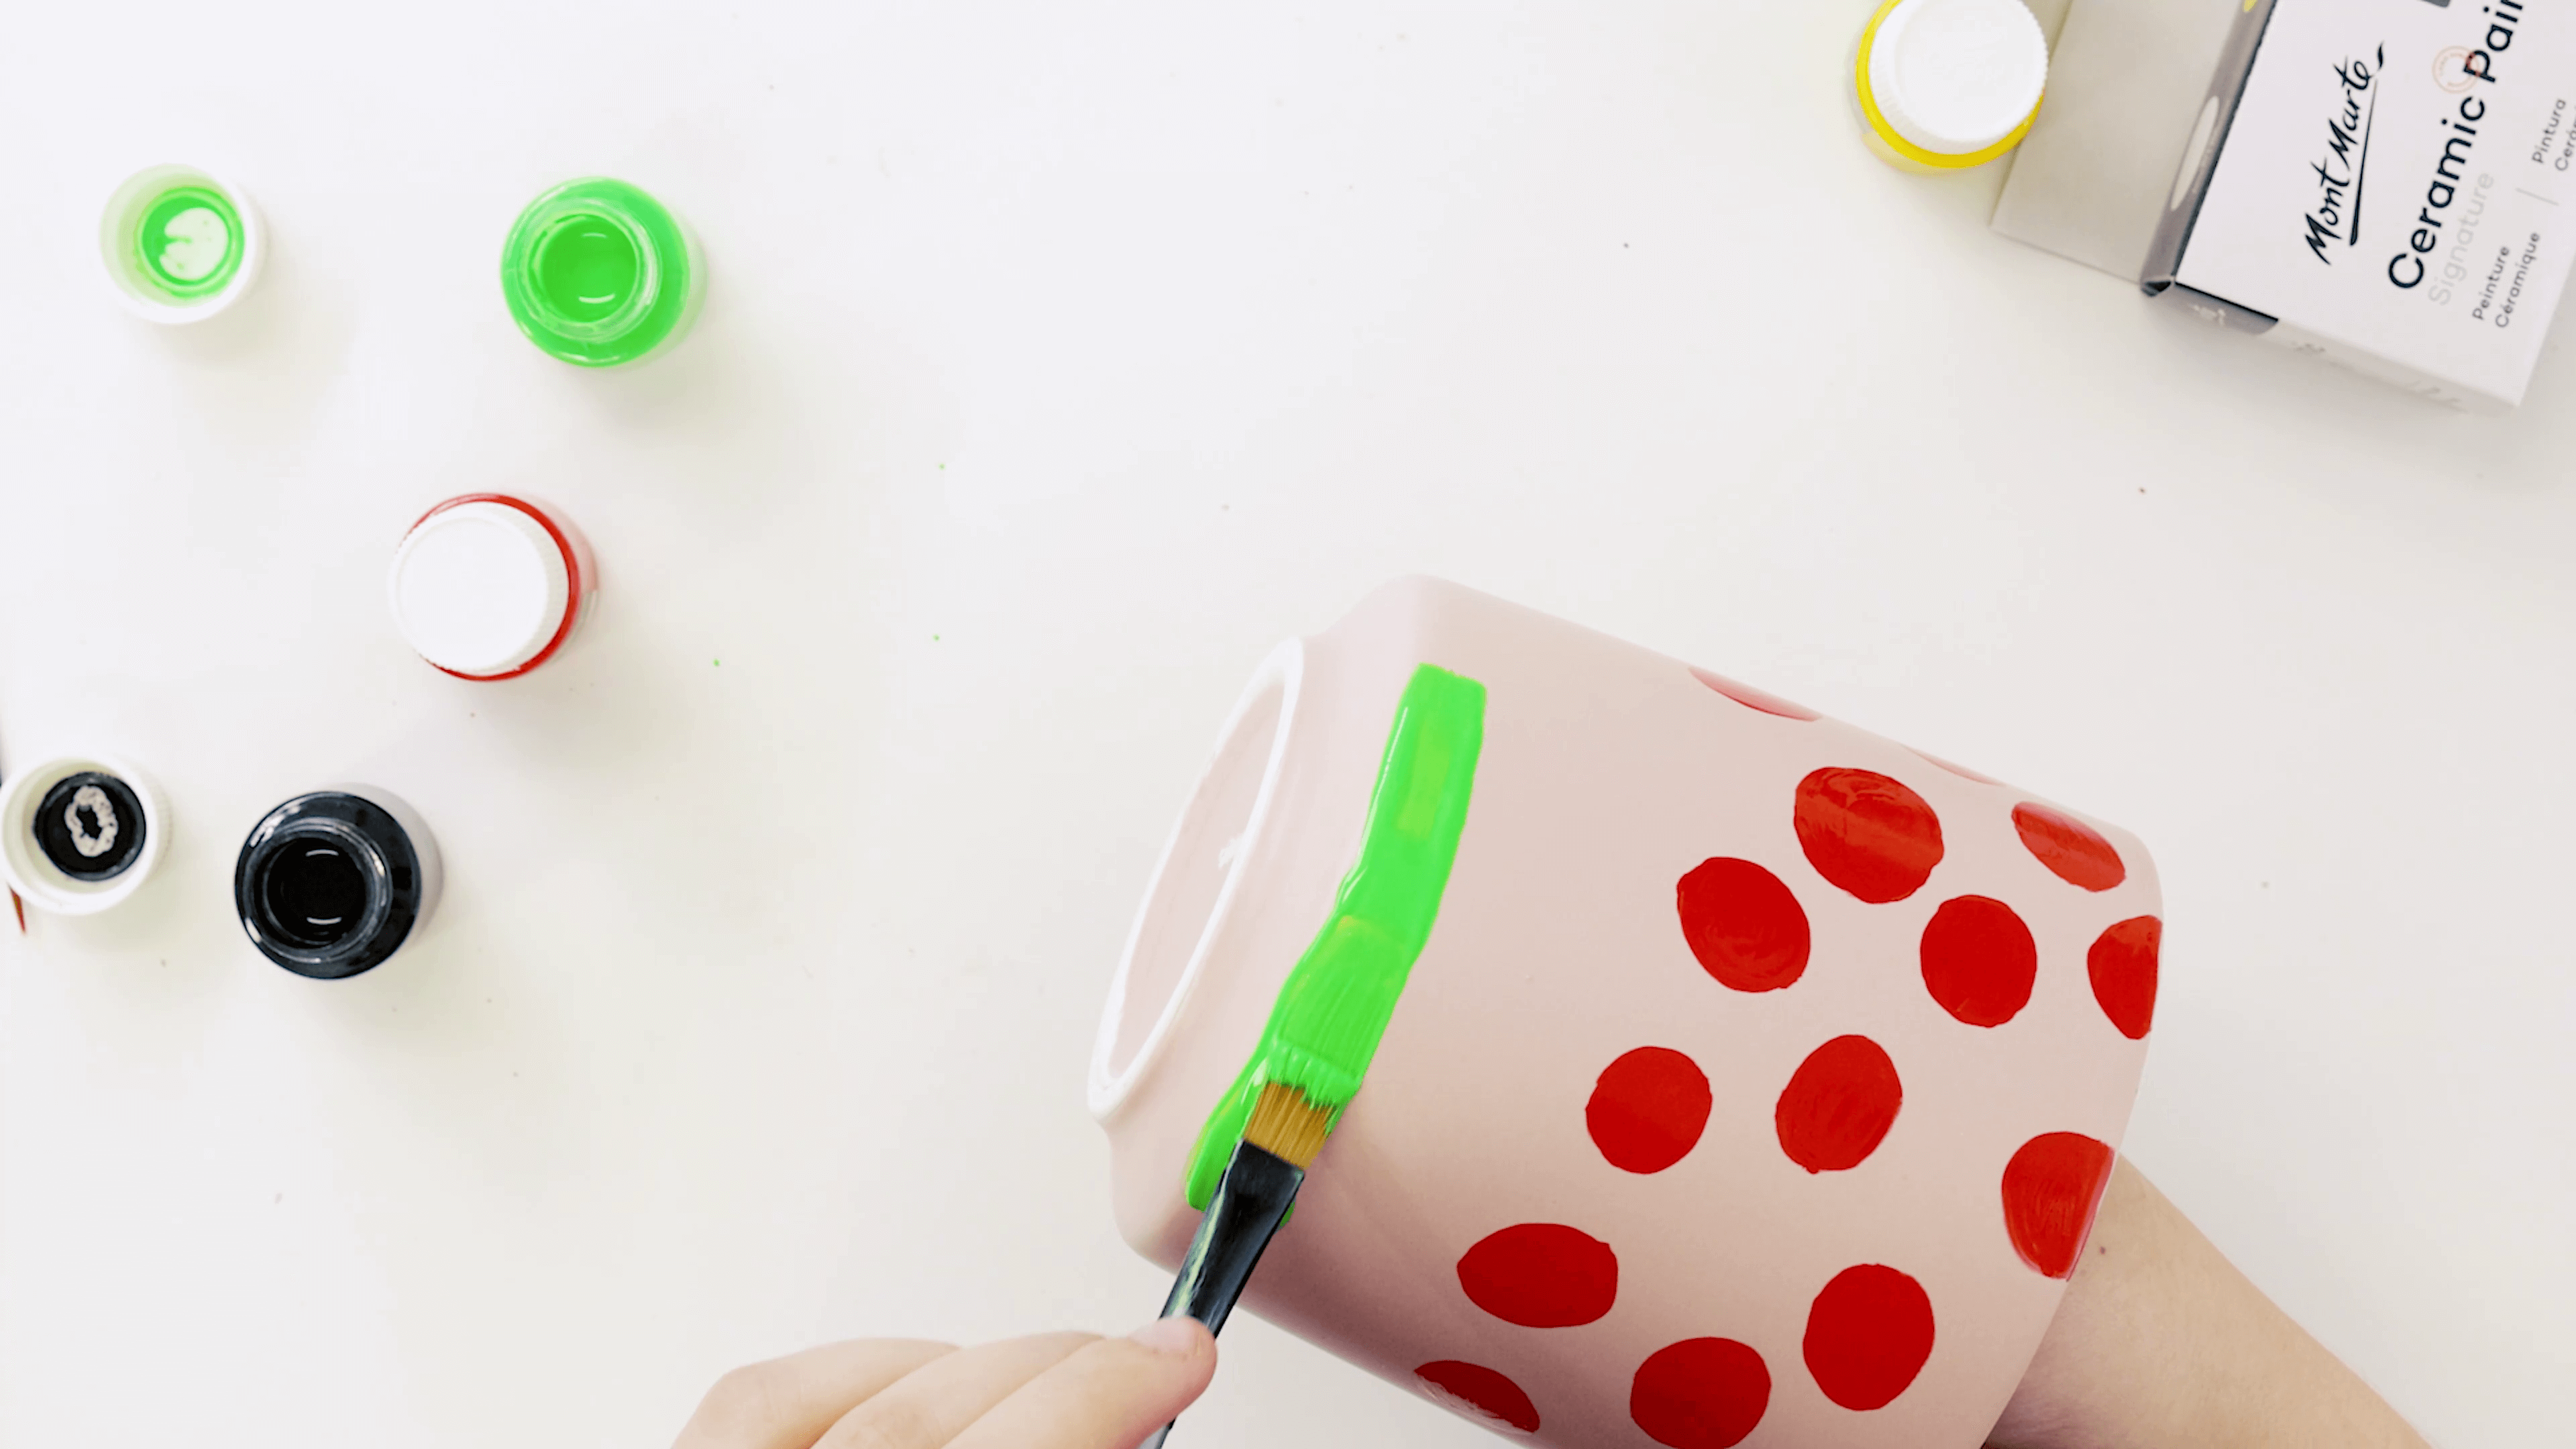
Grab a thicker flat brush and dip into the green for grass, create a band of colour on the bottom.
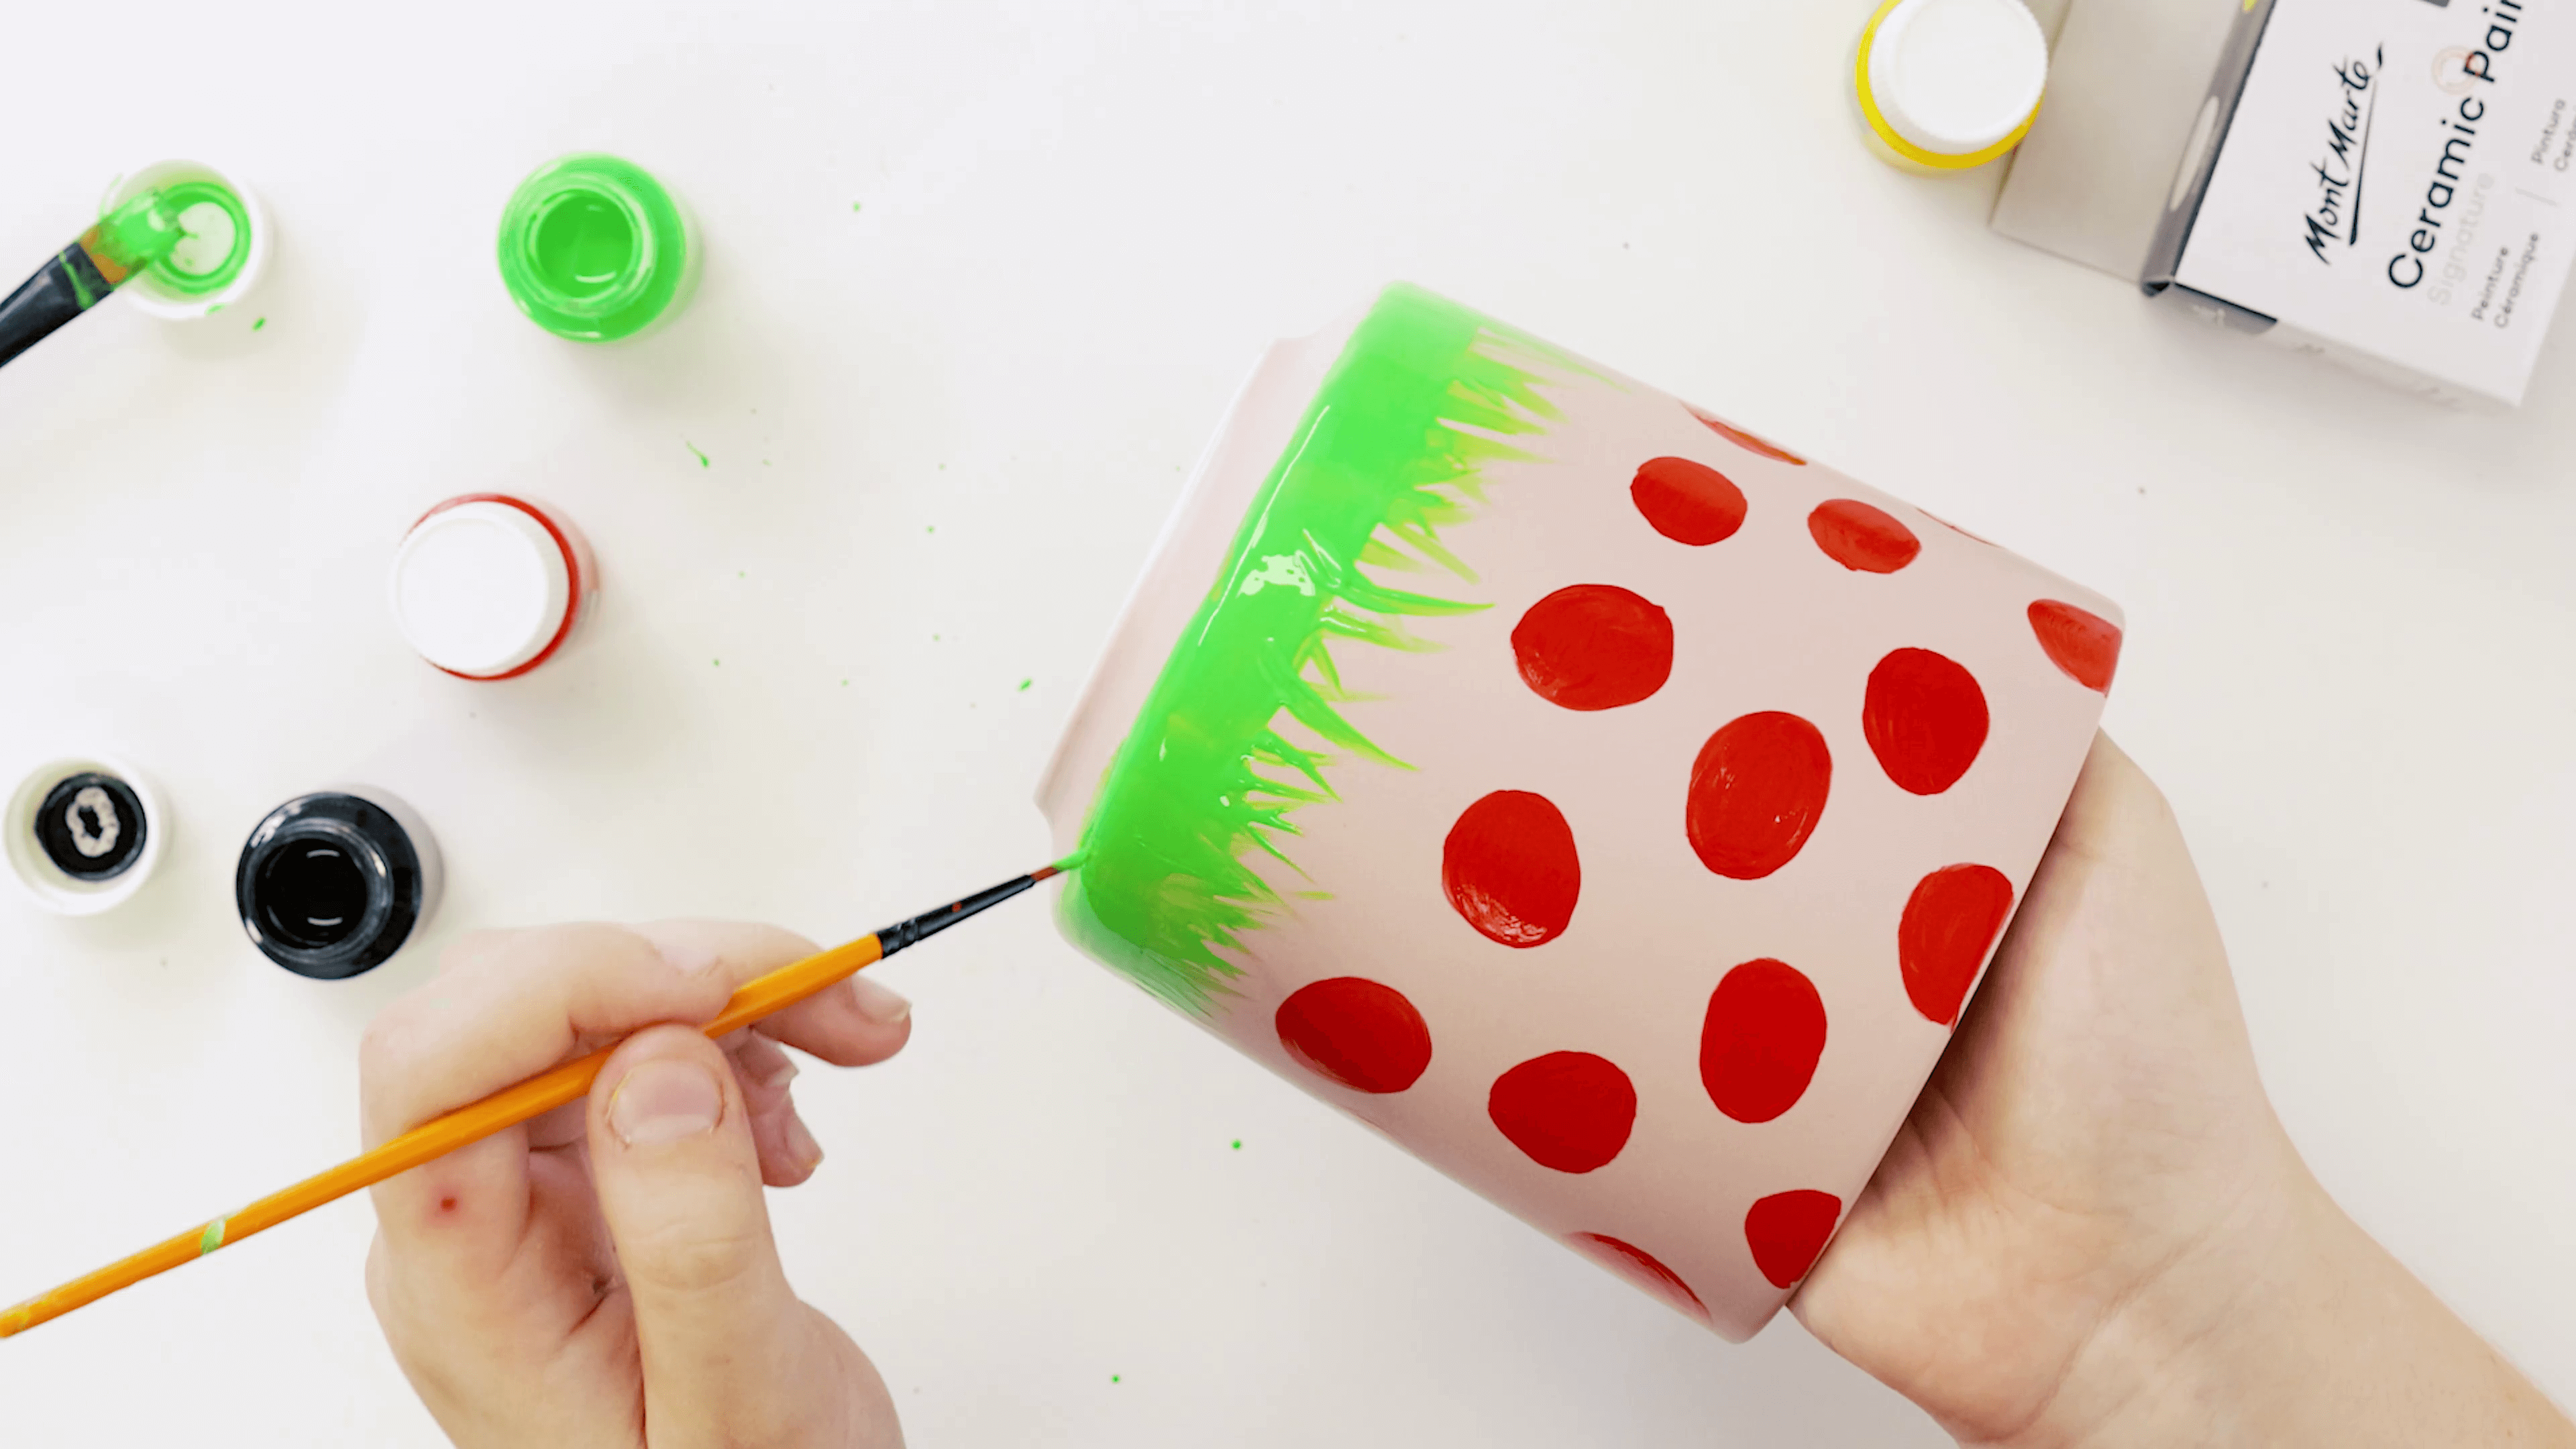
Flick the brush upwards to create grass. You can also use a thin rounder or liner brush if you’re looking for subtle grass. Continue to add crisscross brush strokes to create grass.
Add a second coat of green if needed to strengthen the colour if you need.
Dip the small brush into black to paint a line and head for the lady bug.
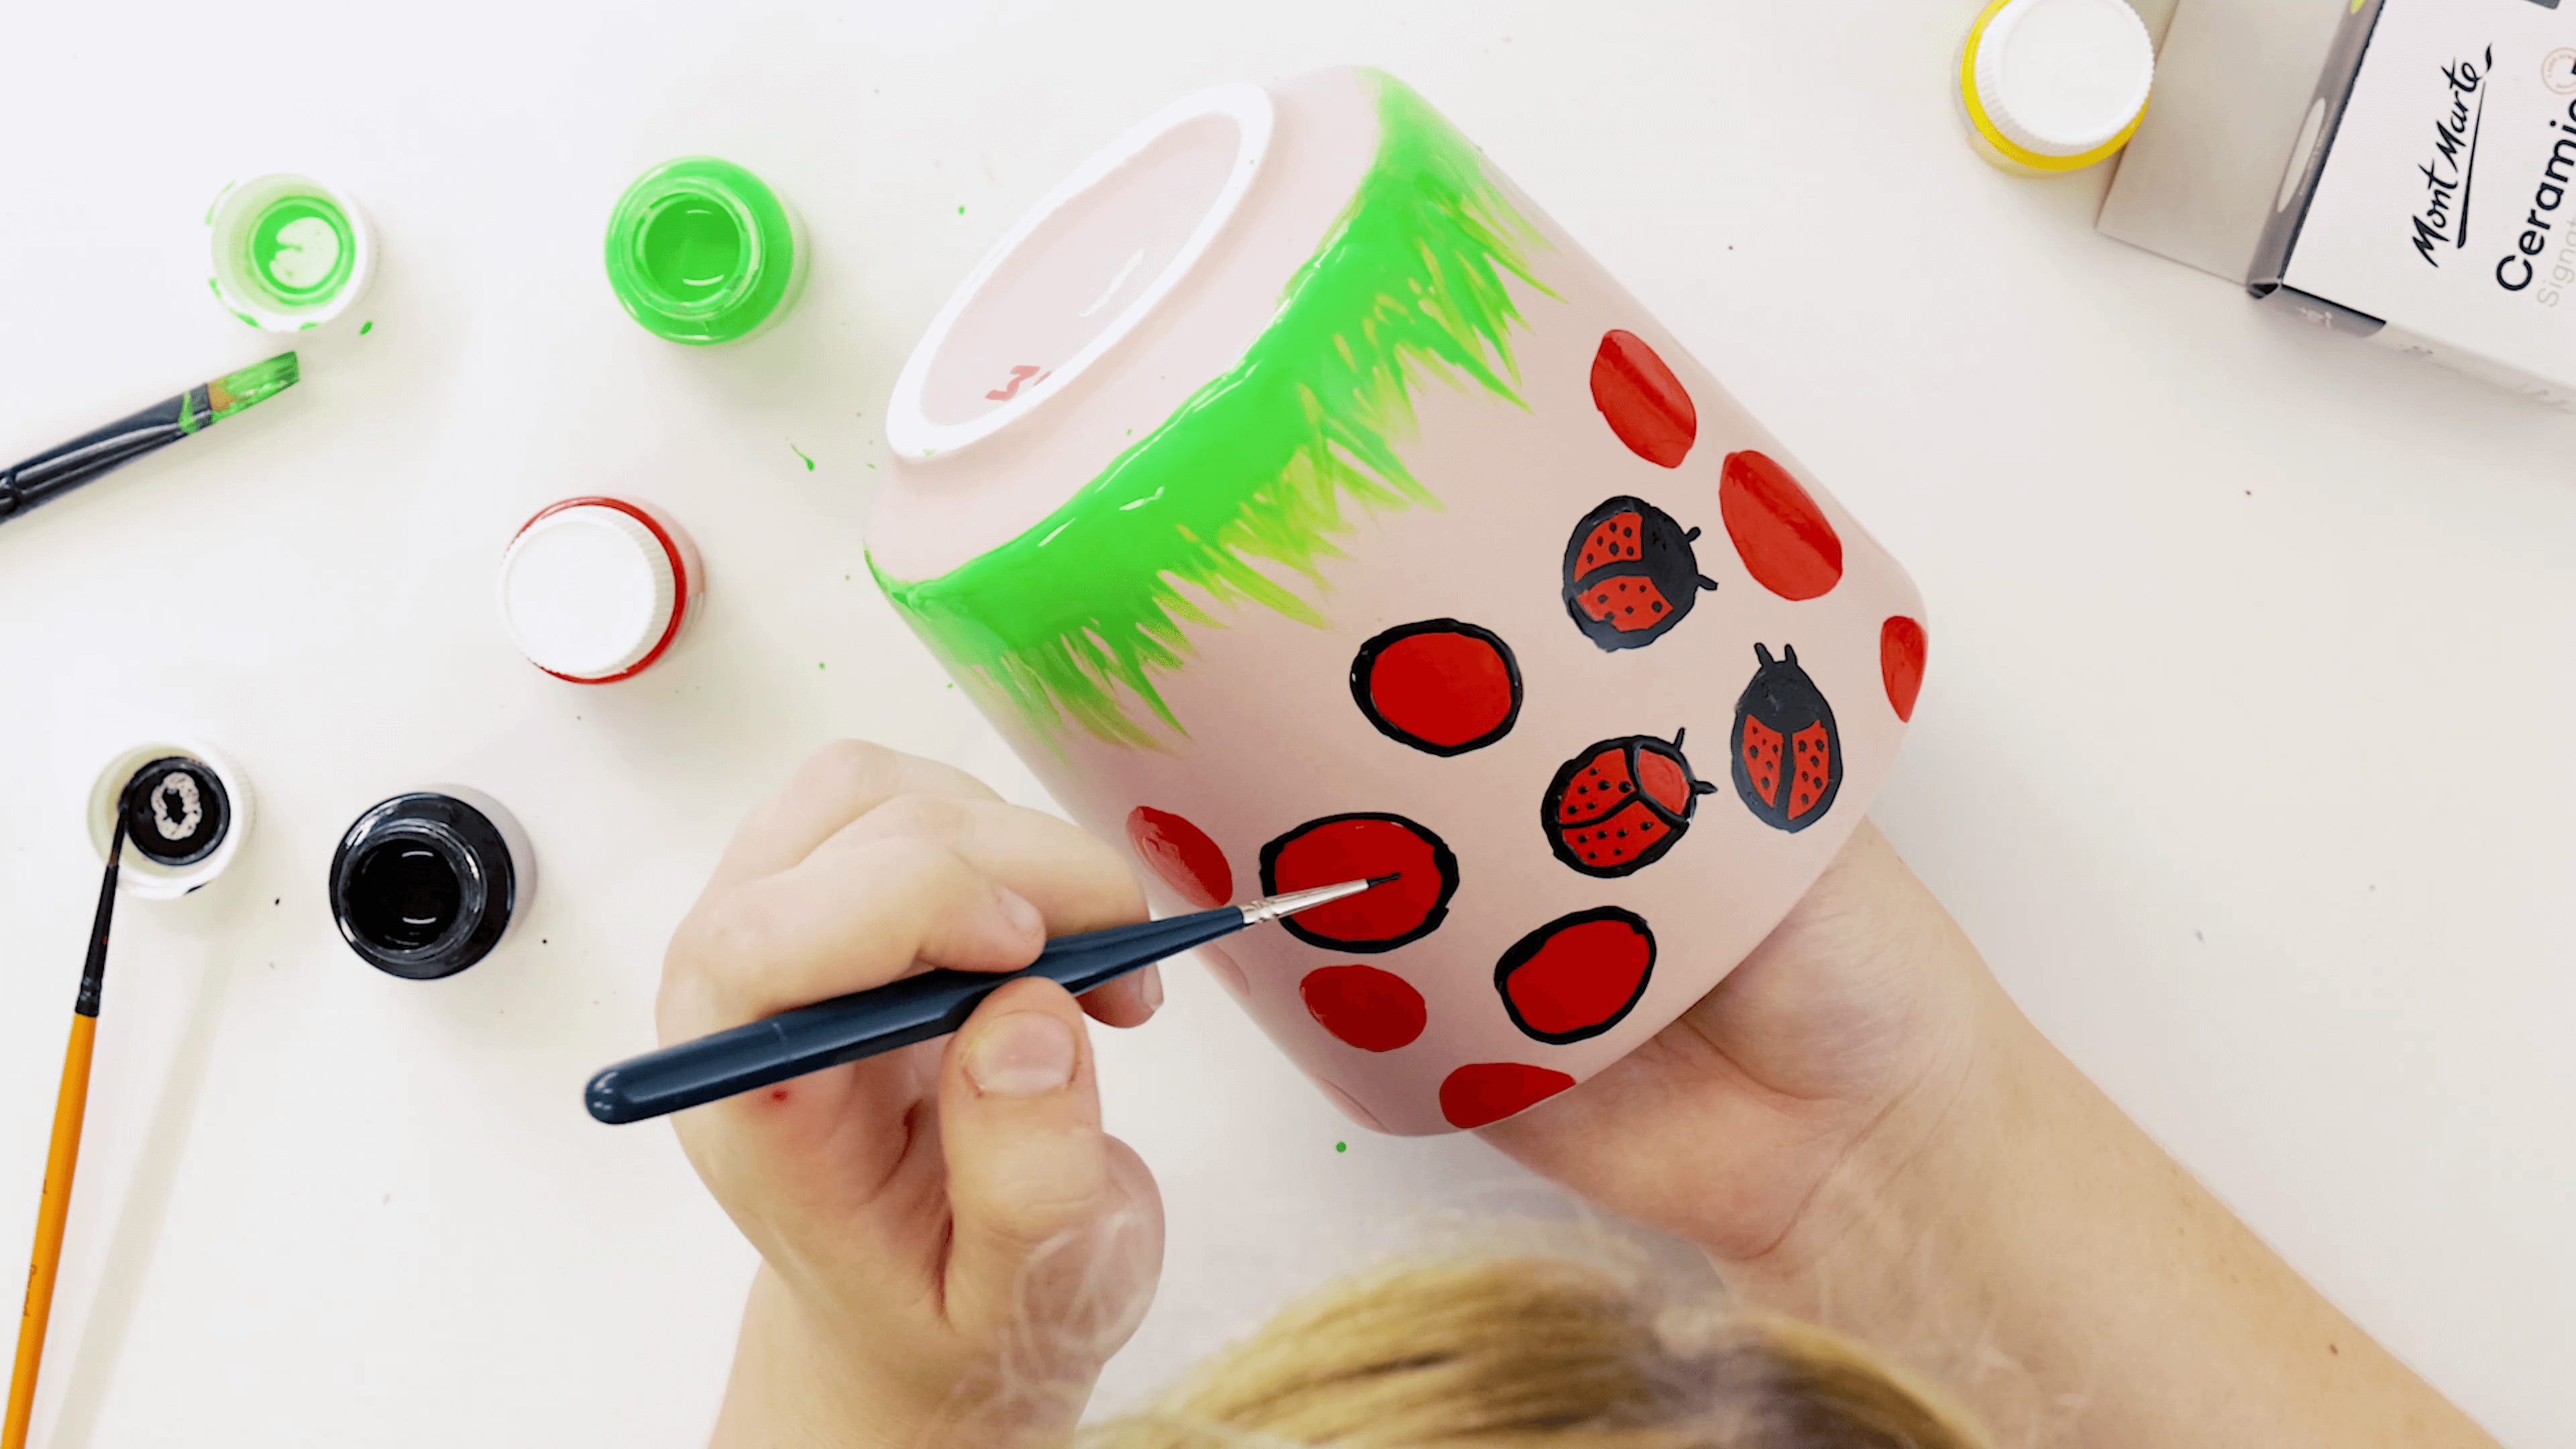
Add small spots to the body too and two antennas
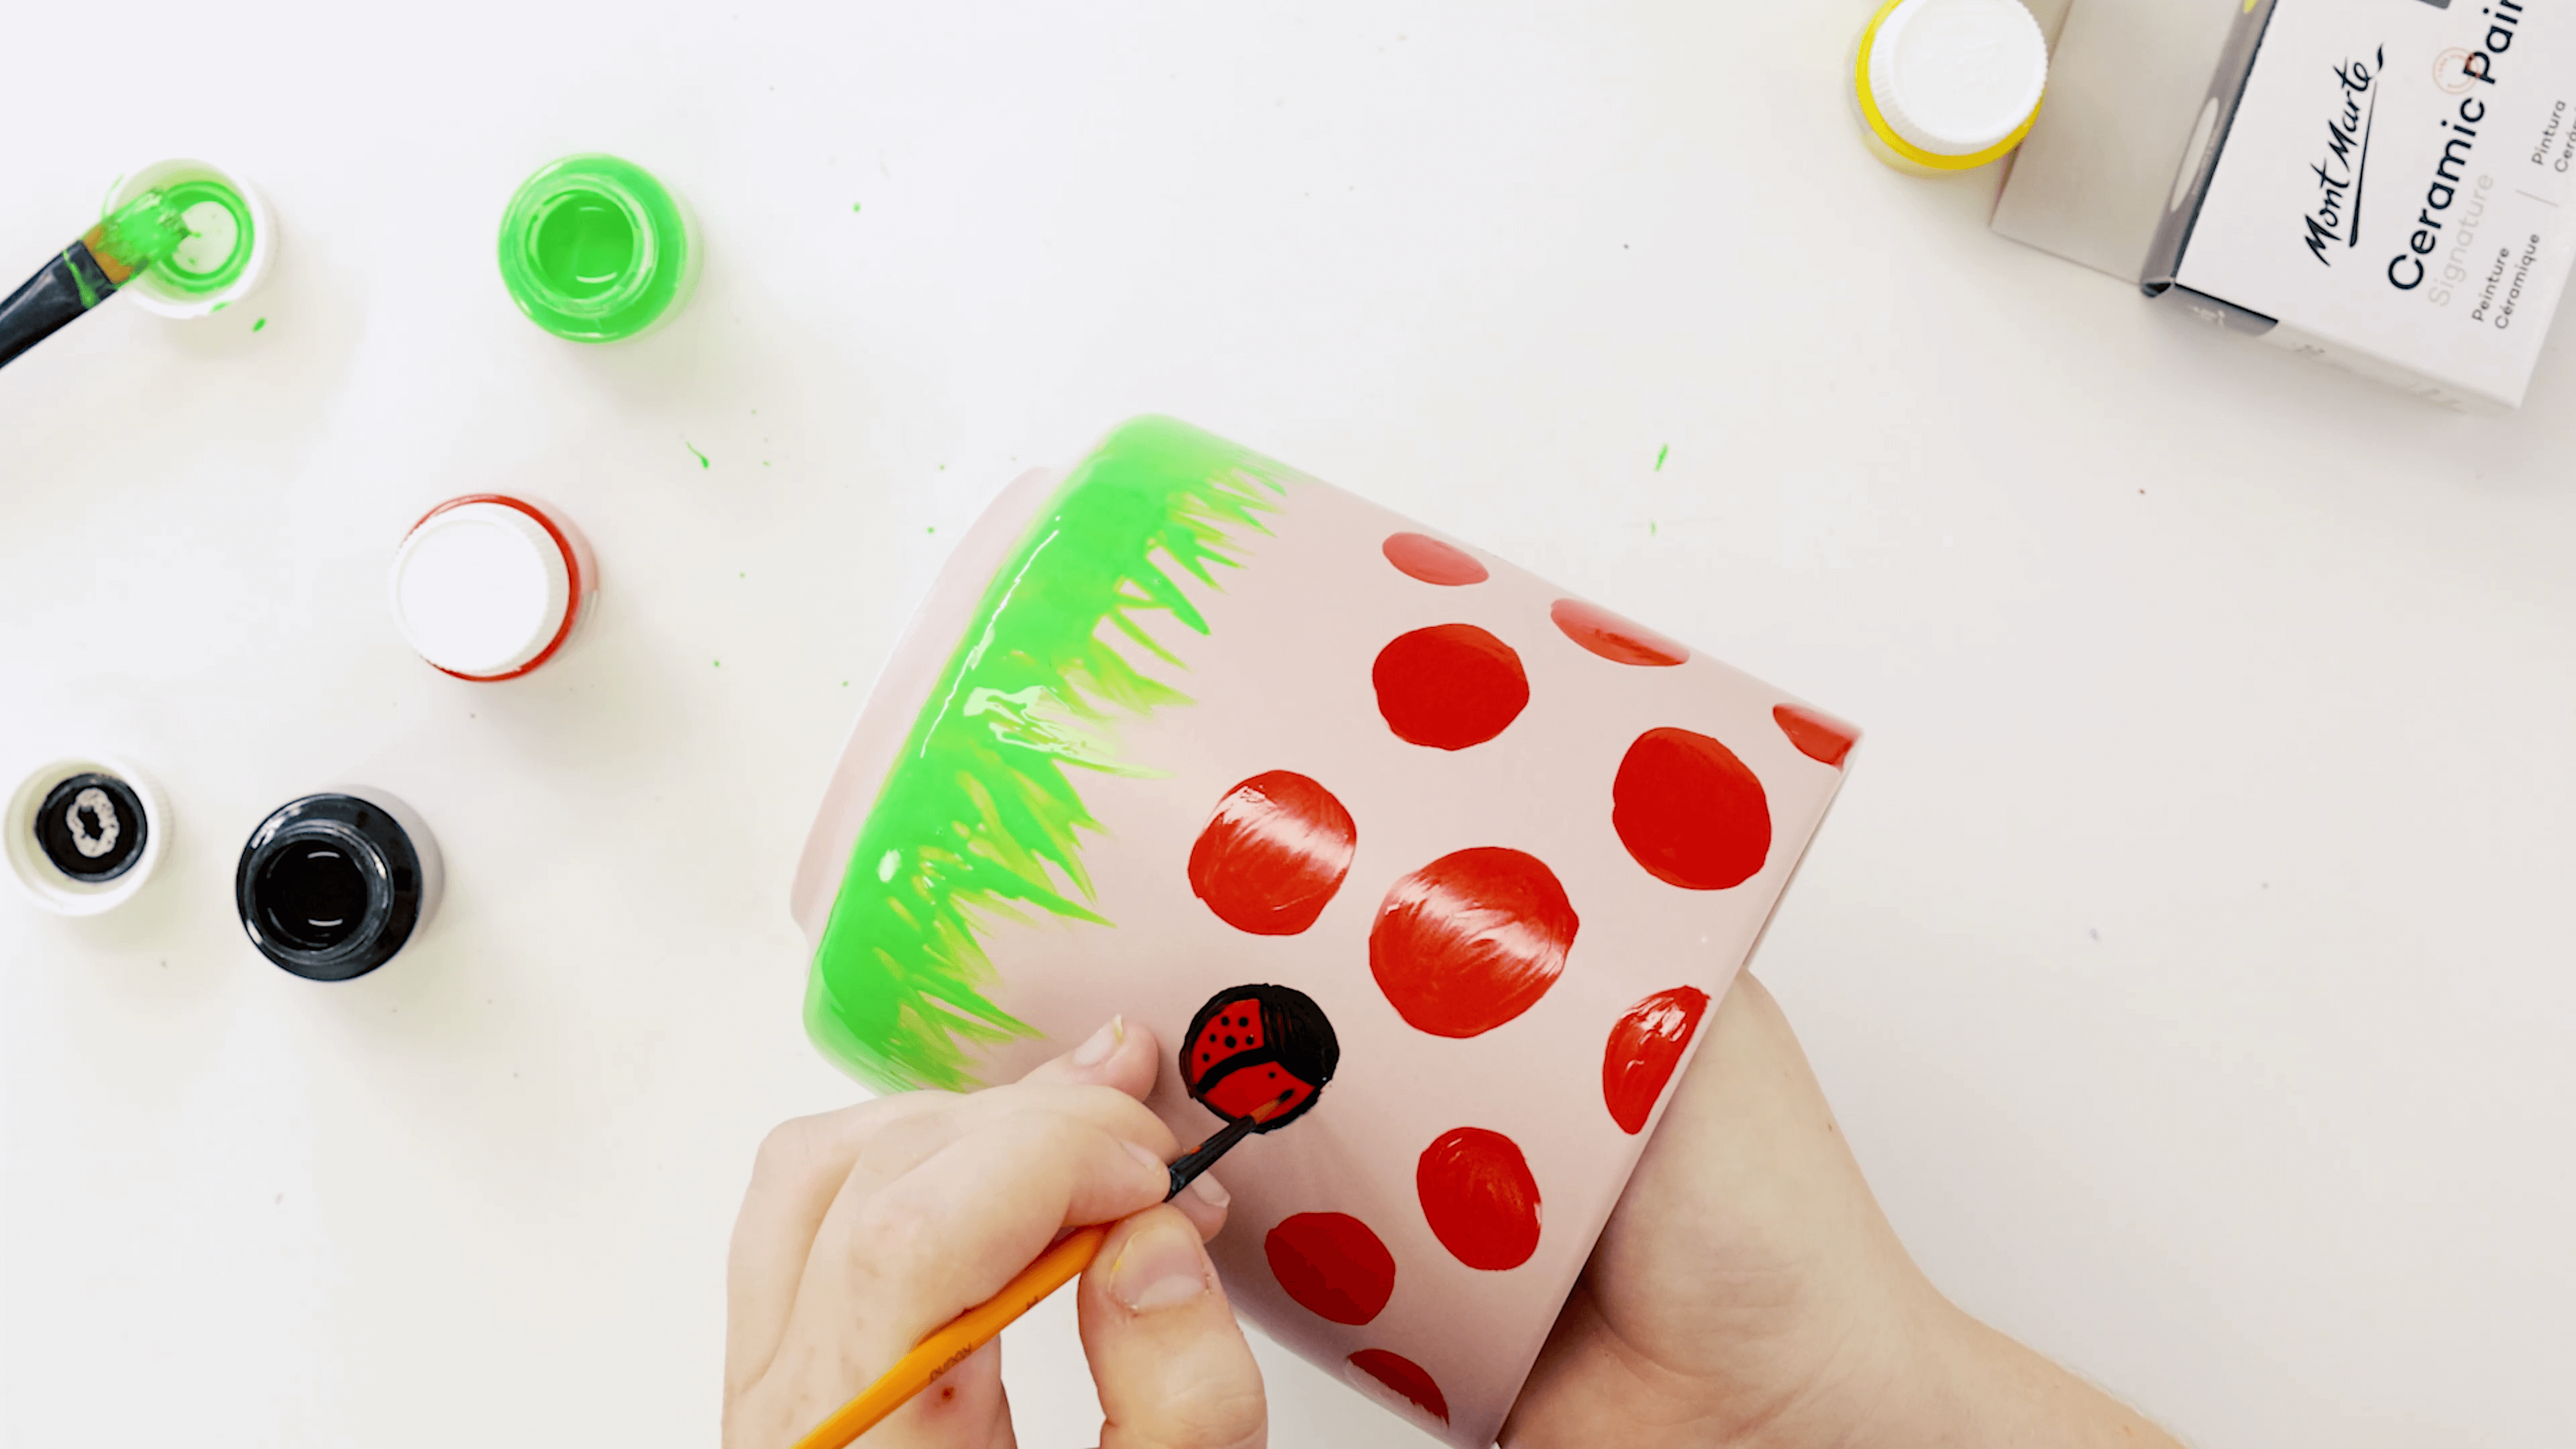
Continue to work your way around the pot, strengthen the outline of the body if you need.
If you make a mistake, wipe off quickly with water.
Add the final touches. All done!
Material List:
- Ceramic Paint Signature 6pc x 20ml (0.7oz)
Extra Materials:
- Ceramic pot
- Medium paint brush
- Small, detail paint brush
Shop Materials List
You may also like

Cat drawing in pastel pencils


How to make stickers


