


Realistic strawberry drawing in coloured pencils
Strawberry outline
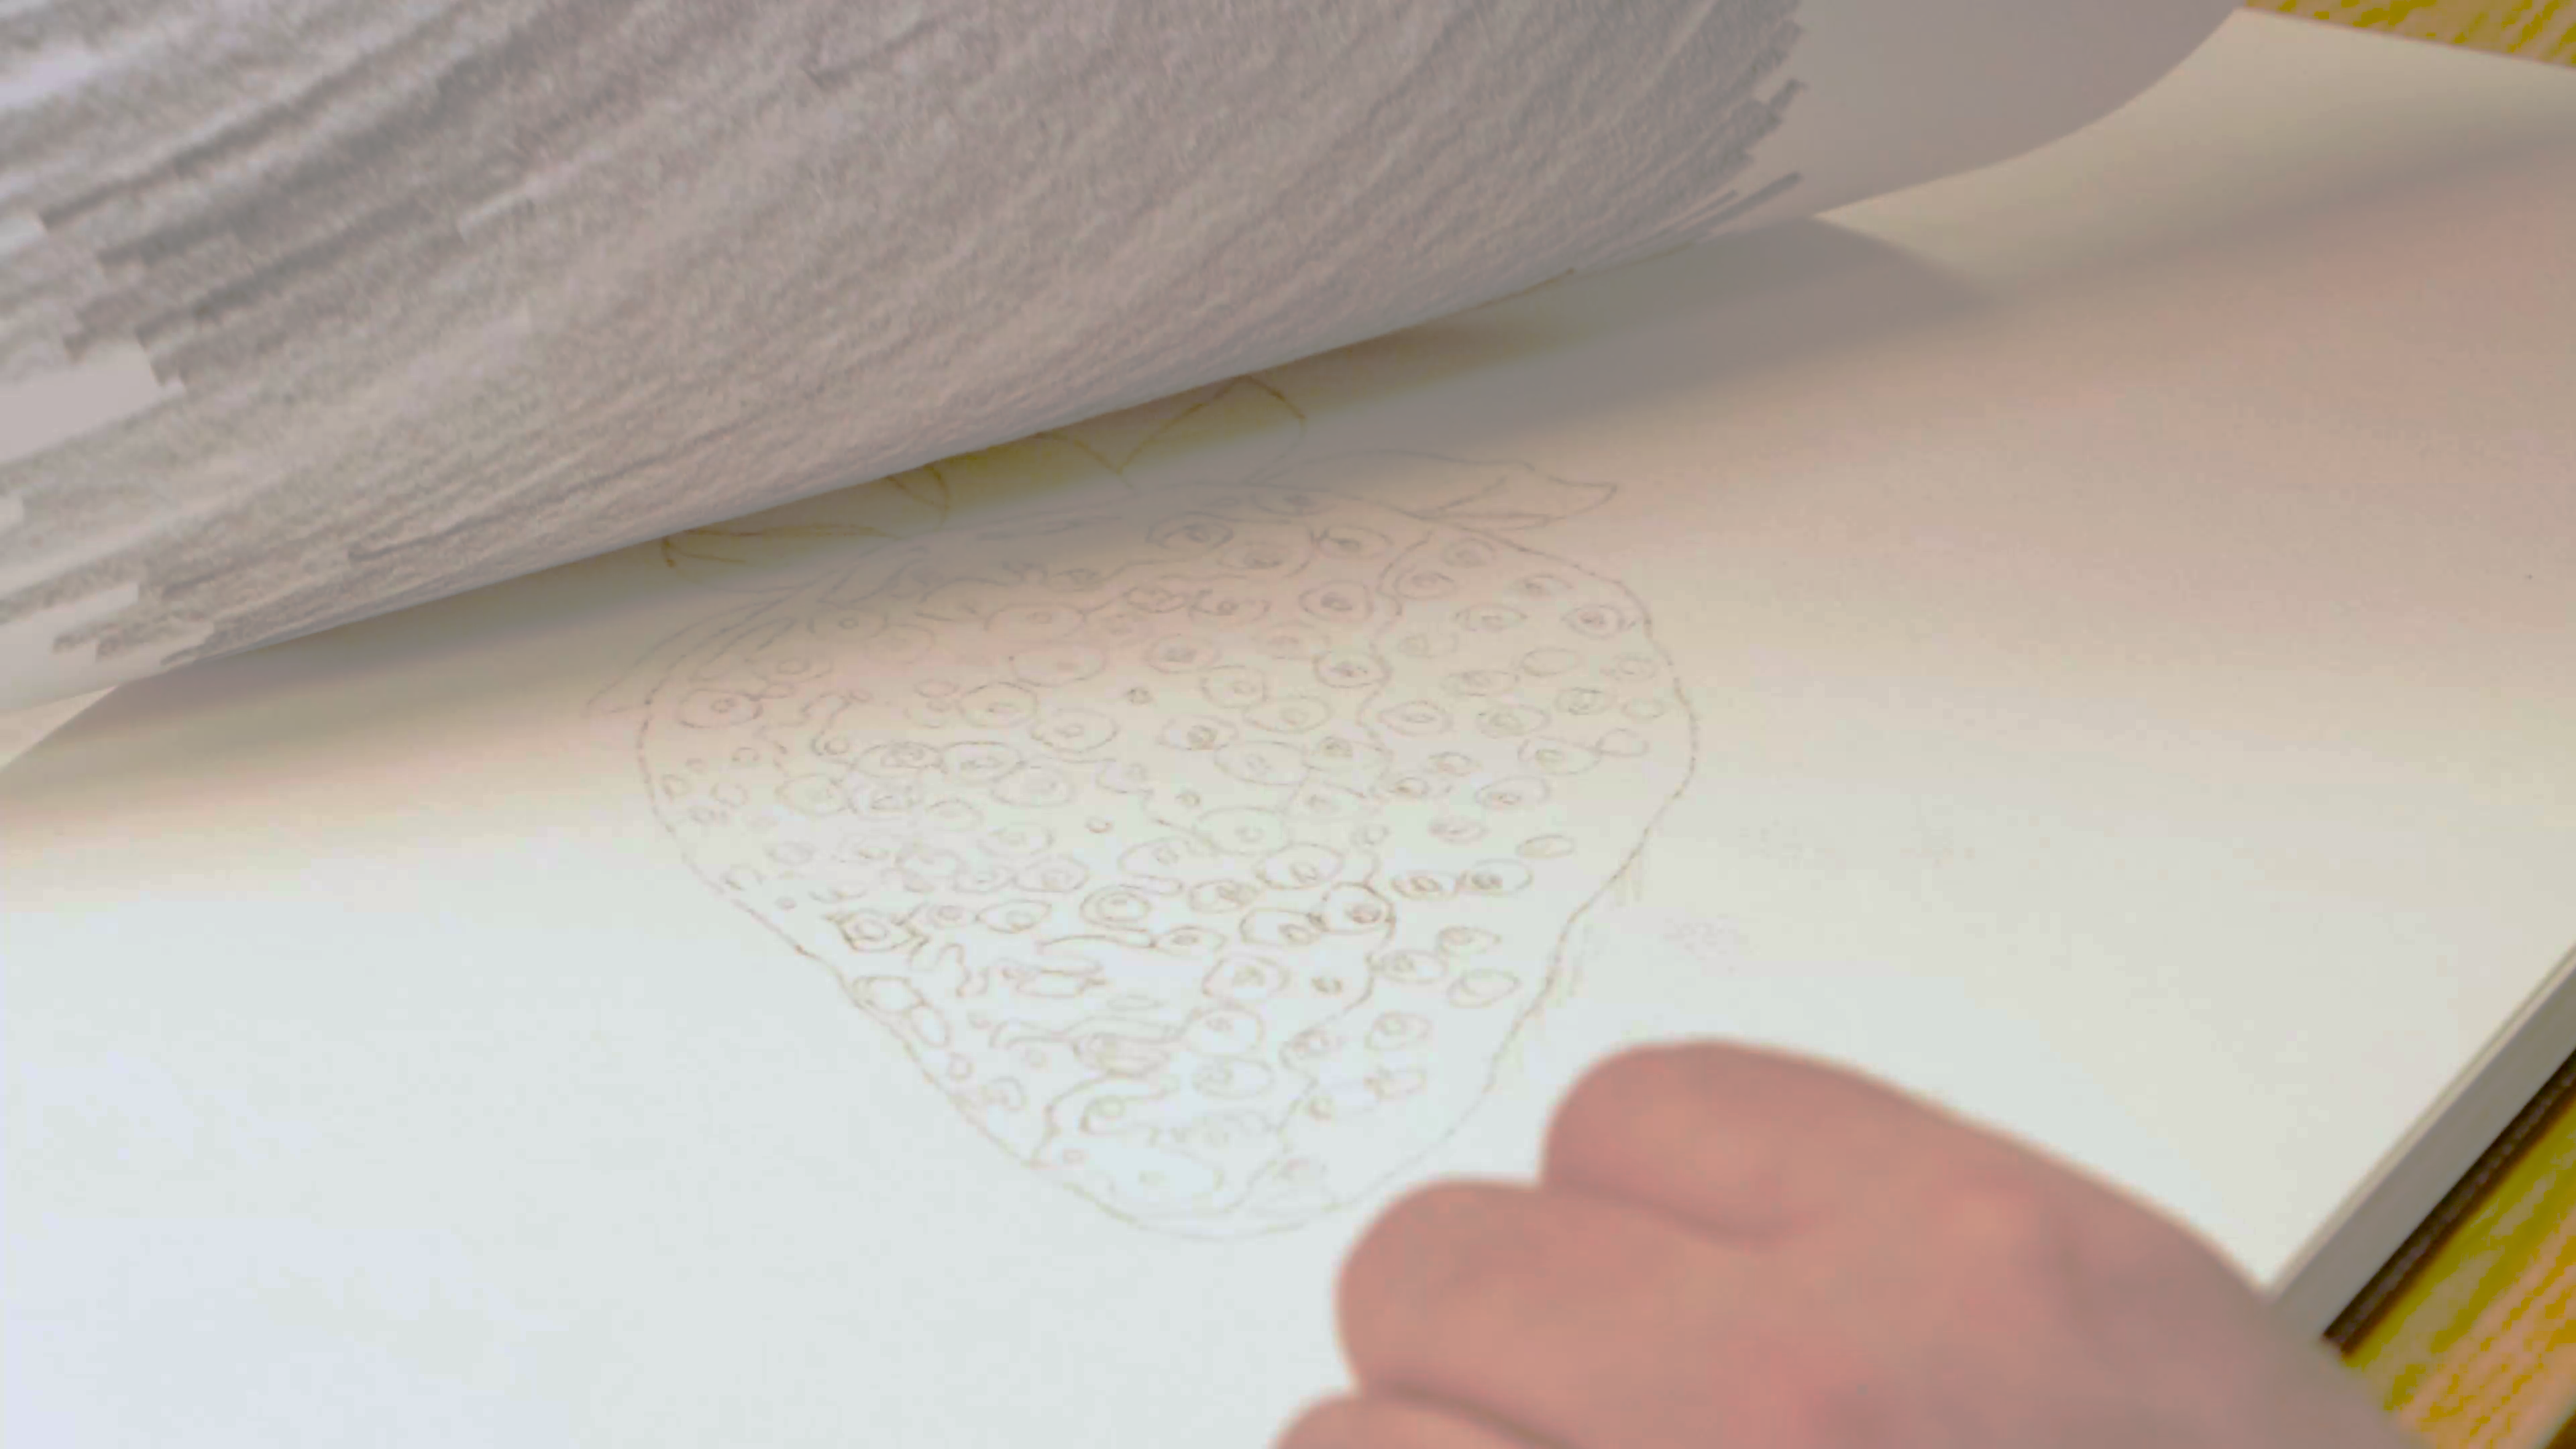
- Sketch a rounded heart shape for the strawberry body
- Add the leafy top with loose pointed leaf shapes
- Use the printable outline if you’d prefer a guide
Shadows and highlights

- Lightly mark the seed divots across the strawberry
- Colour the divots with a yellow ochre
- Add shadow around the seed with a deep blue
- Map out your brightest highlight areas before colouring
- Leave these sections mostly untouched to create shine later
Strawberry colouring
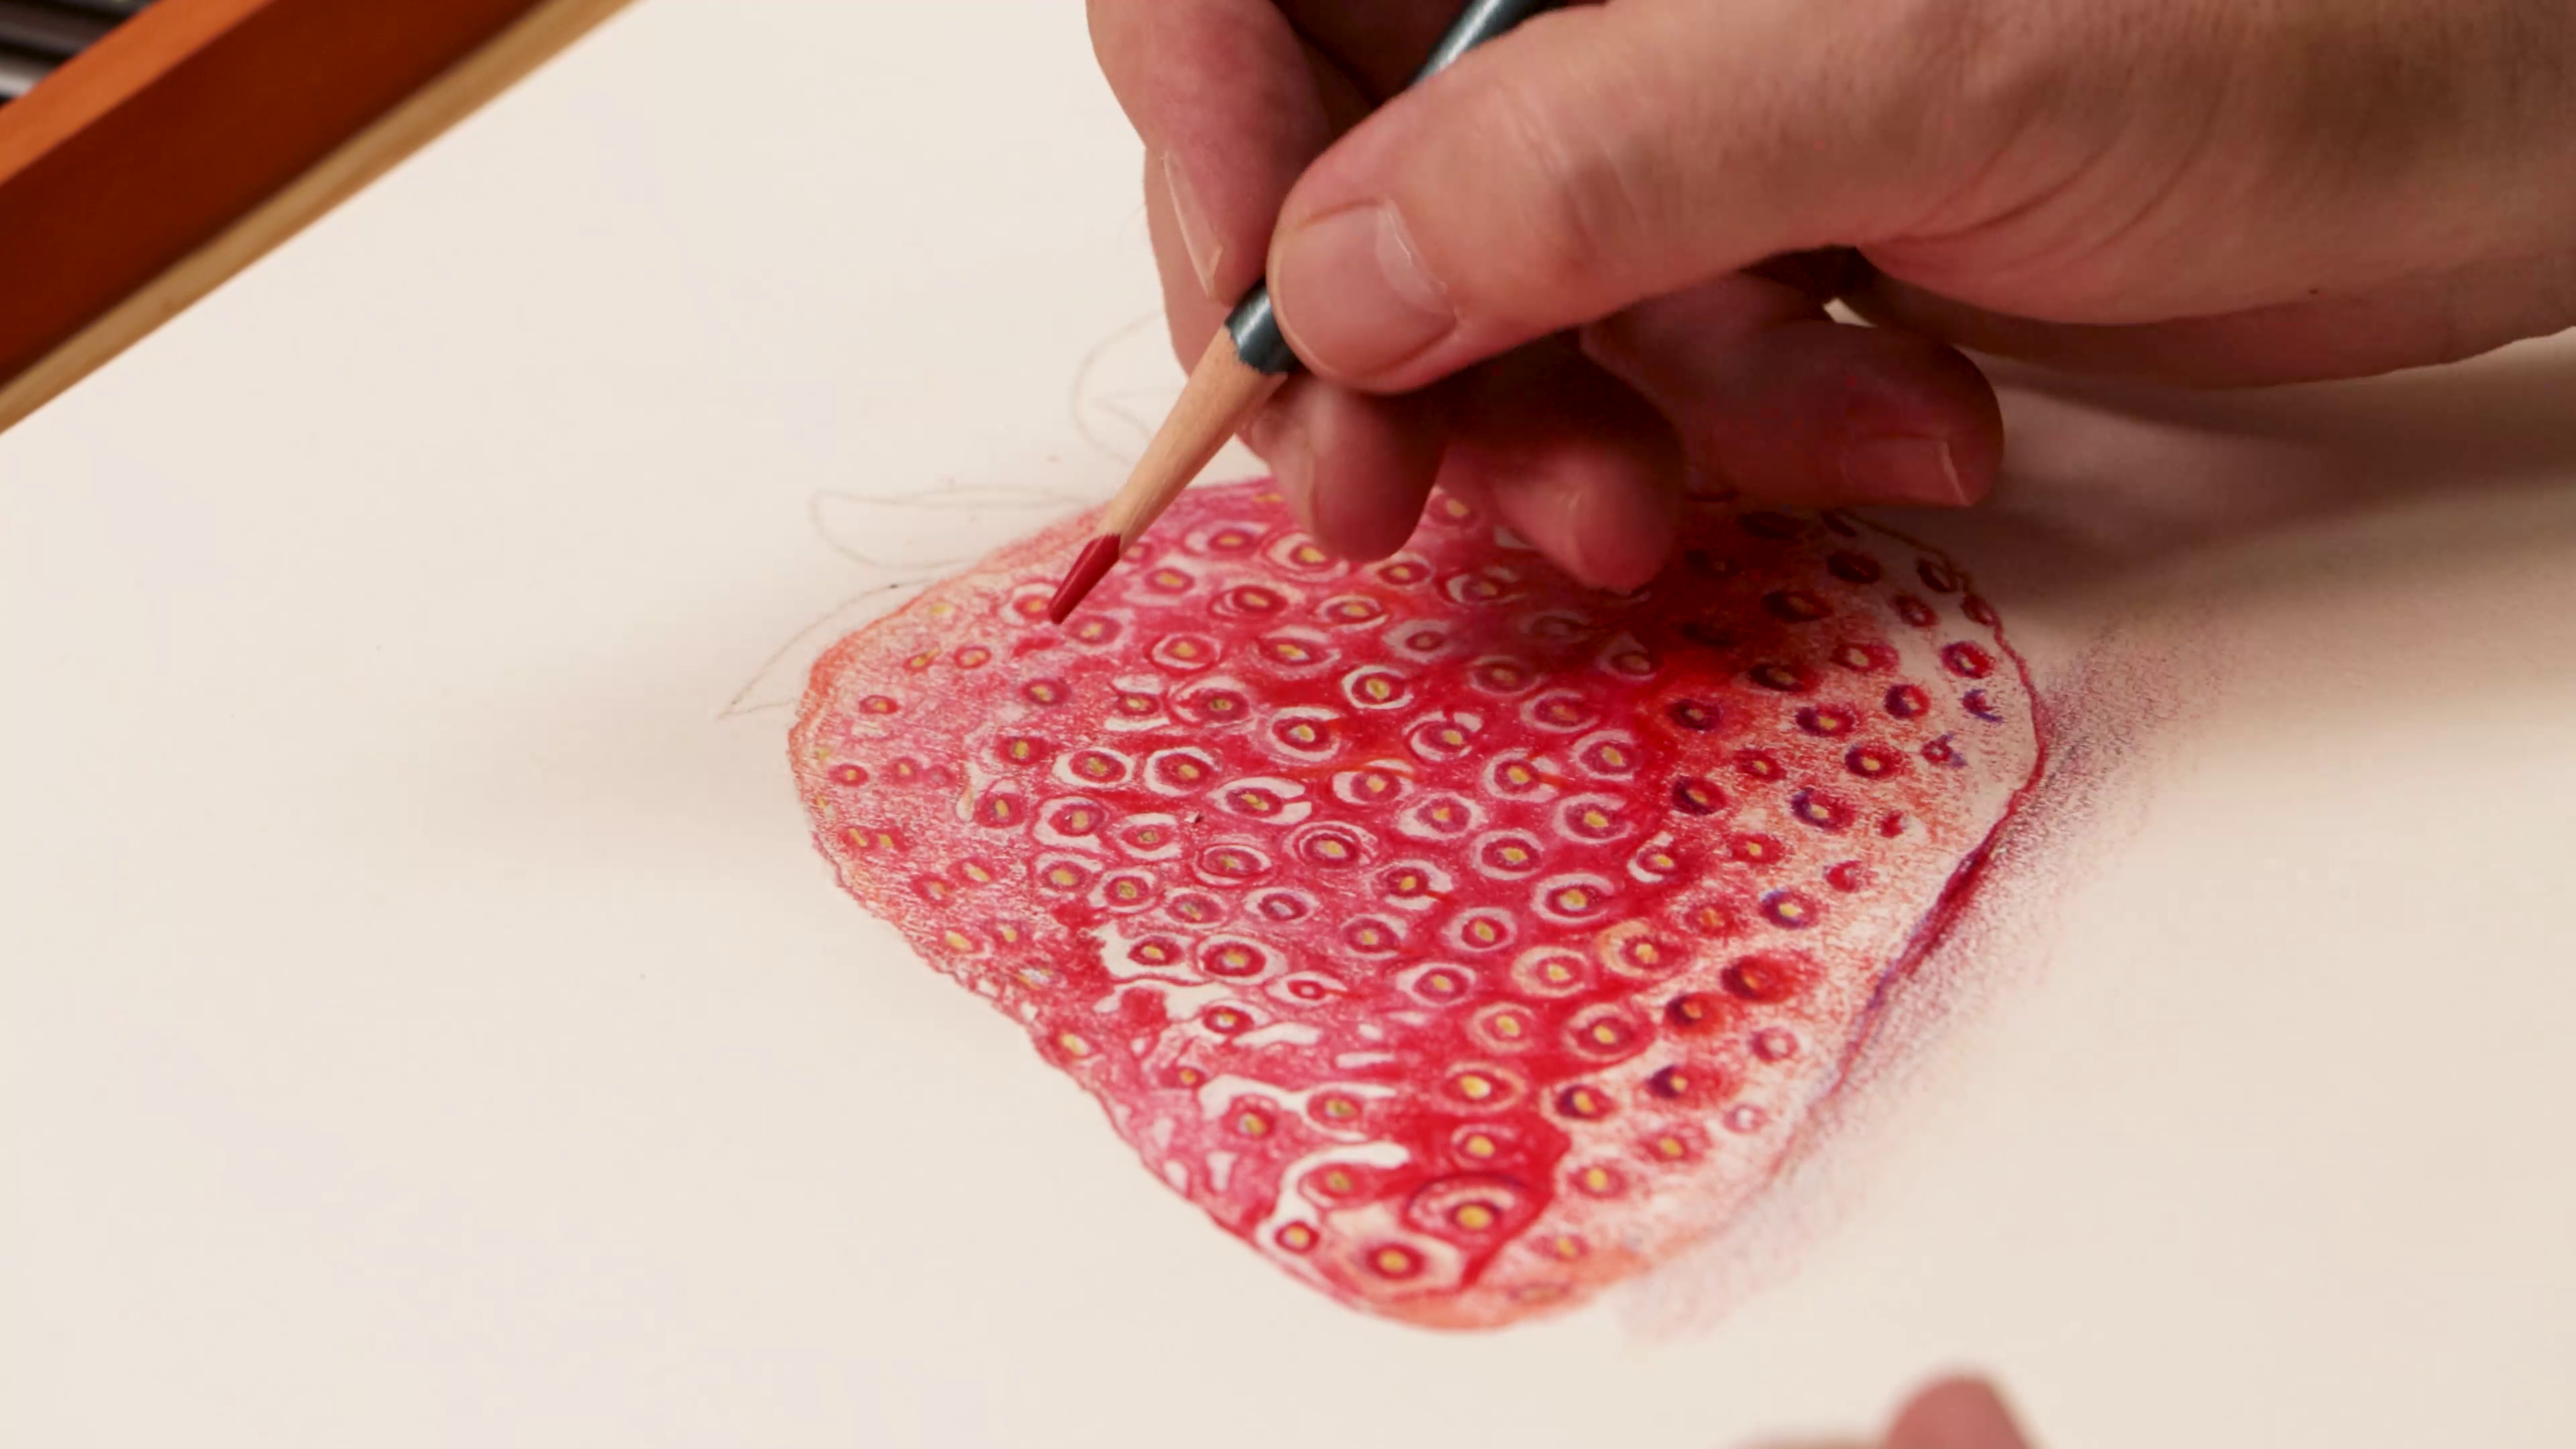
- Apply a light base layer of red across the strawberry
- Use gentle pressure to keep the colour soft and buildable
- Gradually layer the colour to intensify the richness
- Add warmer mid-tone reds to shape the edges of the strawberry
- Keep one the underside darker and the highlight area bright
- Deepen the shadows with darker reds and touches of maroon brown
Drawing highlights
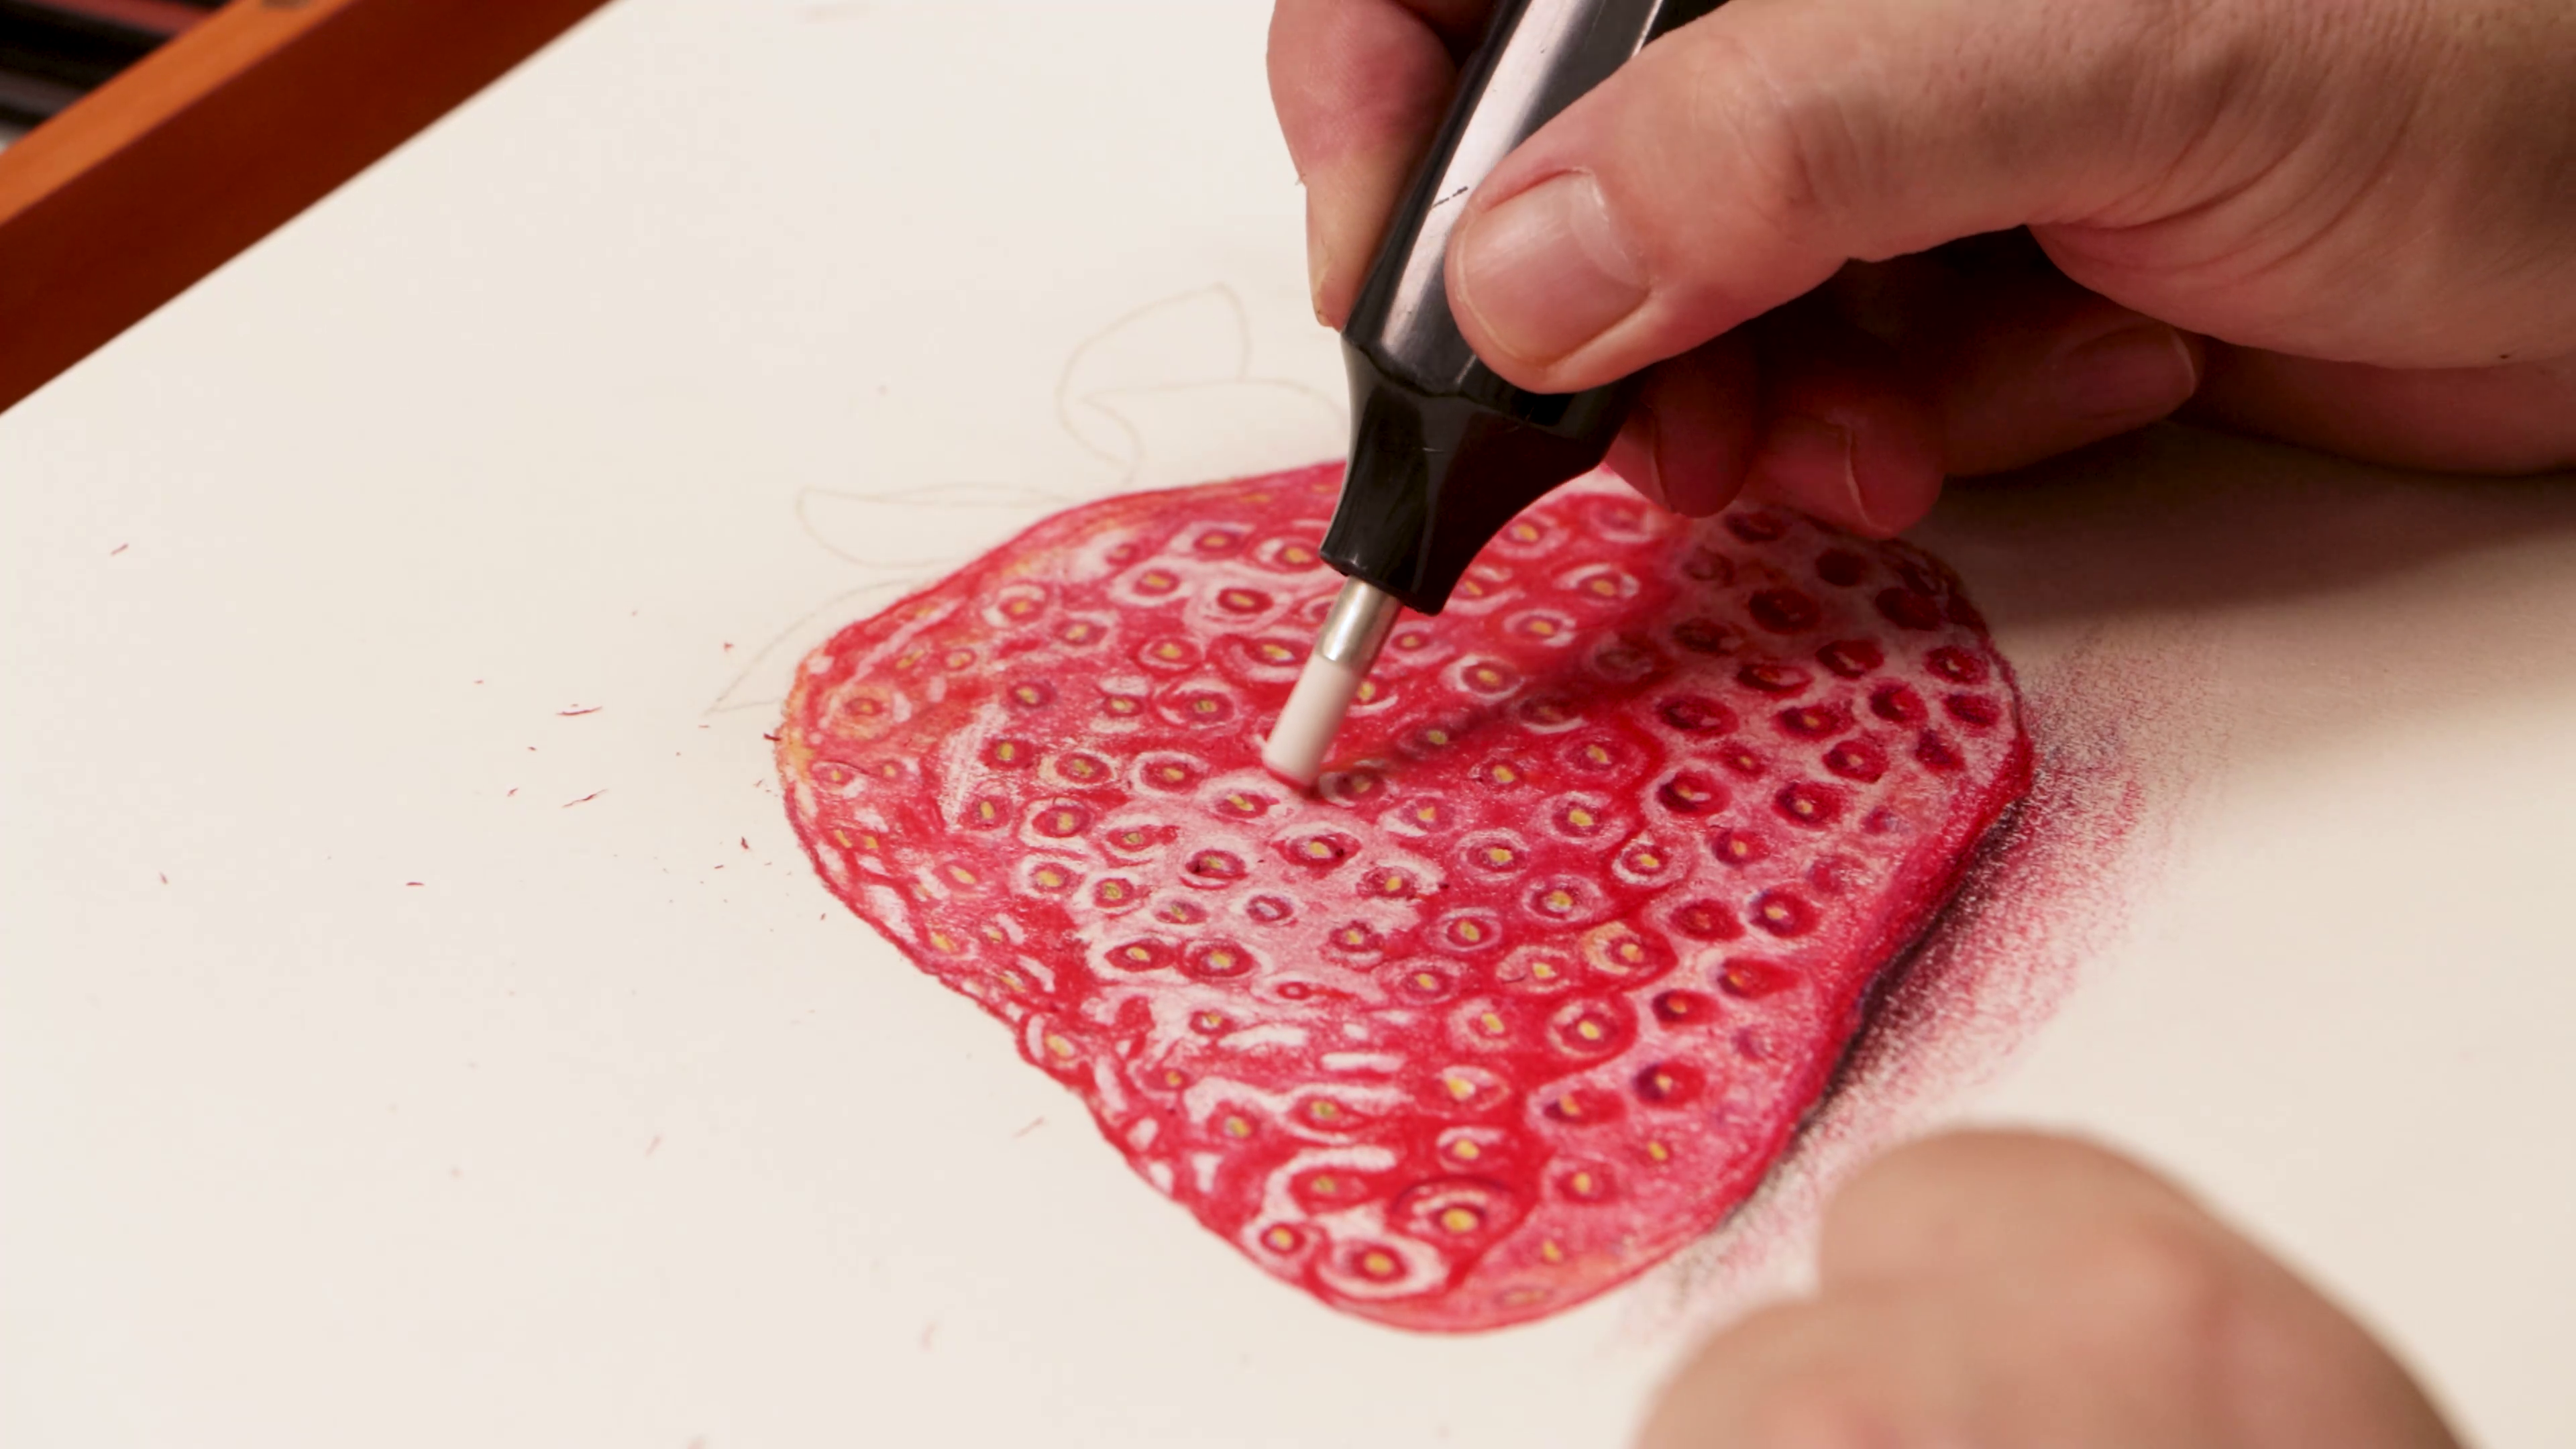
- Use a white pastel pencil to brighten glossy areas
- Add pale pink tones into some highlights for realism
- Remove small areas of colour with an eraser if needed
- Blend transitions gently using a blending stump
Leaf colouring
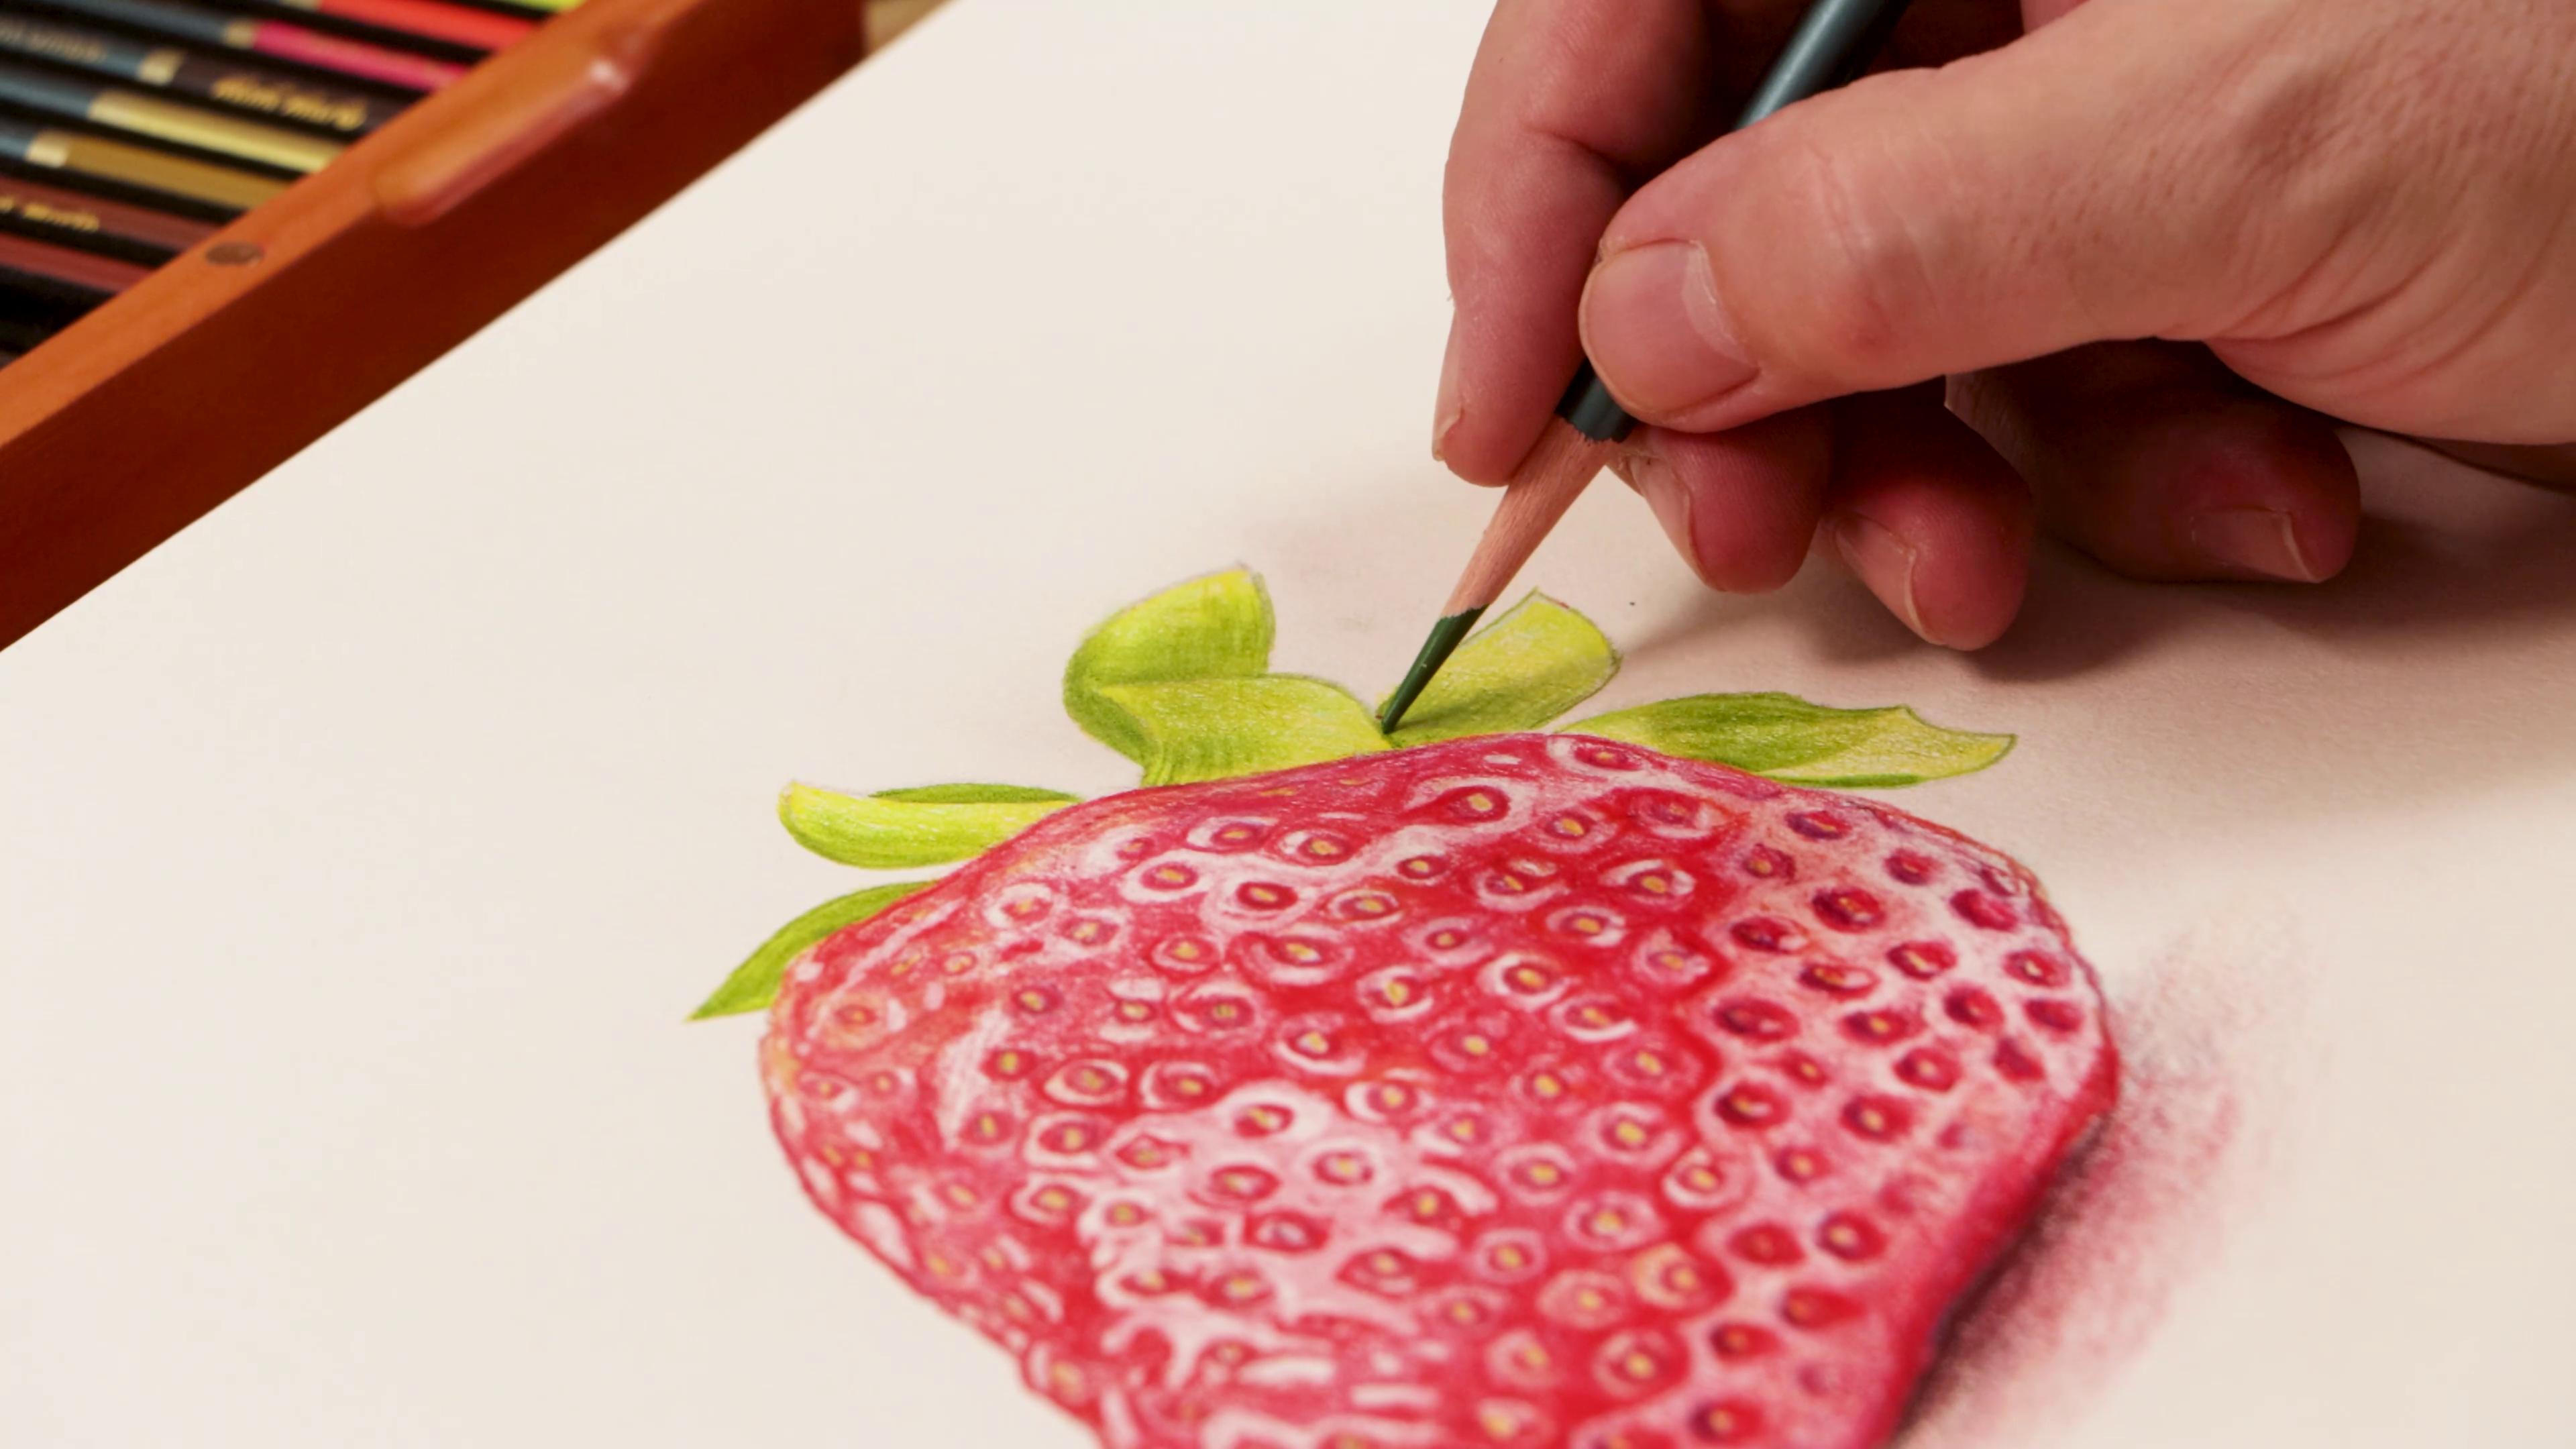
- Colour the leafy top with a yellow base first
- Layer green over the top to create natural variation
- Deepen the veins and edges with darker green
- Blend in light yellow highlights for dimension
Final touches
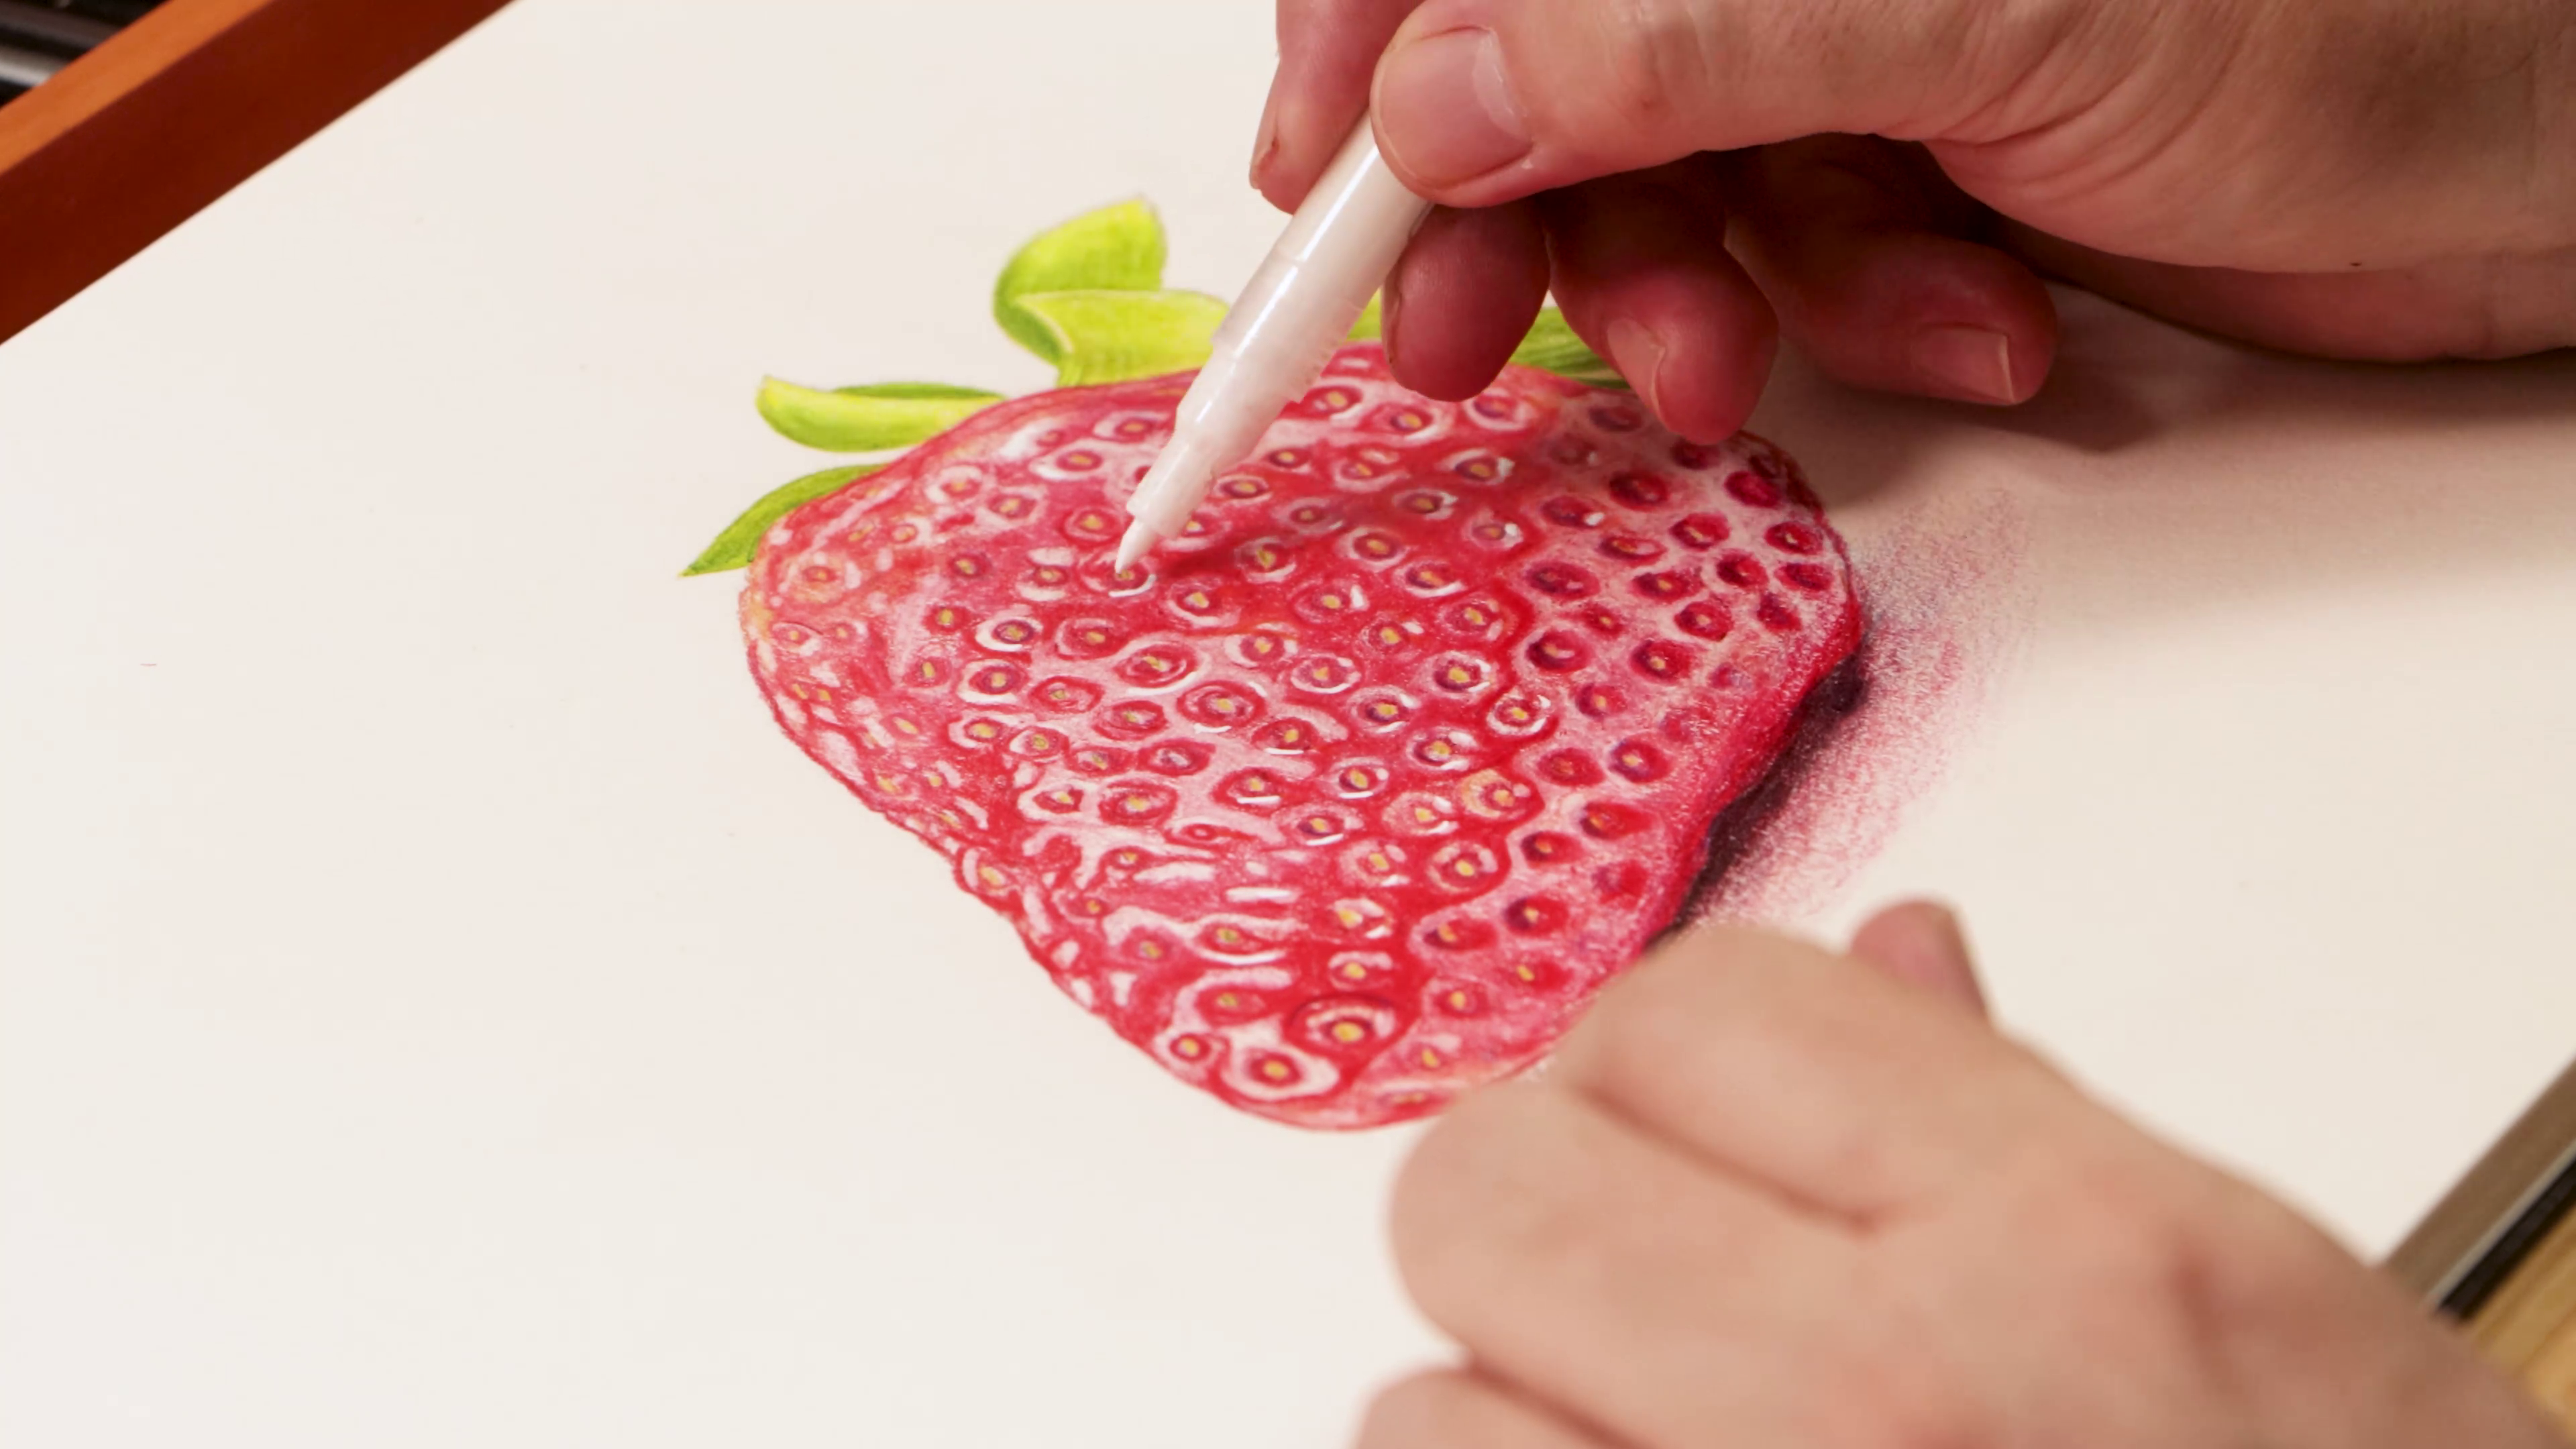
- Add bright highlights with a white gel pen or acrylic marker
- Draw a soft cast shadow underneath the strawberry
- Adjust contrast and colour depth until the strawberry feels glossy and rounded
- Drawing paper
- Graphite pencil
- Eraser or electric eraser
- Coloured pencils
- White pastel pencil
- White Acrylic Paint Pen Fine Tip (or gel pen)
- Blending stump
- Printable strawberry outline (on project page)
You may also like

Peacock drawing in watersoluble oil pastels


How to use ceramic paint on a thrifted plate


