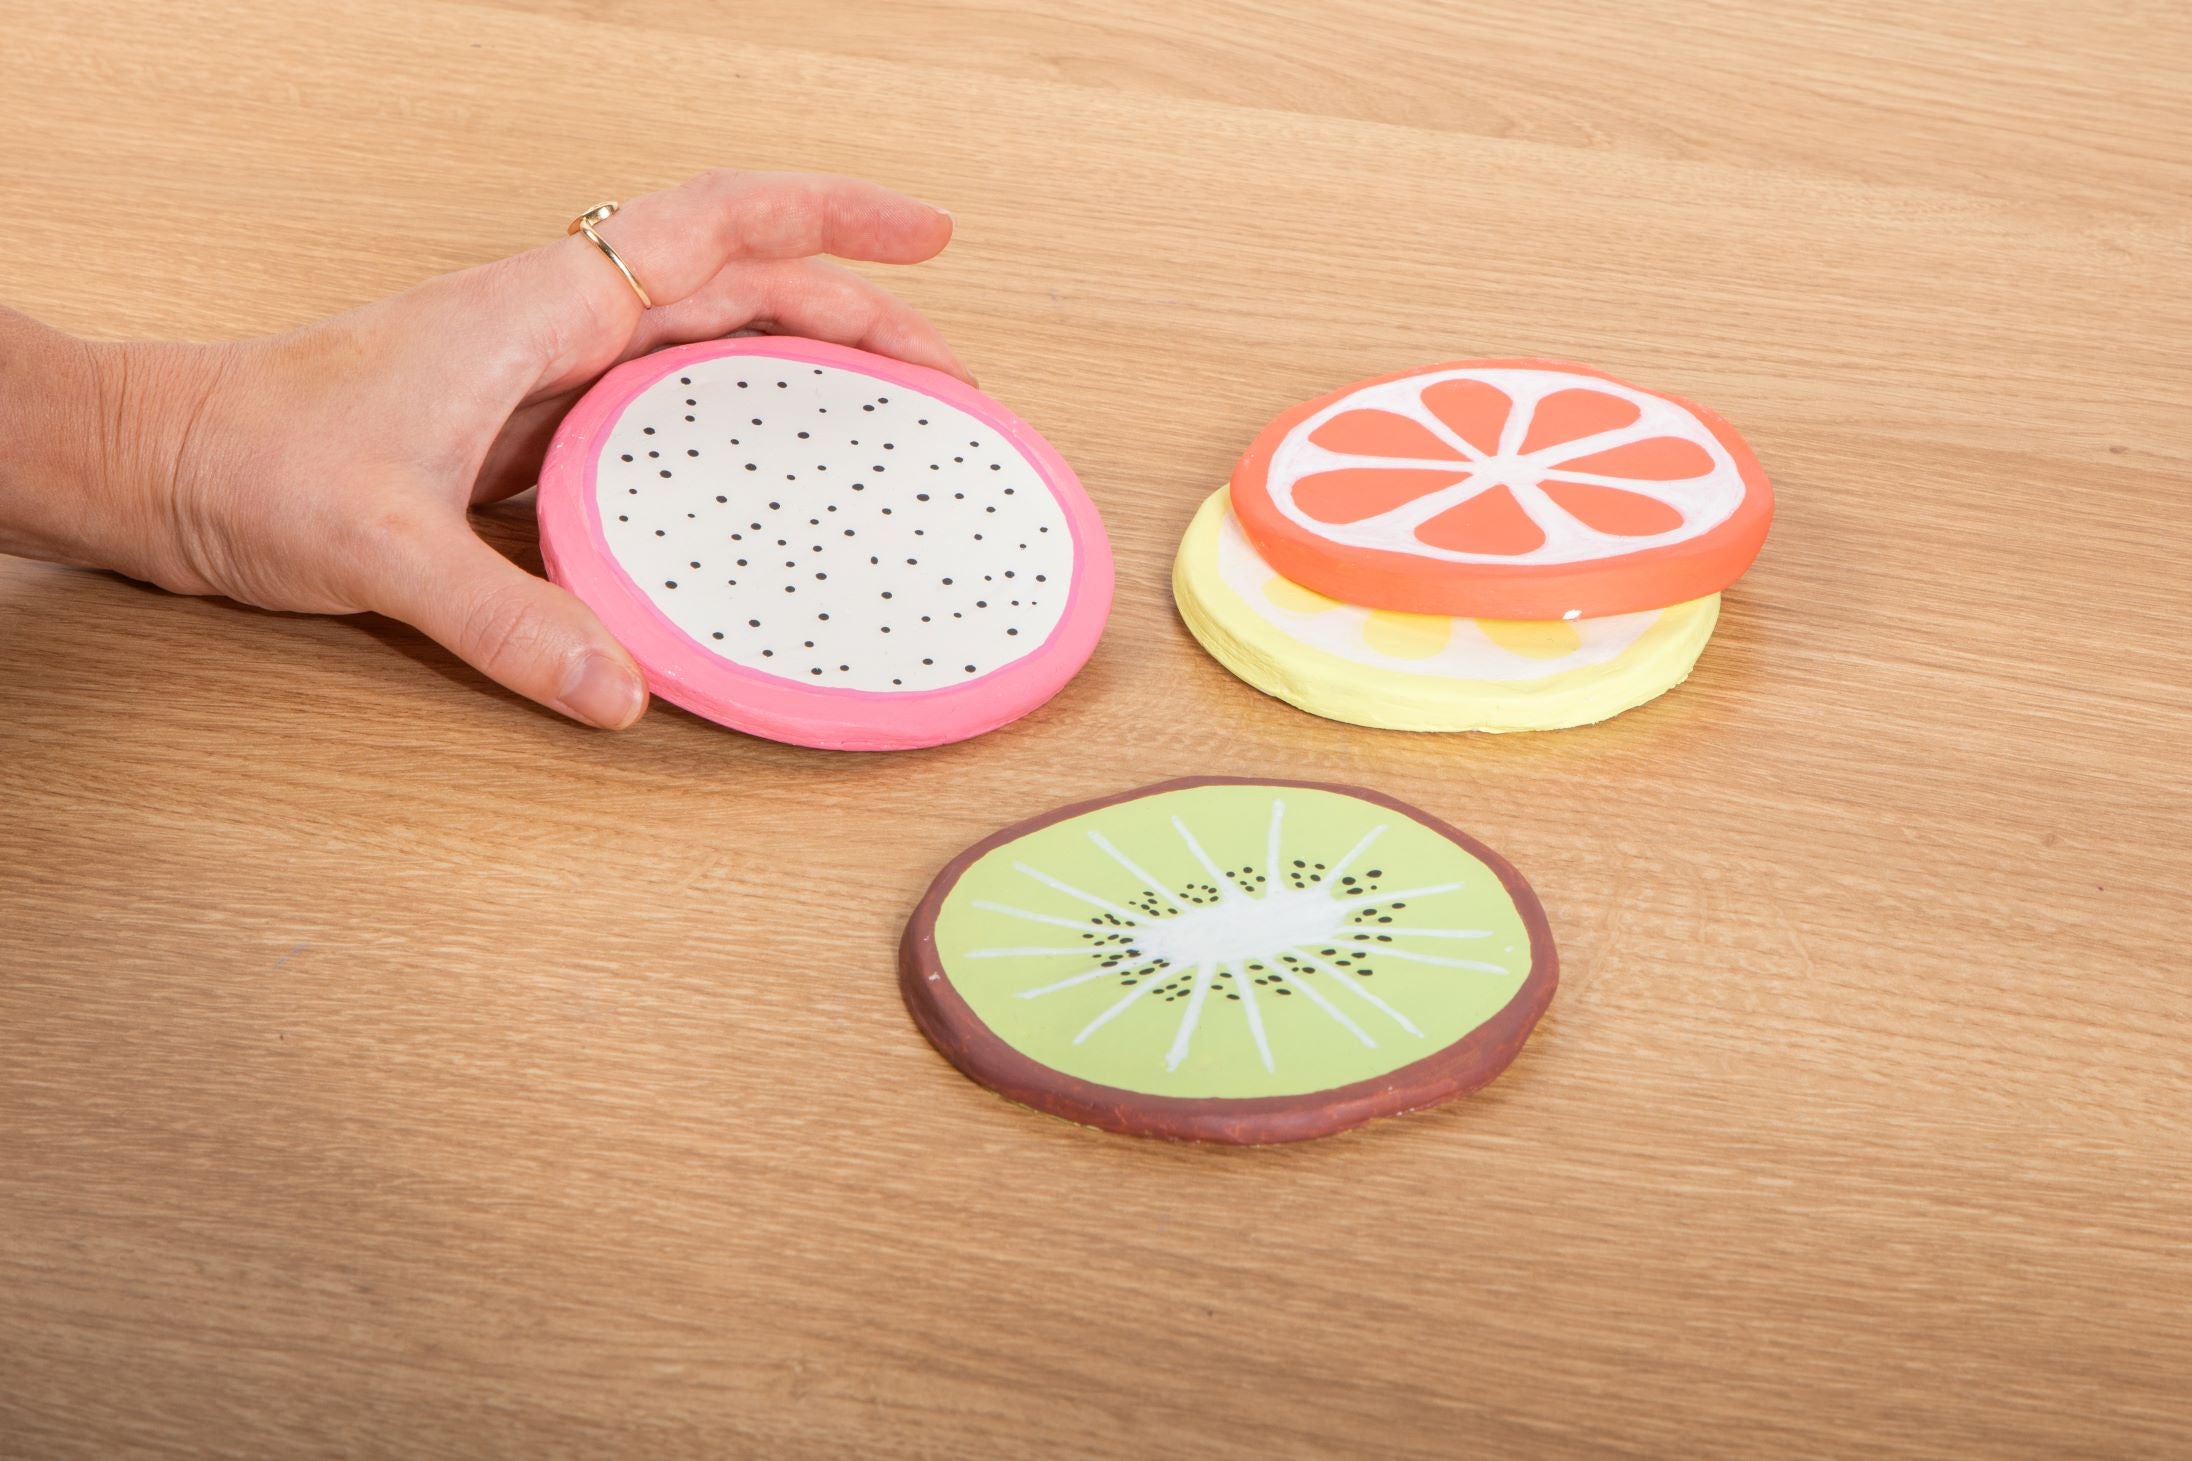
If you’ve got a little creator at home who loves to get a bit messy with sensory play, tactile art activities are a brilliant way to combine playtime with artistic exploration. These kinds of activities help kids learn through touch, movement, and experimentation – and they’re also loads of fun!
We’ve put together 6 easy sensory art ideas that encourage creativity and are simple to set up with things you probably already have at home (plus a few Mont Marte faves).
1. How to make foam slime
Kids love slime—it’s stretchy, squishy, and totally fascinating to play with. Making your own is easier than you might think!
You’ll need:
- Mont Marte Clear PVA Craft Glue
- Shaving cream
- Baking soda (bicarb soda)
- Saline solution (or contact lens solution)
- Food colouring or acrylic paint (optional)
How to do it:
- In a large bowl, mix ½ cup of Clear Craft Glue with an equal amount of shaving cream
- Add a few drops of your fave food colouring
- Sprinkle in a teaspoon of baking soda and stir well
- Gradually add saline solution while stirring (approx. 30-45mL total)
- Keep stirring until the slime starts to form and pull away from the bowl
- Knead it with your hands until it reaches your desired stretchiness
Kids can stretch it, squish it, and even mix in glitter or beads for added sensory fun! Plus, it’s all about following a recipe which is a great skill to explore and develop.
2. Shaving cream and paint activity
This fluffy and colourful activity lets kids create swirling patterns while making one-of-a-kind prints.
You’ll need:
- Shaving cream
- A tray
- Brush
- Paper (watercolour paper works well)
How to do it:
- Spread shaving cream in a tray
- Add drops of paint and swirl gently with the end of a brush
- Press a piece of paper onto the surface, then lift and scrape off excess shaving cream
- Reveal a marbled masterpiece underneath!
This activity is a great way to explore colours and patterns with a soft, foamy tactile experience.
3. Salt and watercolour
This watercolour texture technique turns simple linework into a sensory experience.
You’ll need:
- Mont Marte PVA Craft Glue (the fine tip version gives you more control)
- Table salt
How to do it:
- Draw a picture or pattern with glue
- Sprinkle salt over the glue while it’s still wet, then shake off the extra
- While wet, use a paintbrush to dab watercolour paint onto the salt lines and watch the colours spread!
This is a fun way to practise brush control and colour mixing with a tactile twist. If your kiddos are a little older, you can explain the science behind it – when you sprinkle salt on wet glue and then add watercolour, something cool happens – the paint spreads out like magic! That’s because salt loves to soak up water, kind of like a thirsty sponge.
As the salt pulls the water in, it also grabs a bit of the paint along with it. That’s why you see the colour spread and sparkle along the salty lines. It's a mini science experiment and an art project all in one!
4. Frozen paint
Ideal for warm summer days, this technique adds a chilly twist to painting and introduces temperature as part of the sensory experience.
You’ll need:
- Ice cube tray and craft sticks
- Paper
How to do it:
- Mix poster paint with a little water and pour into an ice cube tray
- Add a craft stick into each cube and freeze overnight
- Let kids use the frozen paint sticks to draw and melt onto paper in the summer heat!
It’s cold, colourful, and just messy enough to feel like a real creative adventure. Plus they learn a little about turning liquids into solids through temperature.
5. Clay imprinting
Air hardening clay is great for open-ended play, and it’s even more fun when you pair it with natural materials.
You’ll need:
- Mont Marte Air Hardening Modelling Clay
- Leaves, sticks, shells, or anything interesting you can safely forage from outside
How to do it:
- Roll out the clay and let kids press textures into it using leaves or shells
- Cut out the textures into basic shapes or create textured ornaments
- Leave the clay to dry and paint it with Poster Paint once hardened
Show your little artist how to blend art with nature and explore textures through touch.
6. Textured collage
Sensory collages let kids combine different tactile surfaces, shapes, and colours all in one place.
You’ll need:
- Cardboard or heavy paper
- Fabric scraps, pom poms, feathers, beads, pipe cleaners, tissue paper – whatever you’ve got!
How to do it:
- Let kids squeeze out glue and stick down all kinds of textures
- Encourage layering and overlapping
- Talk about how each item feels - soft, bumpy, fluffy, or scratchy
This is a great free-play activity that works well for toddlers and older kids alike. Younger artists may just stick whatever, wherever – which is super fun – but older creators might want to make shapes or designs with their selection of collage materials!
Sensory art is a wonderful way for kids to explore their creativity and imagination while engaging their senses. They can squish, swirl, stamp, and stick their way through colourful play, all while developing fine motor skills and creative confidence.
Grab your supplies, cover the table, and let your little artists dive into the fun! Remember to keep an eye on little artists - parental supervision is recommended when handling products such as shaving cream, saline solution, and other craft supplies.


