






Looking for simple Halloween crafts to make at home? Try clay bats, a pumpkin paper chain, colourful clay skulls, apple print pumpkins, and paper spiderwebs, all made with paper, paint, or air dry clay. Most of these suit an afternoon with the kids.
A few handmade touches can make Halloween feel more like you. Think decorations for the front window, a creepy addition to your shelf, or something special to greet the excited trick-or-treaters. To get you started, here are 5 easy Halloween craft ideas to try with the family, or when you get a rare moment to yourself.
You can either stick with the familiar and classic orange and black shades of the season or try softer, out-of-the-box colours for a more playful take. This is the time to create something the neighbours talk about. Because nobody’s going to tell you that you can’t, and there’s no rule that Halloween has to only be all about the scary stuff. Keep what you love, try something new, and make it as spooky or as sweet as you like.
1. Air Dry Clay Bats

Image: @creanna.craft
A colony of clay bats for your Halloween shelf? Count us in. These decorations have more depth than paper cutouts. This creator added a UV resin finish, but you can choose to finish your bats with a gloss clay varnish instead.
Roll out your air dry clay into an even slab, then lay a paper bat template on top. Use a clay cutting tool to trace around the outline, cutting through the clay, then lift away the paper and peel off the excess.
Make a mix of sizes, then carefully drape the bats over empty paper towel tubes while they’re still soft. Let them dry fully in place so their wings hold that curved shape before jazzing them up.
Time to decorate.Paint them black, brush purple along the wing tips, or use a fine brush to add contrasting stripes. Give one bat glittery wing tips, another a pair of googly eyes, and a third a paper bow to give each its own character. When you’re done, nestle them between books, arrange them around a pumpkin, or around your doorframe.
New to working with clay? Our air dry clay tips will help you get started and save the leftovers for another project.
2. Pumpkin paper garland

Image: @tinytalentartstudio
A classic paper chain with a pumpkin twist! Paper loops, drawn faces and curly stalks come together to make these easy handmade Halloween decorations.
For each pumpkin, cut three strips of orange paper. Draw a face in the middle of one, then bring its ends together and tape them into a ring, with the drawing facing out. Thread a second strip through that ring, then join its ends with tape to make an interlocking loop. Repeat with the third strip. Move one plain loop to the left of the face and the other to the right, making your pumpkin wider on both sides.
For the stalk, bend a green pipe cleaner into a small loop and twist it at the base to hold the shape. Wrap the loose length around a pencil or your finger to make a curly vine, then tape the stalk to the top of your pumpkin. Thread your garland string through the loop.
Using coloured paper instead? Cut out a green stalk and tape it to the top of each pumpkin. Attach a small loop of string behind it with tape, then pass your garland cord through these loops.
To customise your pumpkins, draw a different expression on each one: a toothy grin, raised eyebrows, or a surprised mouth. Hang the finished bunch across a window or above the snack table, ready for your Halloween visitors.
3. Skull air dry clay art
Image: @emaloukidsartcraft
Skulls in a range of colours lined up on a canvas with plenty of sensory fun along the way. Roll the soft air dry clay between your palms, squish it flat, and press it into the mould with your fingertips, taking your time to push it into a skull ice-cube tray.
Layer different colours for bands of pink, green or purple, or twist two shades together before pressing them in for a swirled effect. Take your time squeezing and folding the colours together. Quick, simple twists leave bold streaks, while more mixing blends them into a new shade.
Let the shapes firm up enough so you can remove them without squashing the faces, then leave them to dry fully before gluing them onto a canvas. This can take around 24–48 hours, or around 12 hours on a hot day; timing will vary with your climate and the thickness of your skulls. Arrange them in neat rows, scatter them at different angles, or leave space to draw stars and cobwebs between them. Have everyone make a skull and turn the collection into a family Halloween artwork.
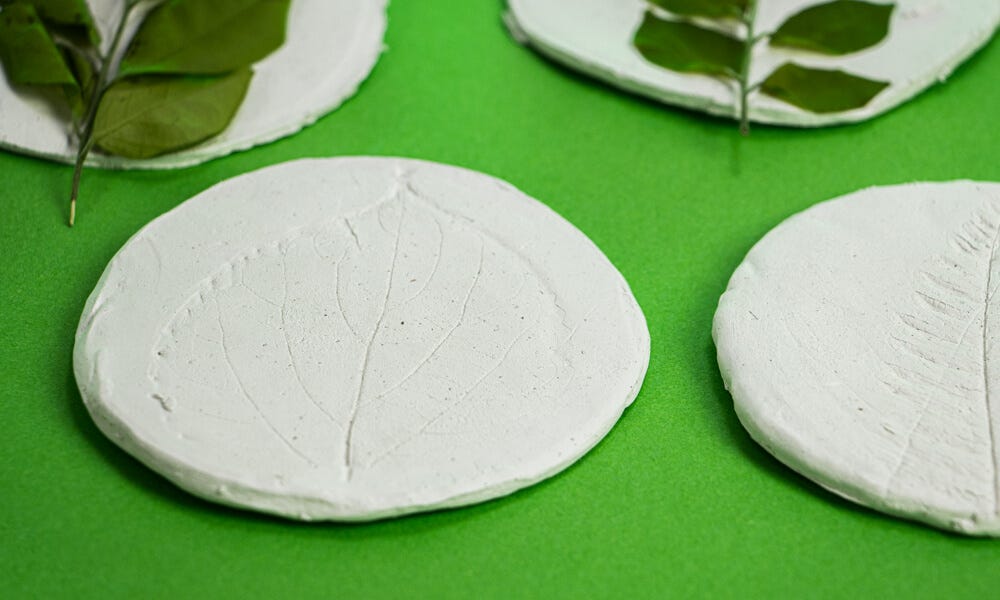
Enjoyed the squishing and pressing? Try leaf imprints or dinosaur fossils next with these kids’ air dry clay projects.
4. Apple print pumpkins

Image: @efremova_viktoria_
An apple on the outside, a pumpkin on the page. If you’re looking for easy arts and crafts for Halloween to try with your toddler, start with this printing idea. They stamp the shapes and you paint the faces.
Slice an apple in half through the stalk and scoop out the seeds. Hold one half steady and help your little one brush orange paint over the flat surface. Turn it paint-side down, press it onto the paper, and lift. Add another coat between stamps to keep going. All that brushing, pressing and lifting helps them practise their grip and hand-eye coordination while they’re busy making pumpkins.
When the page is dry, use a fine brush to paint green stalks, black triangle eyes, and crooked smiles together.
Got paint leftover? Try the handprint spiders in our Halloween DIY projects for another creatively messy activity.
5. Spooky spiderweb

Image: @healthymumandbub
One sheet of paper, a whole spiderweb. These can become a window full of webs, making them handy for decorating a larger space.
Cut curved sections from folded paper, leaving a strip along one edge to hold your web together. Slowly unfold it to avoid tearing and see the pattern fan out. Try thick strands for a bold web or finer cuts for a more delicate web. Little creators can colour the paper and help open the folds while you handle the scissors. Have a go with different types and colours of paper or create your own patterns before folding. Add glitter glue along some strands or sit a paper spider near the centre. Make a mix of sizes to fill the corners of a window, string them into a garland, or place one under a bowl of wrapped Halloween treats.
Got extra paper? Keep it for masks, collages, or folded animals with these paper art techniques for kids.
Have a go, enjoy the process, and share your creations with us at @montmarteart or #montmarteart for your take on Halloween.


