


Acrylic pour clock with SuperCell
Step 1 – Art preparation
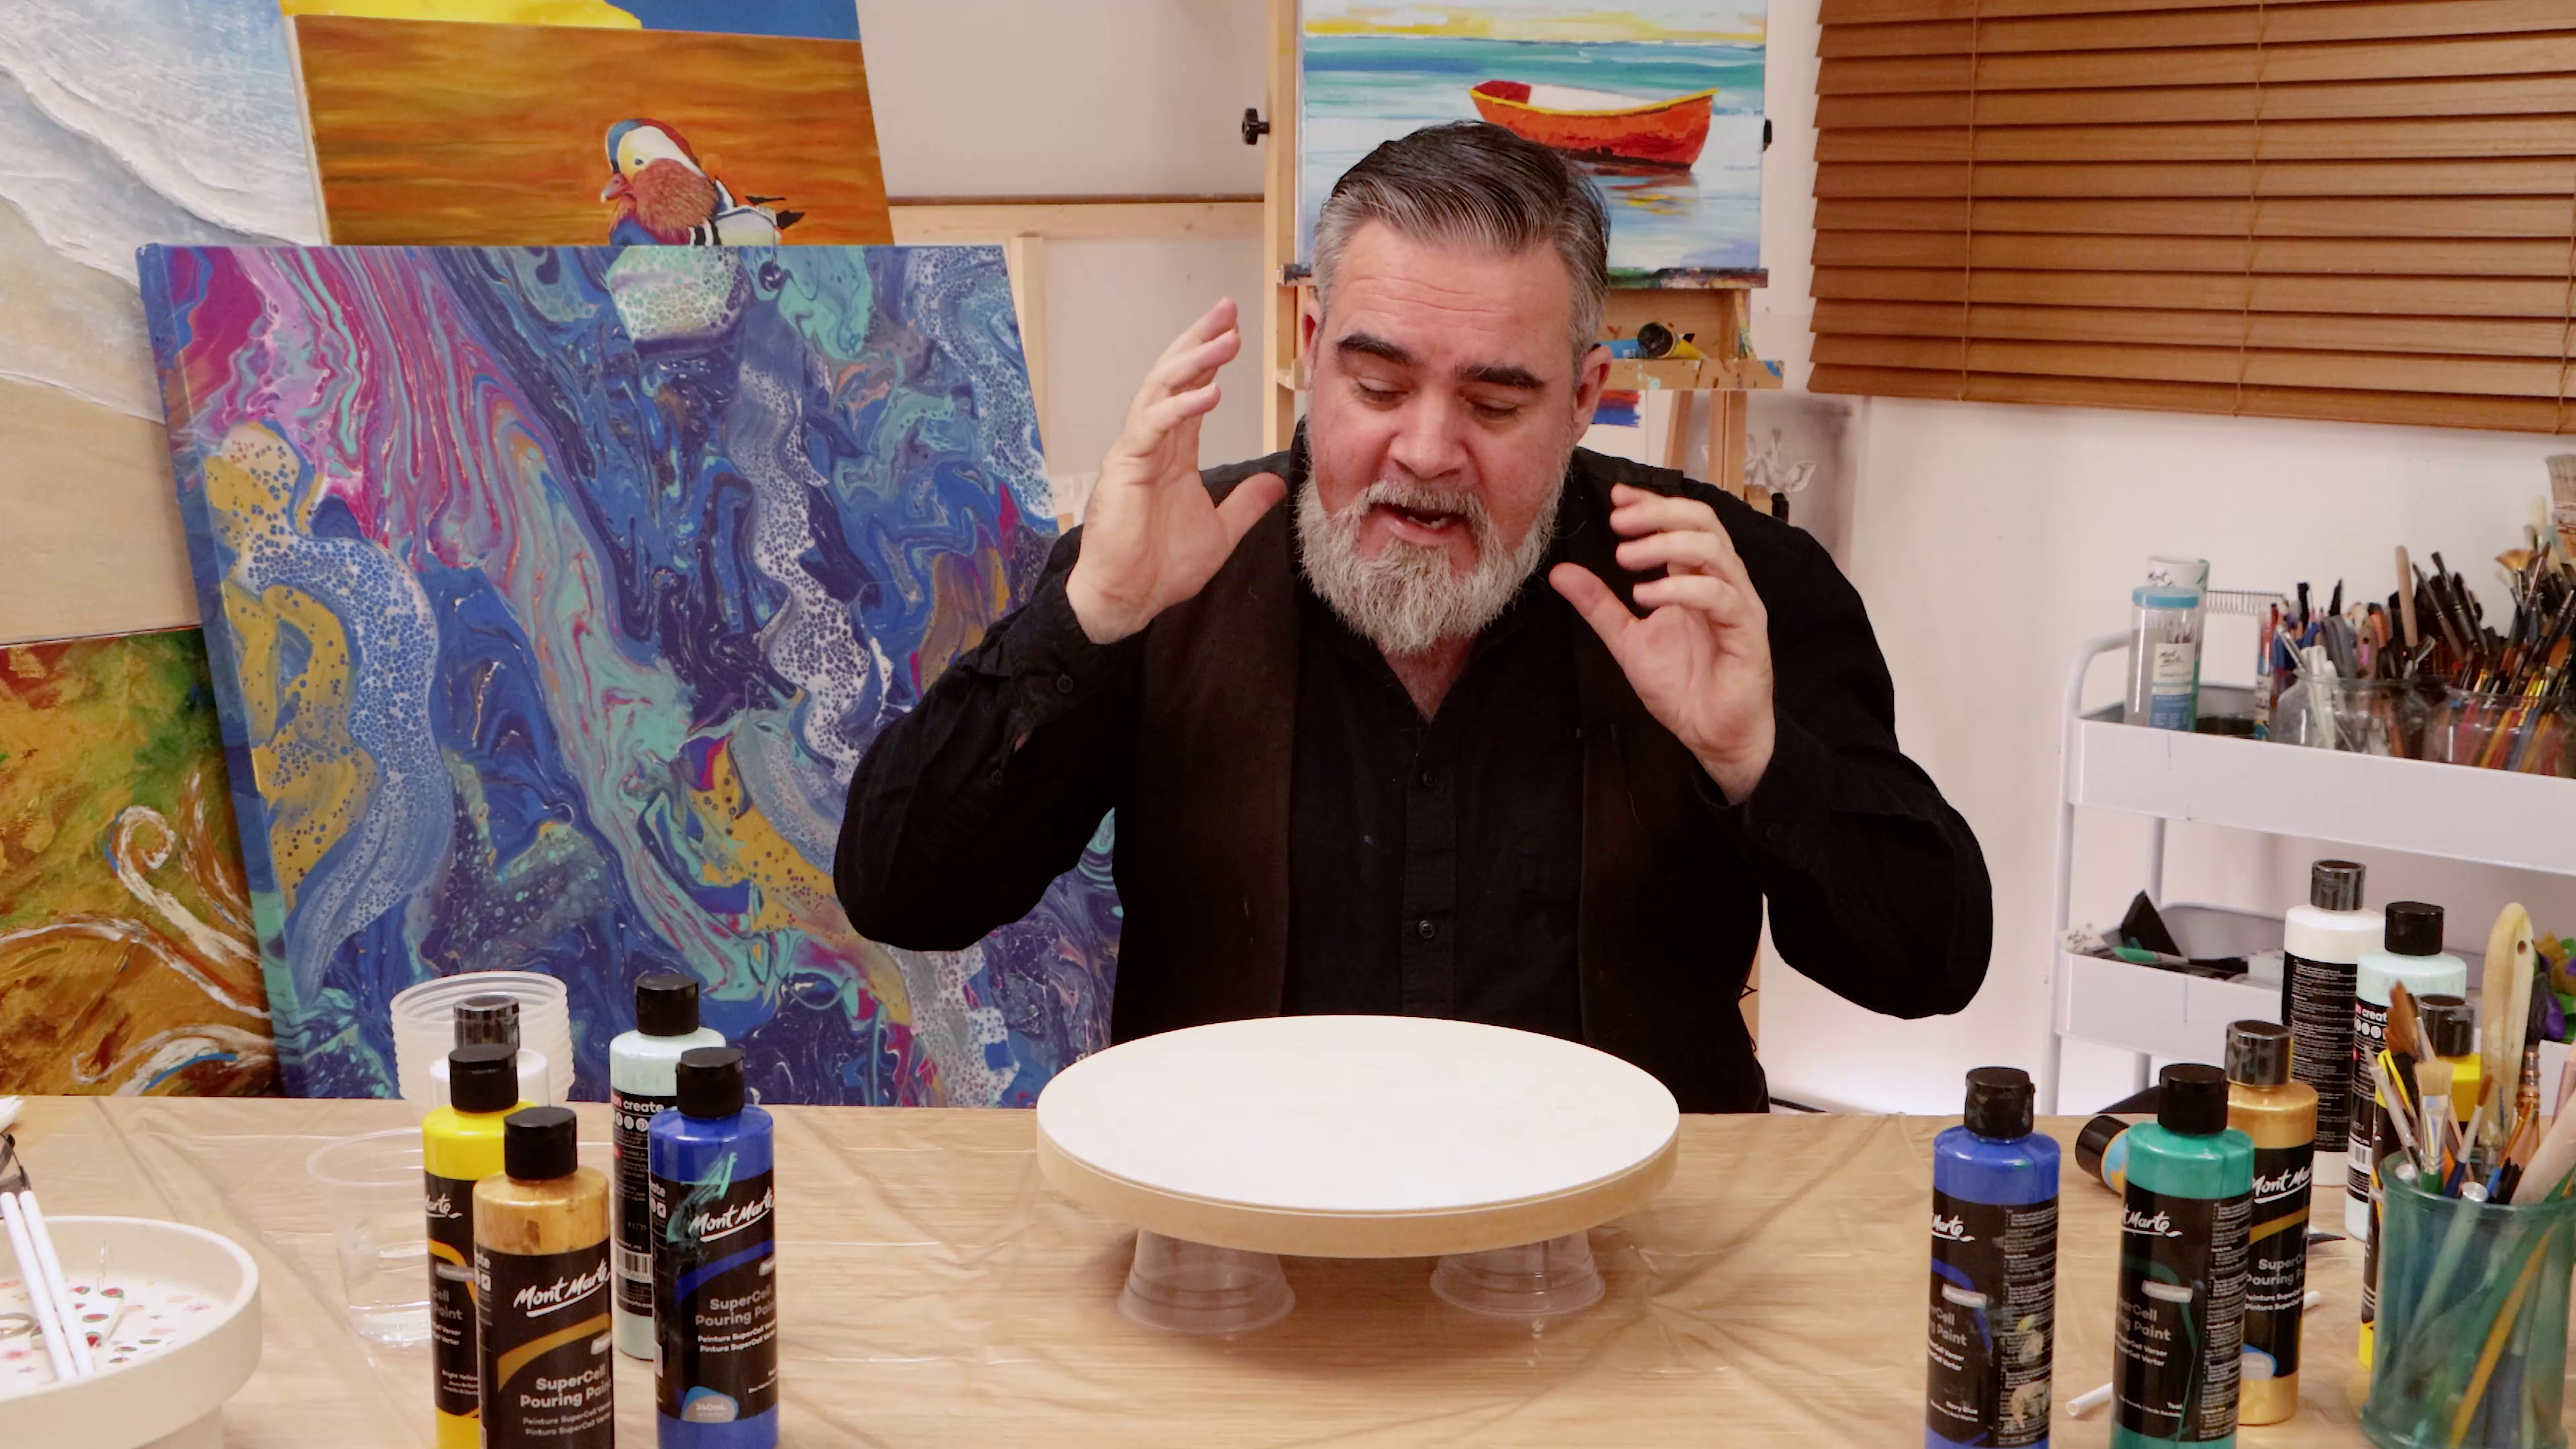
- Lay down plastic to protect your work surface
- Set the painting board on three upside-down cups to lift it off the table
- Pop on some gloves if you have them!
Step 2 – Acrylic paint pour mixture
- Thoroughly shake the SuperCell bottles to combine the ingredients and activate cells
- Sand colour: Mix Yellow Ochre acrylic paint with a bit of White SuperCell in a cup
- Adjust the mix as needed to make a soft, sandy tone
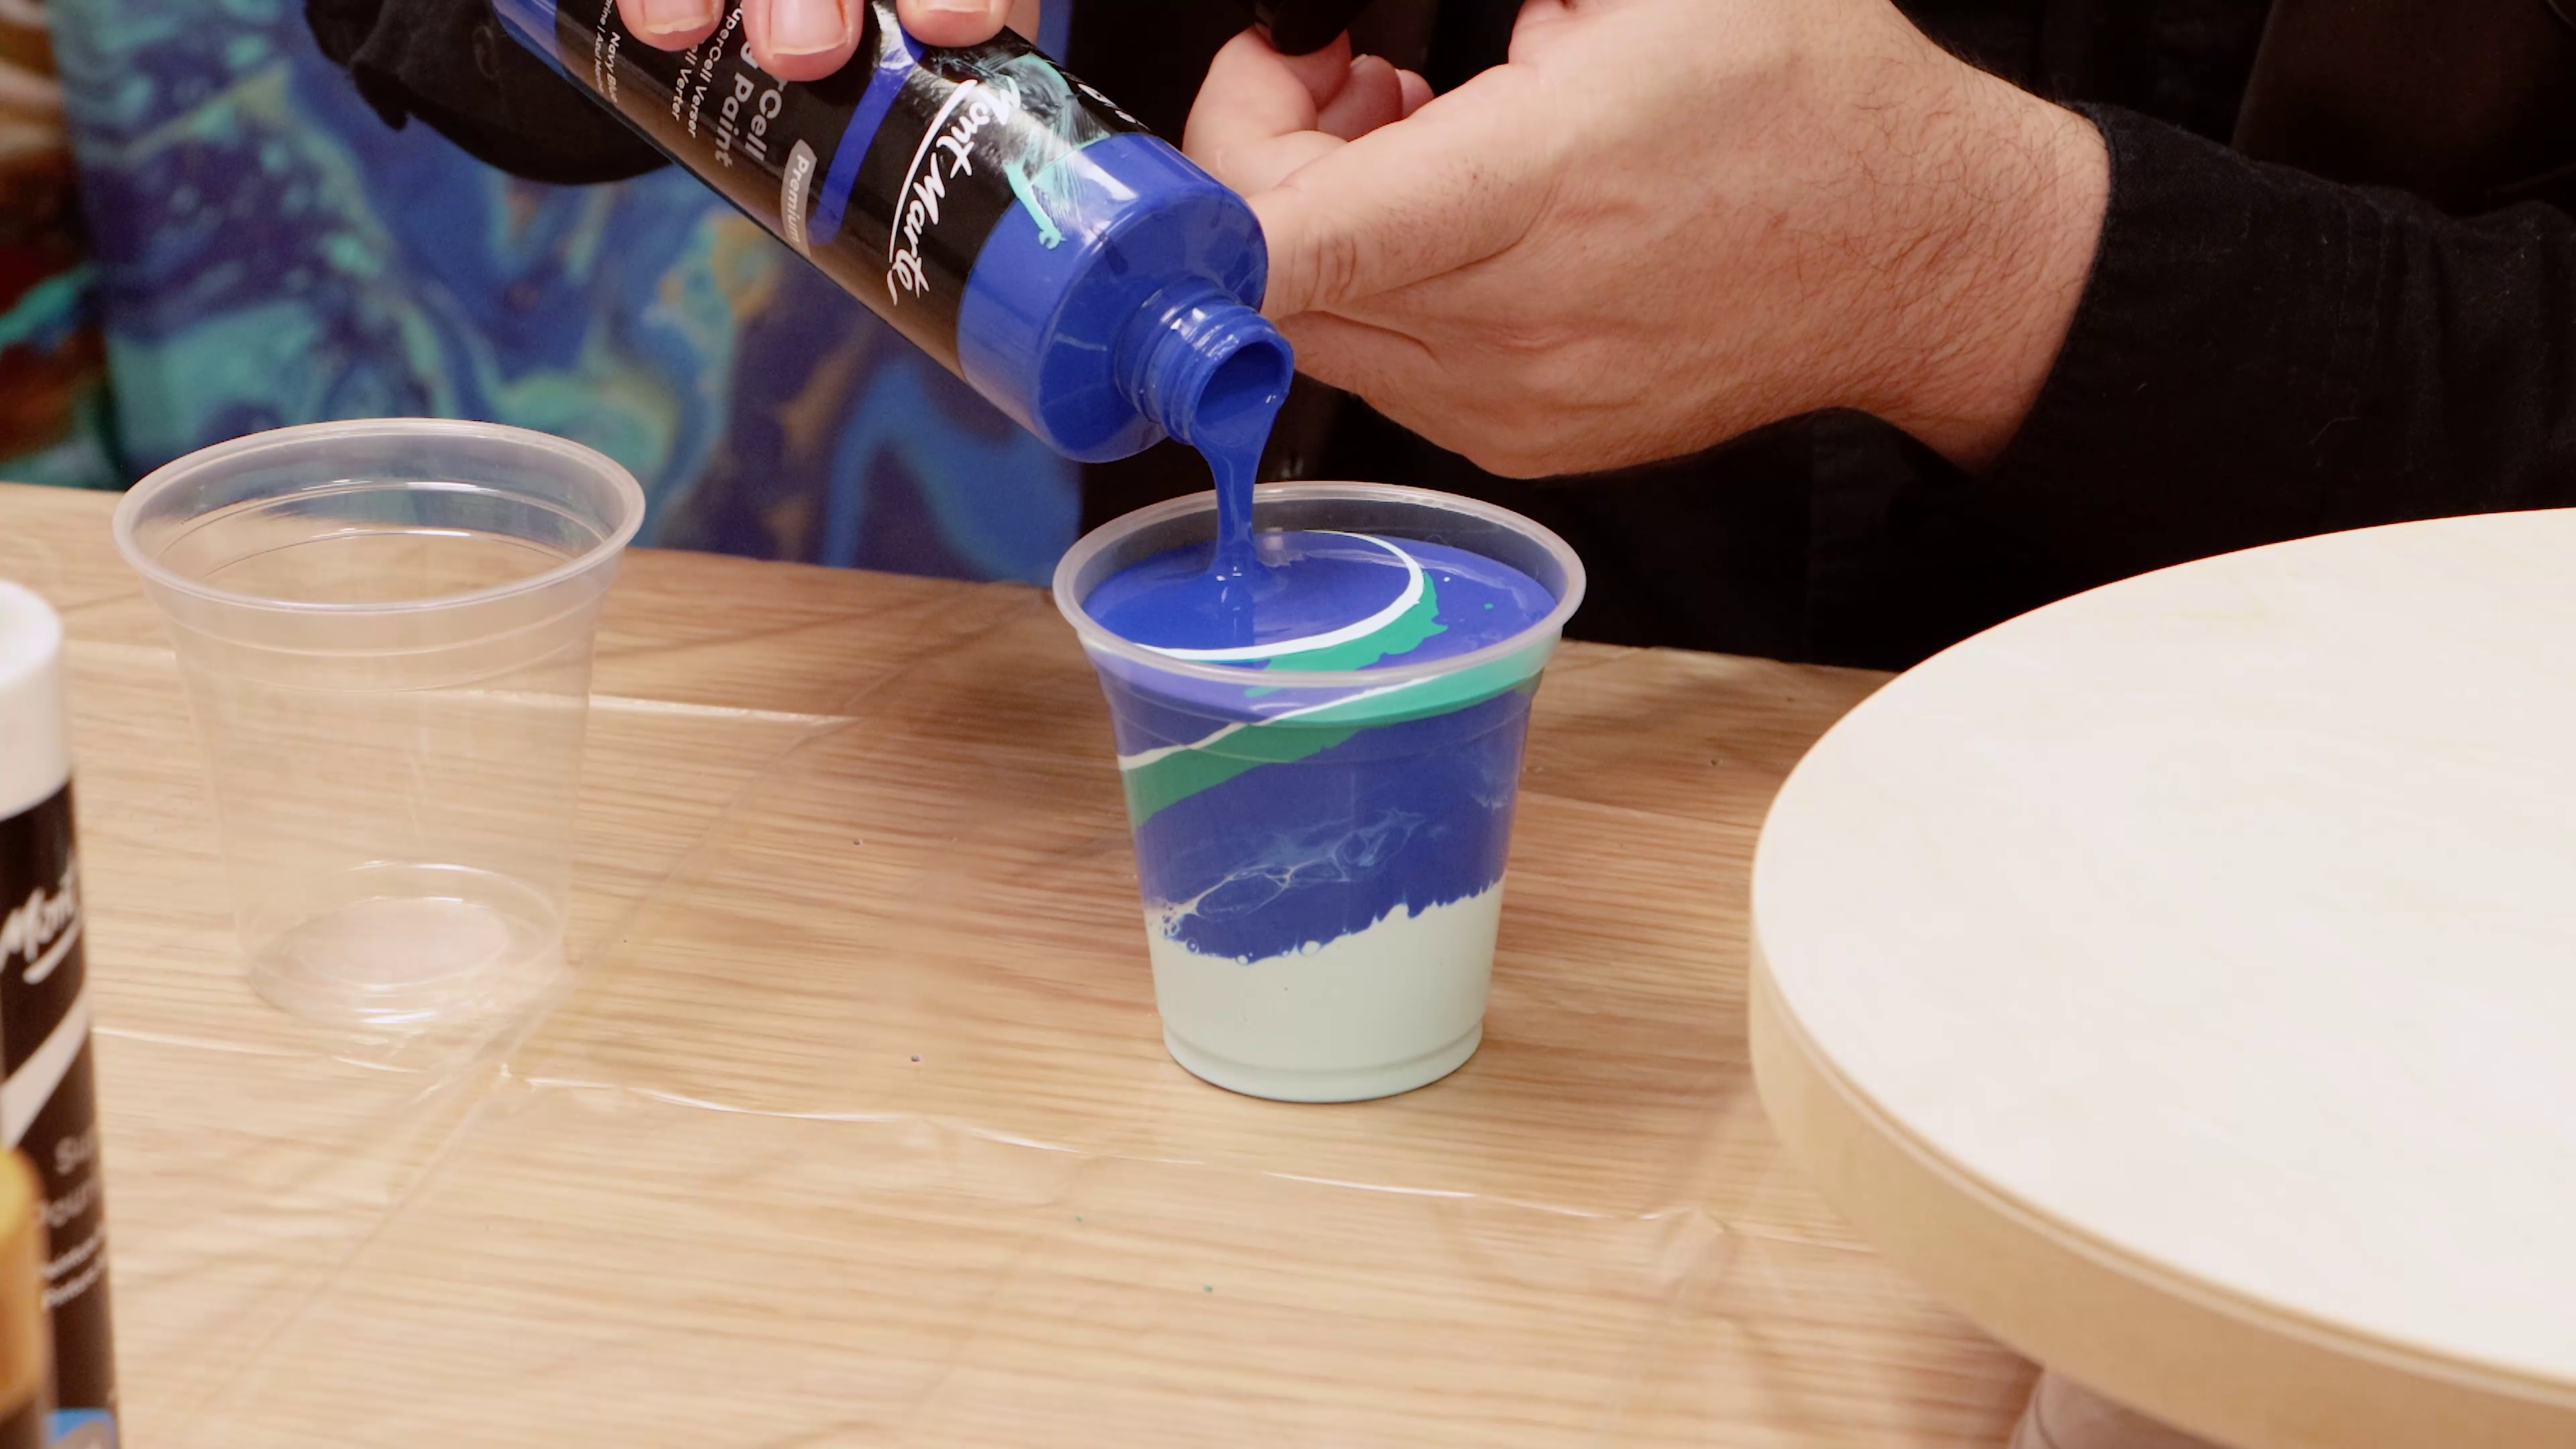
- Water colour: layer varying shades of Light Aquamarine, Blue, and Teal in another cup
- Add a splash of water to each colour to reach a pouring cream consistency
Step 3 – Create your base pour

- Flip the water colour cup onto your canvas slightly off-centre
- Let the paint settle, then lift the cup and let it flow
- Gently tilt or blow through a straw to stretch and guide the paint
- Pour your sand mix onto the canvas in a curve to mimic a shoreline
Step 4 – Dutch pour technique
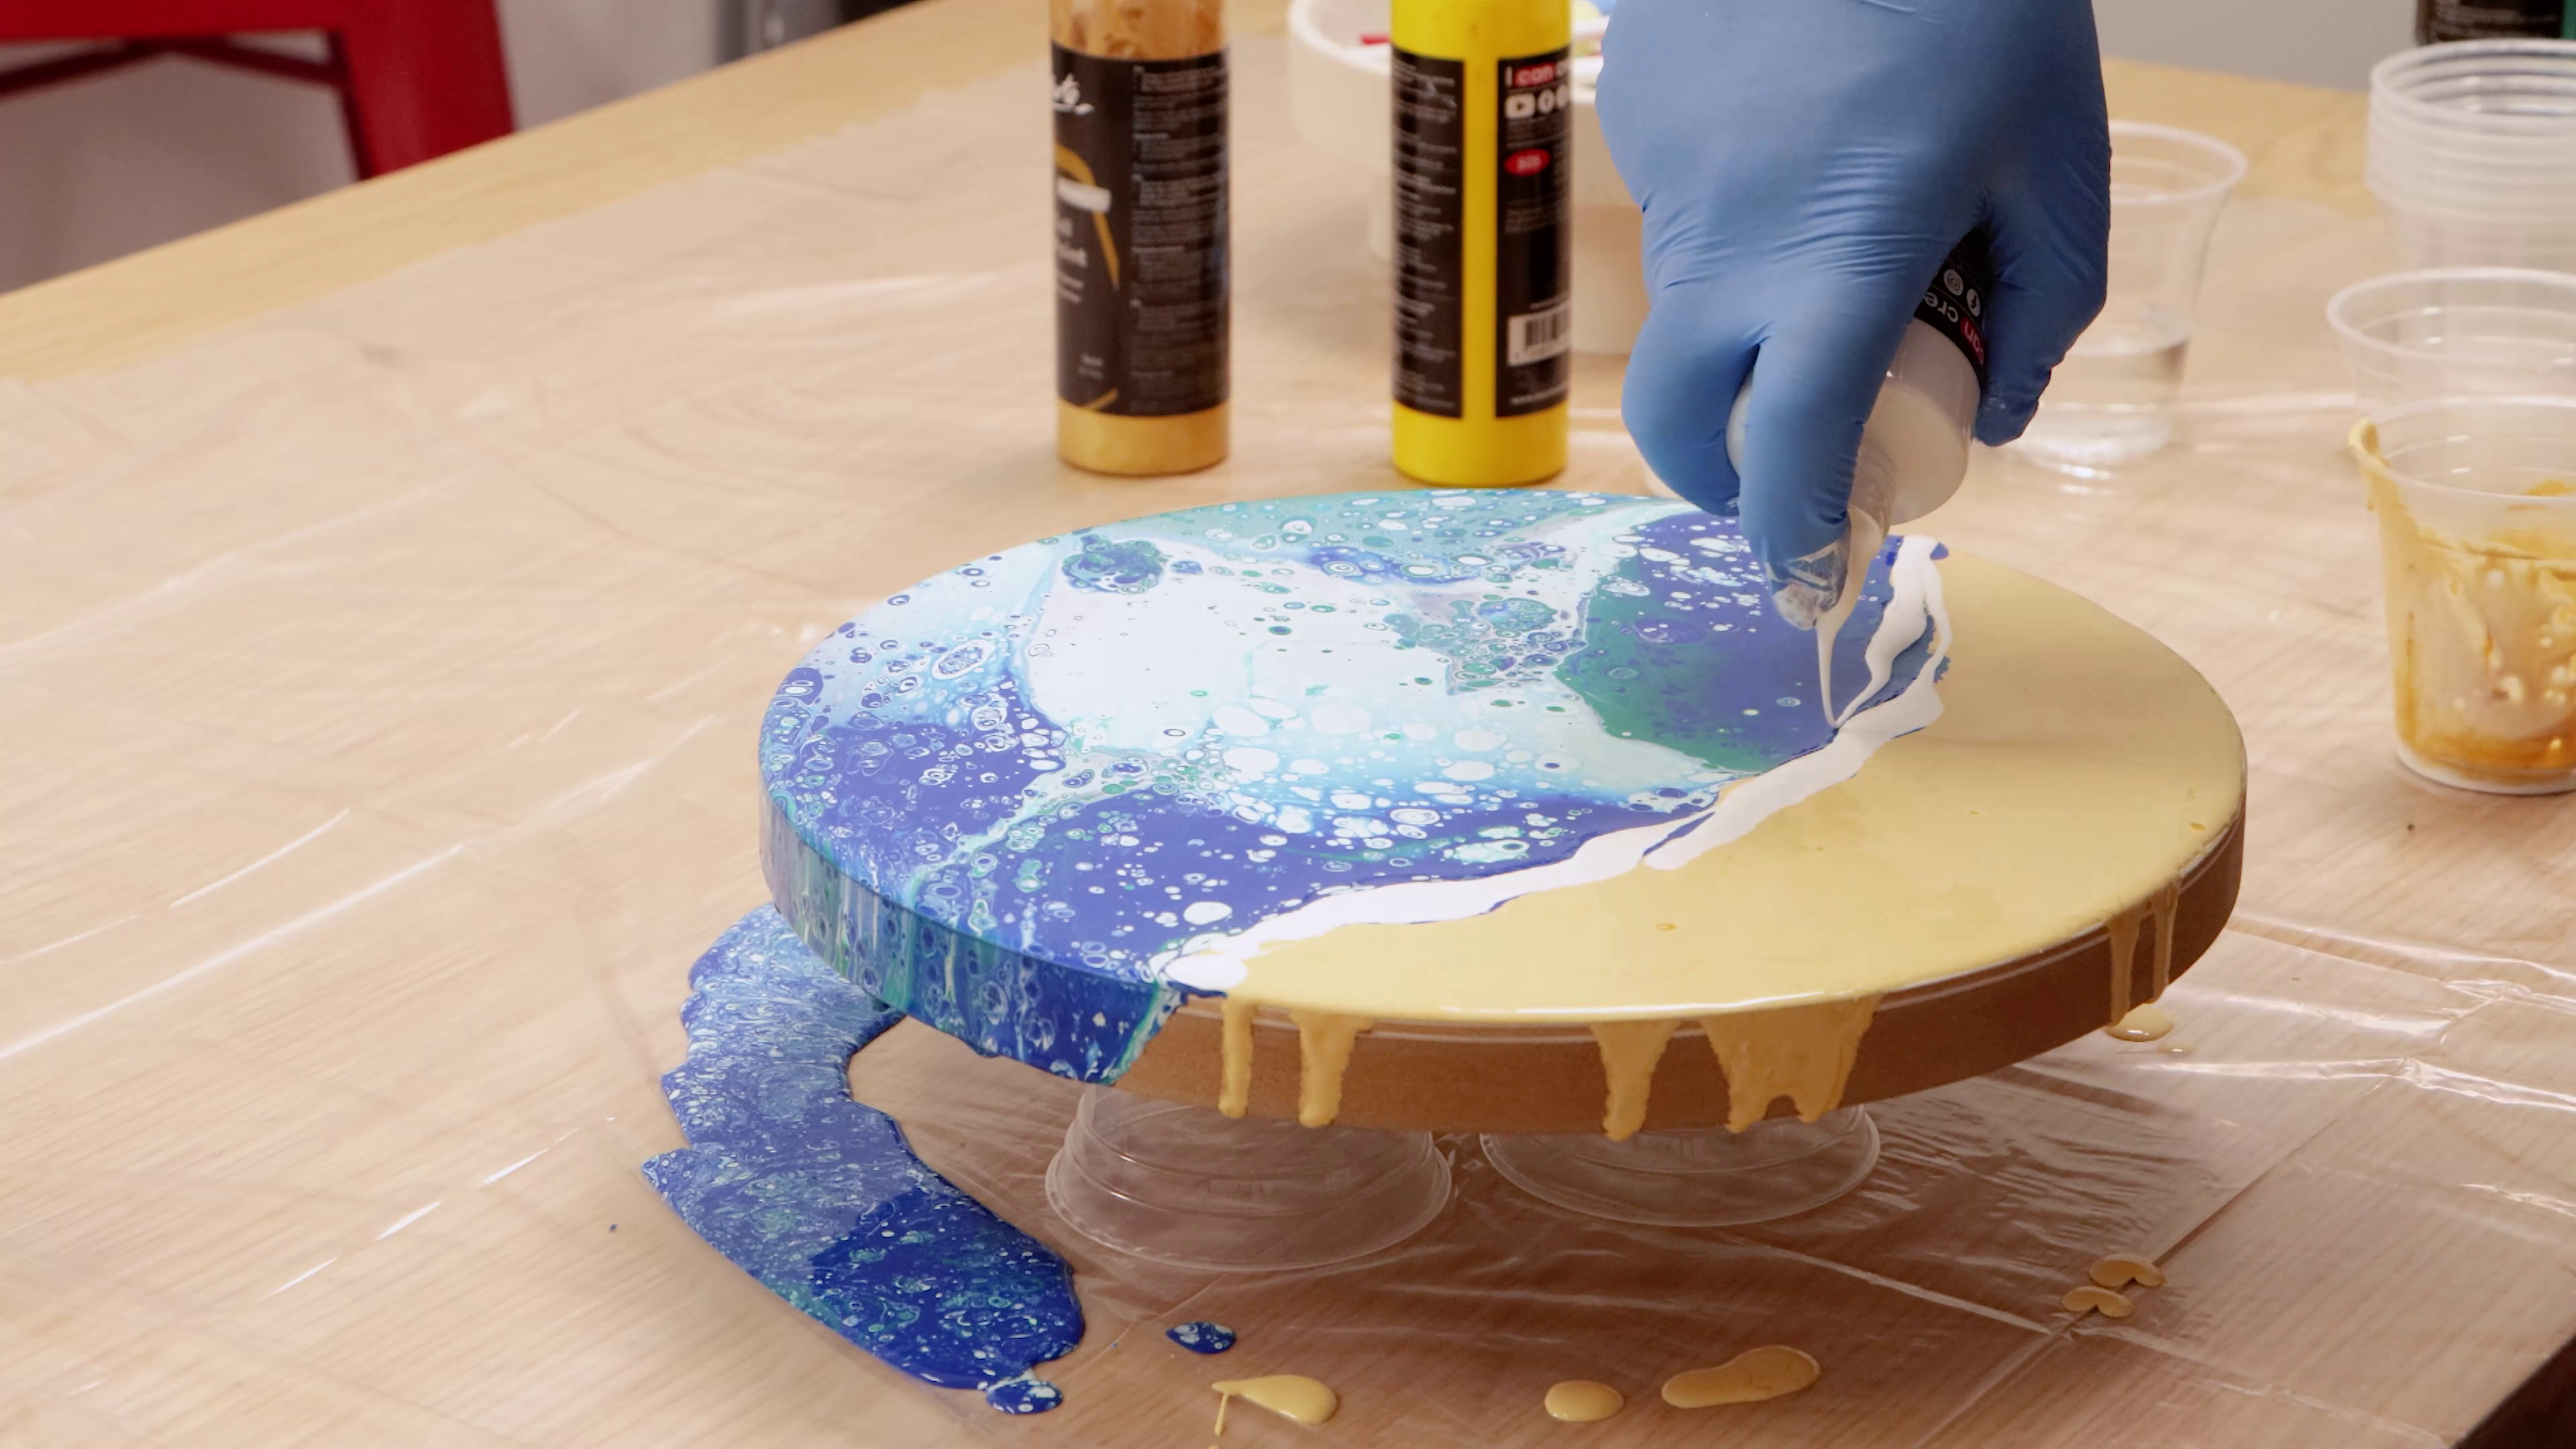
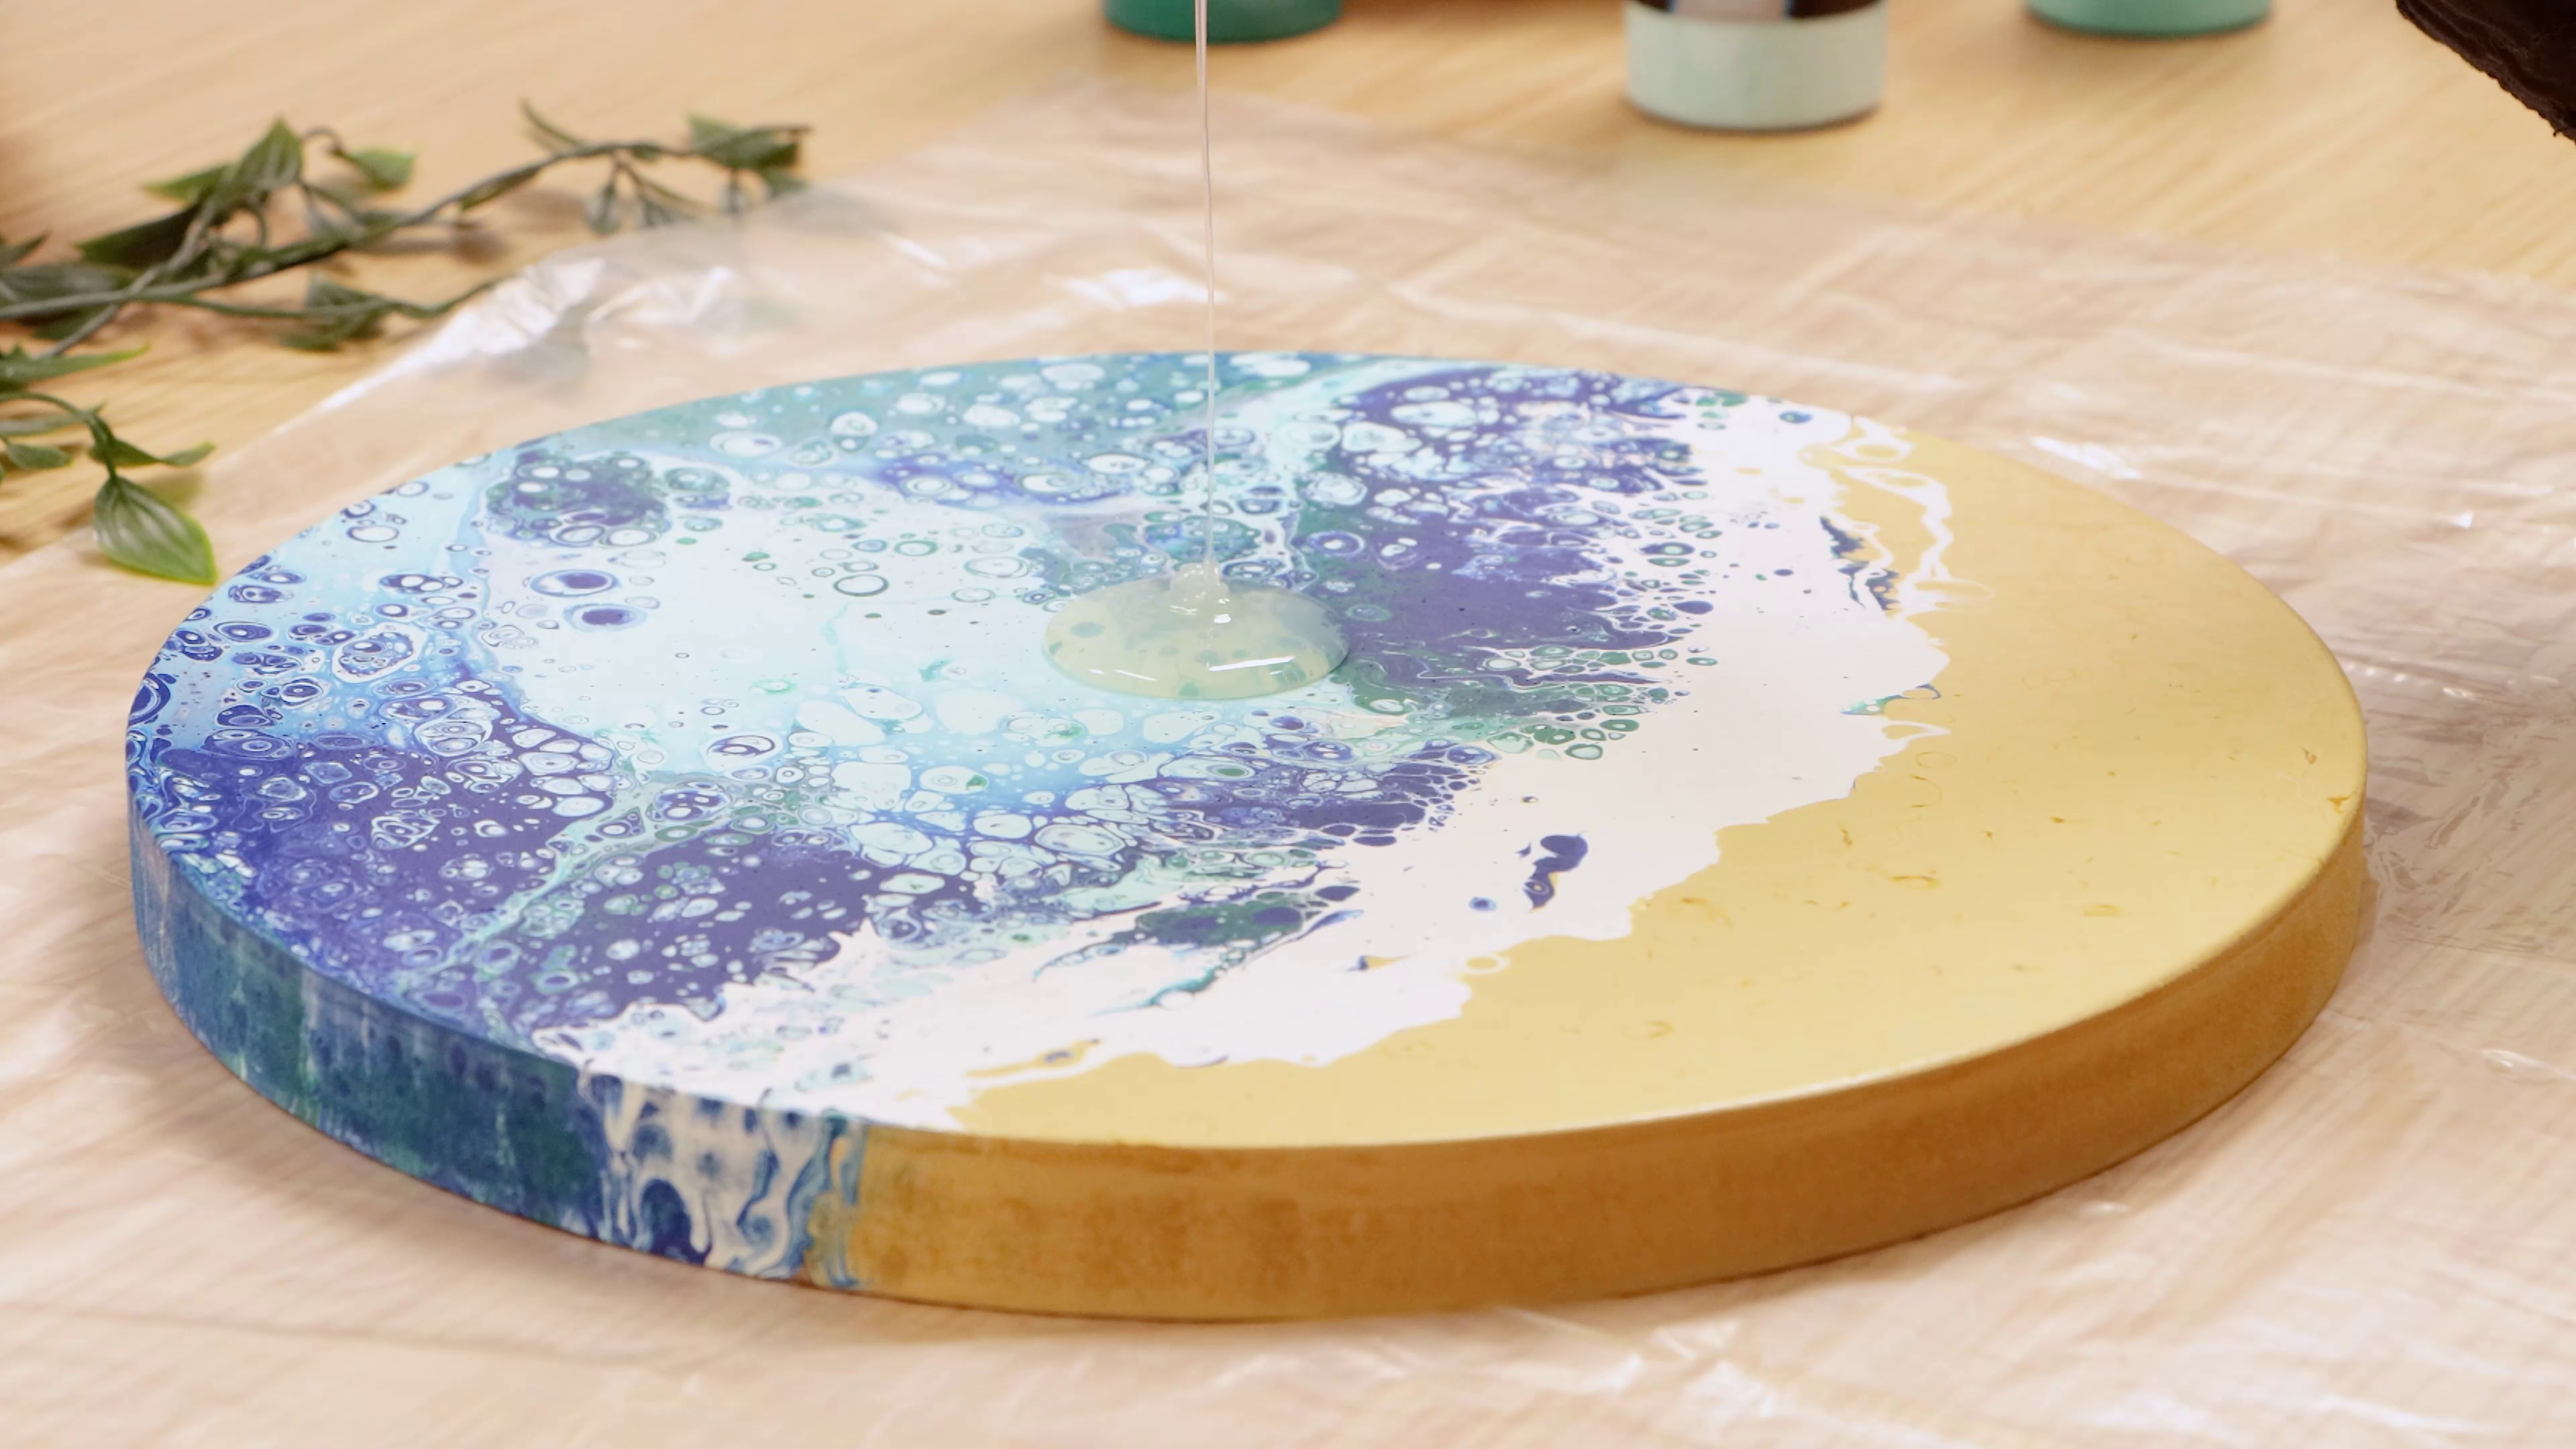
- Use White SuperCell straight from the bottle to make the ocean froth
- Blow through a straw to make additional cells and soften the shoreline
- Let the artwork dry completely (around 4 days depending on conditions)
Step 5 – Acrylic pour painting varnish
- Protect your surface again with plastic
- Use an Abstract Expression Brush to apply a generous coat of Gloss Acrylic Varnish
- This thick varnish gives a resin-like shine without mixing actual resin
- Let it dry fully
Step 6 – Turn it into a clock
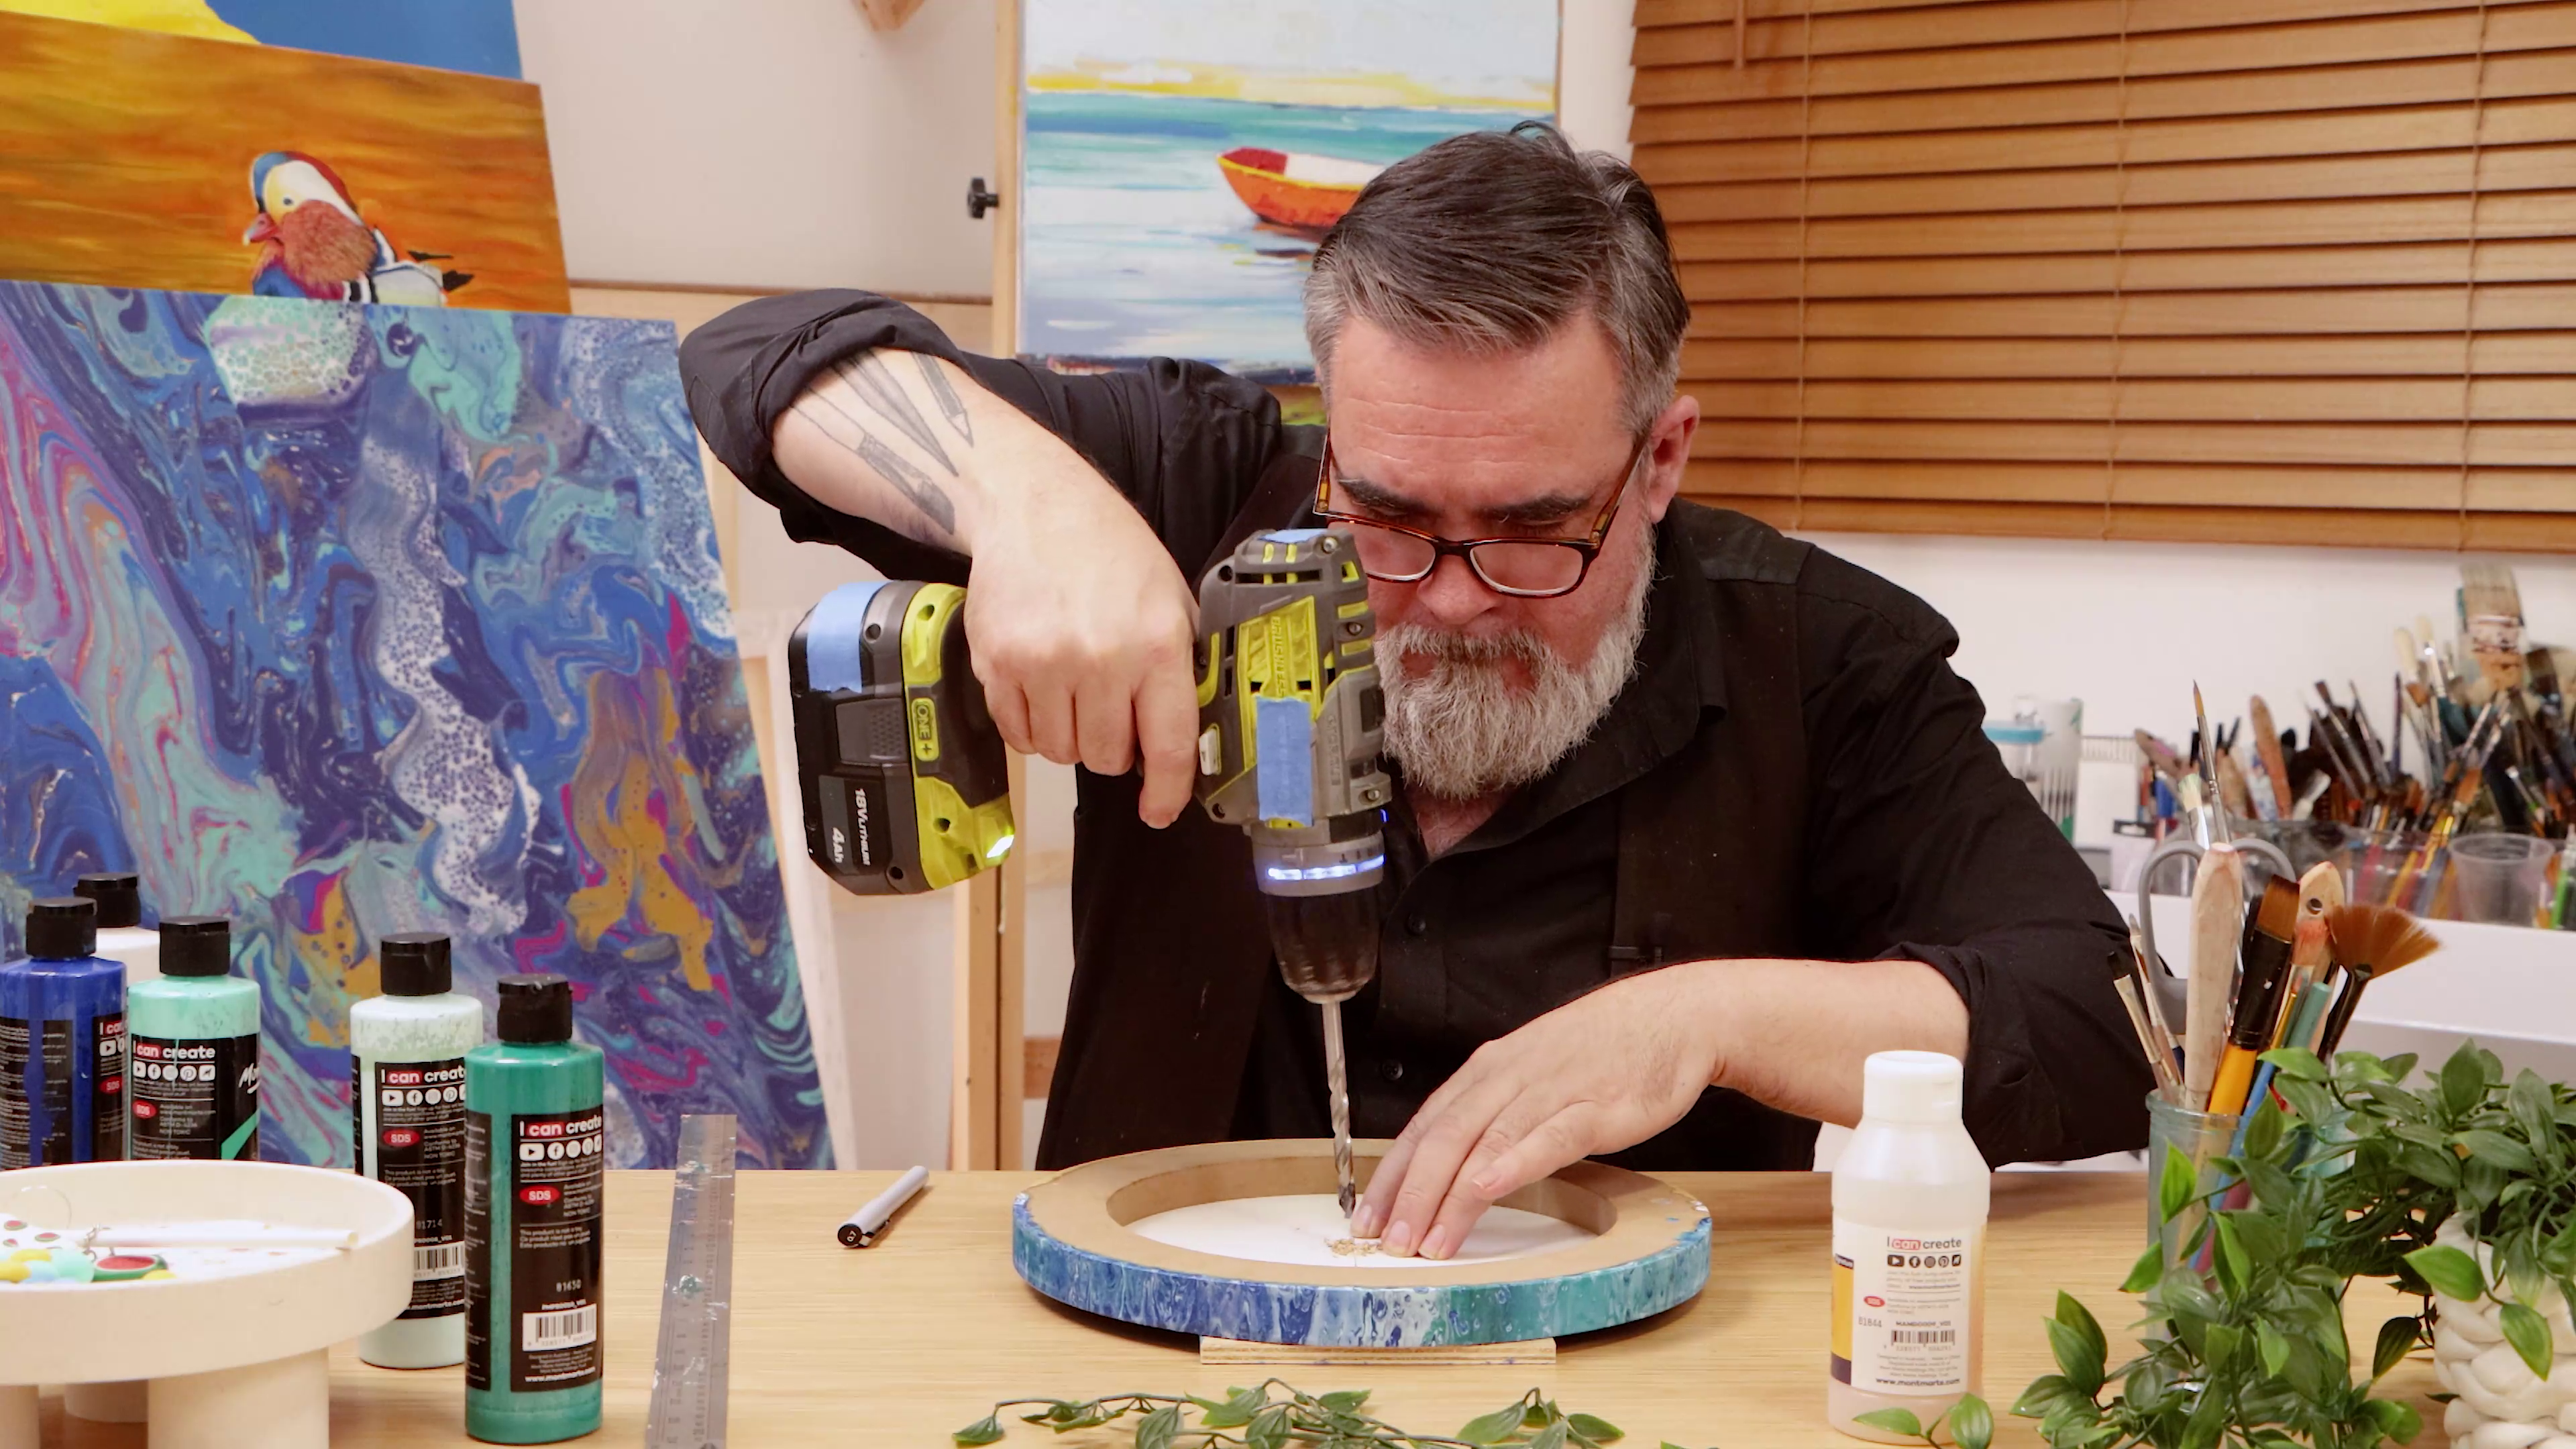
- Mark two high points near the top-back of the board to attach mounting hooks (optional)
- Flip the artwork and drill a hole in the centre using a size 8 drill bit
- Install your clock mechanism through the hole
- Assemble the clock hands and test to make sure everything moves freely
Voila! A splash of ocean you can hang up on the wall. Pouring projects like this are all about experimenting, so feel free to tweak your colours and placement next time you try it.
- SuperCell Pouring Paints:
- White
- Light Aquamarine
- Blue
- Teal
- Yellow Ocher
- Painting Board Round Premium 30cm (or similar flat surface)
- Gloss Acrylic Varnish
- Abstract Expression Brush (or flat brush)
- 3 Disposable Cups
- Paint Mixing Cups
- Stirring Sticks
- Water (for thinning paint)
- Straw (for blowing details)
- Gloves
- Clock Mechanism
- Drill with Size 8 Bit
- Protective Sheet or Plastic Bag (for work surface)
You may also like

Peacock drawing in watersoluble oil pastels


How to use ceramic paint on a thrifted plate


